Methods of securing Ambari:
- Ambari authentication via LDAP or Active Directory
- Encrypt Database and LDAP Passwords
- HTTPS for Ambari server
- Kerberos for Ambari Server
- Two-Way SSL Between Ambari Server and Ambari Agents
- non-root Ambari Server
- non-root Ambari Agents
Documentation:
- http://docs.hortonworks.com/ -> Ambari -> Ambari Security Guide
- http://docs.hortonworks.com/ -> Ambari -> Configuring Ambari for Non-Root
The following uses FreeIPA as detailed in the Kerberos Guide. The steps can be modified for any LDAP service.
More detail available at http://docs.hortonworks.com/ -> Ambari -> Ambari Security
- Configure Ambari for LDAP
sudo ambari-server setup-ldap
Press enter for the default unless specified below.
- For the password, use your LDAP admin password. In our guide it is
hortonworks.
Primary URL* {host:port} : ldap.hortonworks.com:389
Secondary URL {host:port} :
Use SSL* [true/false] (false):
User object class* (posixAccount):
User name attribute* (uid):
Group object class* (posixGroup):
Group name attribute* (cn):
Group member attribute* (memberUid):
Distinguished name attribute* (dn):
Base DN* : cn=accounts,dc=hortonworks,dc=com
Referral method [follow/ignore] :
Bind anonymously* [true/false] (false):
Manager DN* : uid=admin,cn=users,cn=accounts,dc=hortonworks,dc=com
- Restart Ambari server and sync ldap
sudo ambari-server restart
sudo ambari-server sync-ldap --all
## When prompted:
##   User: admin
##   Pass: hortonworks (or whatever you set in IPA)
sudo ambari-server restart ## just to make sure it comes up after
sudo ambari-agent restart
- Login to Ambari as any LDAP user.
- Example:
- Login as paul/hortonworks and notice he has no views
- Login as admin and then pull down the drop down on upper right select "Manage Ambari". From here admins can
- Click users, select a particular user and make them an Ambari Admin add paul as Ambari admin
- Click Views from where they can create instances of views and assign him specific views
- now re-try as paul and notice the change.
- On IPA node generate principal for ambari-user
ipa service-add ambari-user/[email protected]
- On HDP node, generate keytab for ambari-user:
sudo ipa-getkeytab -s p-lab990-ipa.c.siq-haas.internal -p ambari-user/[email protected] -k /etc/security/keytabs/ambari-user.keytab
- Stop Ambari server
sudo ambari-server stop
- Setup Ambari kerberos JAAS configuration
$ sudo ambari-server setup-security
Using python  /usr/bin/python2.6
Security setup options...
===========================================================================
Choose one of the following options:
  [1] Enable HTTPS for Ambari server.
  [2] Encrypt passwords stored in ambari.properties file.
  [3] Setup Ambari kerberos JAAS configuration.
  [4] Setup truststore.
  [5] Import certificate to truststore.
===========================================================================
Enter choice, (1-5): 3
Setting up Ambari kerberos JAAS configuration to access secured Hadoop daemons...
Enter ambari server's kerberos principal name ([email protected]): ambari-user/[email protected]
Enter keytab path for ambari server's kerberos principal: /etc/security/keytabs/ambari-user.keytab
Ambari Server 'setup-security' completed successfully.
- Start ambari-server
sudo ambari-server start
- Pre-requisite: setup kerberos for Ambari using steps above
- Existing view will work on kerborized cluster
- Add proxyuser settings for ambari-user under HDFS -> Configs and then restart HDFS
hadoop.proxyuser.ambari-user.hosts=*
hadoop.proxyuser.ambari-user.groups=*
- Ambari -> From dropdown in upper right -> Manage Ambari -> Views -> Files
- click Create instance and create view called Filessecure
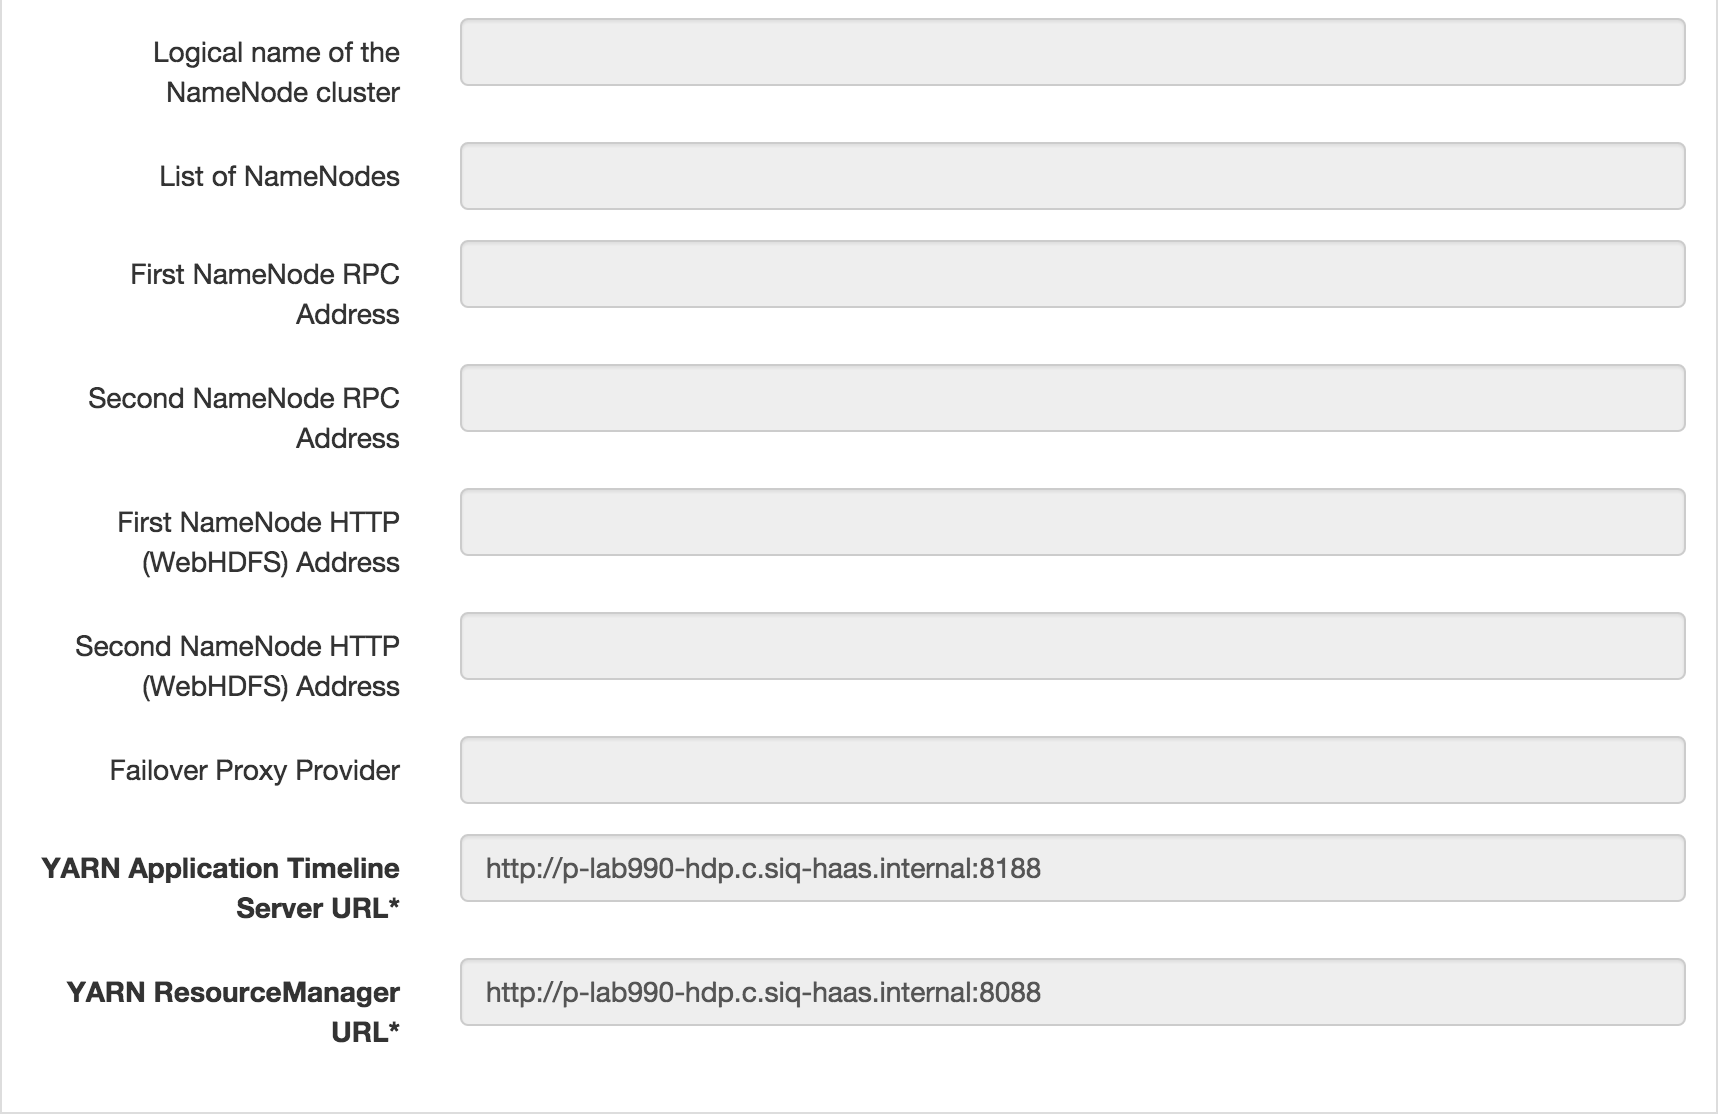
- Update settings as below:
- Ambari -> From dropdown in upper right -> Manage Ambari -> Views -> Hive
- click Create instance and create view called Hivesecure
- Update settings as below:
- Ambari -> From dropdown in upper right -> Manage Ambari -> Views -> Pig
More details here: internal doc


