This integration is between the JFrog Platform and Microsoft Teams that focuses on notifications from the JFrog Platform. If you do not already have a JFrog account, you can get the free tier here.
We know that software development happens in a myriad of tools and collaboration environments. As your mission-critical tools for DevOps, the results of many key events that occur in Artifactory and Xray reveal whether or not your software pipeline is on-track to deliver production-quality releases. The JFrog app for Microsoft Teams brings real-time visibility and awareness of what’s happening in your JFrog-powered software pipelines to your entire team through one of the most widely used collaboration tools. When it comes to people across the organization knowing what’s going on, there aren’t great solutions. This will give each user situational awareness about occurrences in the JFrog Platform. Additionally, where appropriate - they will have easy links and action buttons to go follow-up on the event.
With the JFrog app for Teams, developers can better collaborate on delivering quality releases, responding in real-time to DevOps events as they occur.
Watch this video to see what it looks like to create your first notification.
If you need help with this Microsoft Teams integration, please contact [email protected]. If you need general JFrog support, you can reach out to us on the contact form here.
To raise any issues with this integration, you can use github issues here.
You can read our terms and conditions here.
You can read our privacy policy here.
- This integration allows you the ability to see Artifact, Artifact Properties, Docker, Release Bundle, Distribution and Build events through notifications and actionable cards inside the Microsoft Teams browser.
- You can send these notifications to multiple teams and channels.
- Additionally, you can get vulnerability and license compliance notification based on policies setup in JFrog Xray and take actions.
To use the Slack integration with an on-premise JFrog installation, you need to enable the "Manage Integrations" section under "Settings -> General" by following these steps:
- Update the Artifactory system configuration and edit
system.yamlin/opt/jfrog/artifactory/var/etc/. See Artifactory System YAML for more details.
shared:
    featureToggler:
accessIntegration: true- Update the Access yaml configuration and create a new file (if not already exists) called
access.config.patch.ymlin/opt/jfrog/artifactory/var/etc/access/. See Access YAML Configuration for more details.
integrations-enabled: true
integration-templates:
  - id: "1"
    name: "JFrog Collaboration Integration"
    redirect-uri: "https://saas-connector.jfrog.io/v1/oauth2/login/redirect"
scope: "applied-permissions/user" 3. Restart the platform after saving the files
To use the Microsoft Teams integration with an on-premise JFrog installation, the network port 8082 will need to be exposed to the external network. See JFrog System Requirements for more information. Then when configuring the JPD, include the network port in the JPD url, e.g. https://example.com:8082
-
Your organization should have an instance of the JFrog Platform version 7.27 or above. You can signup for a free instance at: https://jfrog.com/start-free/
-
You must be a user with Admin permissions to authenticate your organization’s app with your JFrog Platform Deployment (JPD).
-
You must be a user with Admin permissions to create the initial notifications for Artifactory and Xray.
-
Your organization must already have setup policies and watches prior to getting Xray notifications in MSTeams. Learn how to setup watches and policies in Xray.
To use the commands in Microsoft Teams, start by typing @jfrog and hit enter. Next, click on Select or type a command and you should see the following commands:
| command | description |
|---|---|
| menu | Show available options |
| help | Get help and support |
| connect | Connect JFrog Platform |
| disconnect | Disconnect JFrog Platform |
| login | Sign in user to app |
| logout | Sign out user to app |
All notifications are based on webhook events in the JFrog Platform. The currently supported notifications include:
| Type | Events |
|---|---|
| Artifact | deployed, deleted, moved, copied |
| Artifact Properties | added, deleted |
| Docker Tag | pushed, deleted, promoted |
| Builds | uploaded, deleted, promoted |
| Release Bundles (Enterprise+) | created, signed, deleted |
| Distribution (Enterprise+) | stared, completed, aborted, failed, deletion started, deletion failed, deletion completed |
| Type | Description |
|---|---|
| Security Violations by CVE | This sends individual notification cards for each CVE or issue |
| Security Violations by Component (Summary view) | This provides a summary of all CVEs and severities by component |
| License Compliance | This sends individual notification cards for each license compliance issue |
In the Micrsoft Teams chat area, typing in @jfrog followed by one of these commands, will result in the following actions:
| Type | Action |
|---|---|
| menu | This will show the menu of available options on the app |
| help | This will show you how to get help and support |
| connect | This will provide the ability to connect to the JPD |
| disconnect | This will let you disconnect from the JPD |
| login | Sign in user to JPD |
| logout | Sign out user from JPD |
Follow the instructions below or watch the video examples for more help on how to get started using the app.
The first thing to do is to download the Microsoft Teams Application.
You can learn how to download and install Microsoft Teams here.
Once, you have Microsoft Teams, you can add the JFrog application by navigation to the lower left-hand corner and clicking on the icon called Apps.
Then, in the search bar, type in “JFrog” and look for the JFrog app*.
*Now, before you add the JFrog app, you must have a team created in your Microsoft Teams browser. If you do not, please create a team.
Click on the app and a window will open that has an “Add to Team” button. Click on that button and select the team you want.
Then click on Set up a bot button to finish installing the JFrog app with Microsoft Teams.
Once you’ve added the JFrog Application from the Microsoft Teams browser, you must connect the application to your JFrog Platform Deployment (or JPD) instance.
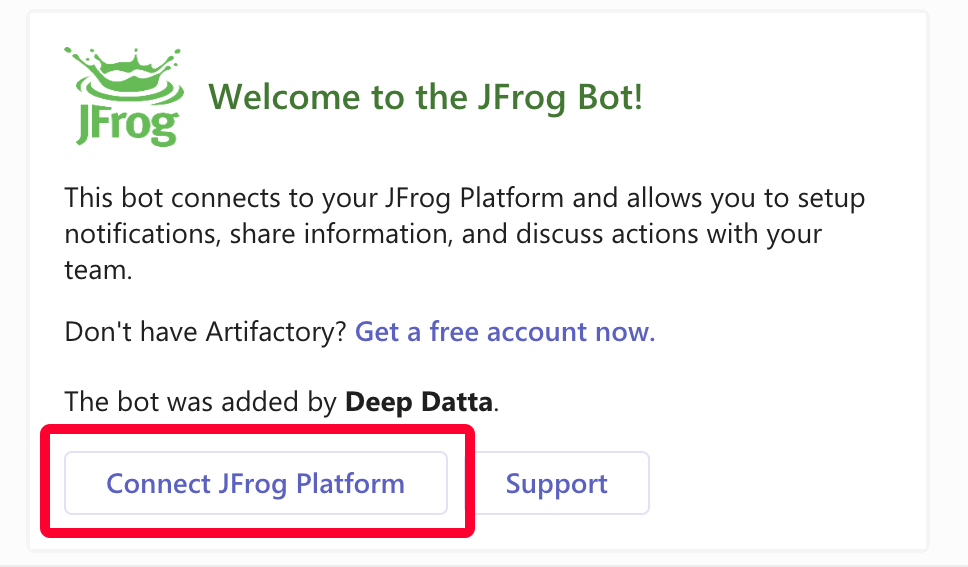
The first message you will see from the JFrog Bot is going to be an introduction card that asks you to Connect JFrog Platform. Click on that button.
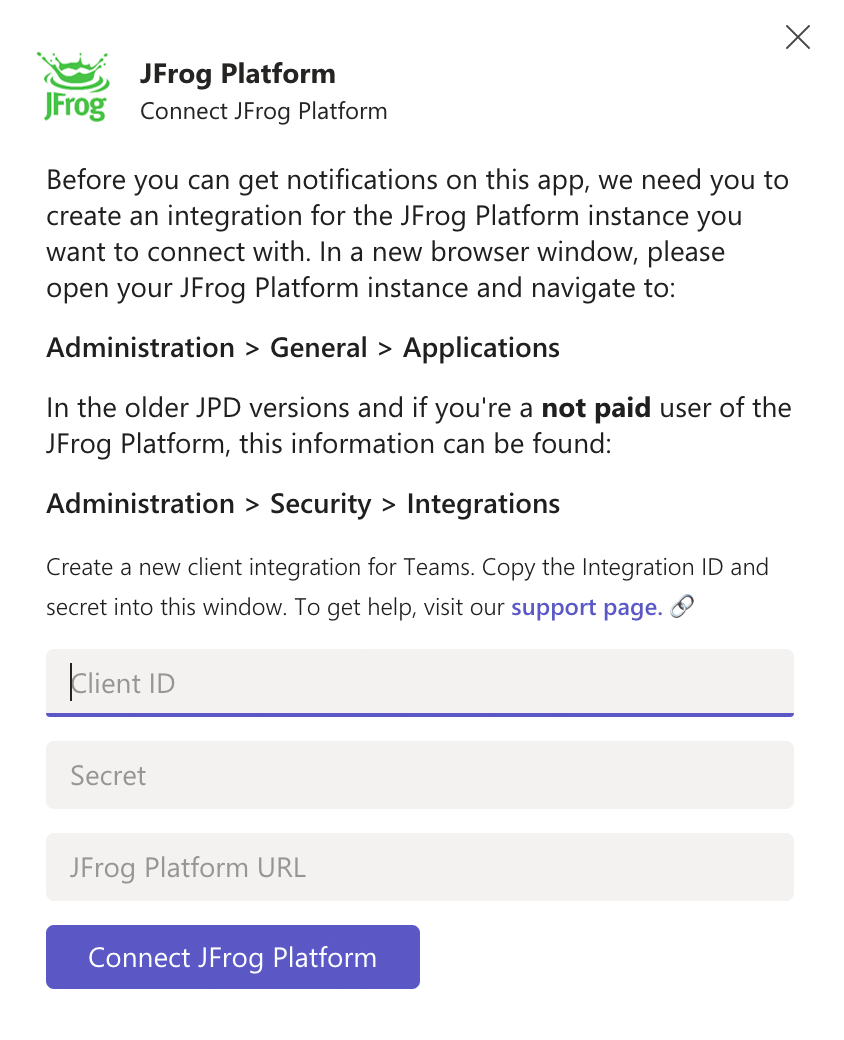
Now, you will need to login to your JFrog instance with Admin credentials. Once logged in, navigate to the Administration > General > Applications area.
*In the free JFrog Platform versions, this information can be found under: Administration > Security > Integrations.
Then click on + New Client Integration. Provide it a name and then click on the application dropdown and select the JFrog Collaboration Integration.
Next, under Integration ID and Secret, click on the button: Generate your ID and Secret.
When you have your Integration ID and Secret, copy and paste these items into the modal window.
Last, copy and paste your JFrog Platform URL (found at the top of your browser window) into the modal window where it says JFrog Platform URL.
Hit Save and look for the success message! Great, you have now connected your organization’s JFrog account to the Microsoft Teams app.
Next, there will be a window that asks you to Get Started. Click on Get Started and on the next screen: Sign In. Use the username and password provided to you by JFrog.
Login to the JFrog Platform with your credentials and Allow the Microsoft Teams JFrog application to authenticate to the JFrog Platform.
Next, you’ll see a Get Started button, click on that to bring up the main menu of items.
Once you see the menu, you can create new notifications and add them to your Microsoft Teams channel*. You can also type @jfrog and select the menu option in the text to bring up the menu.
*We expect you to have your channels already setup - how you want to organize notifications to various teams and channels is up to your organization.
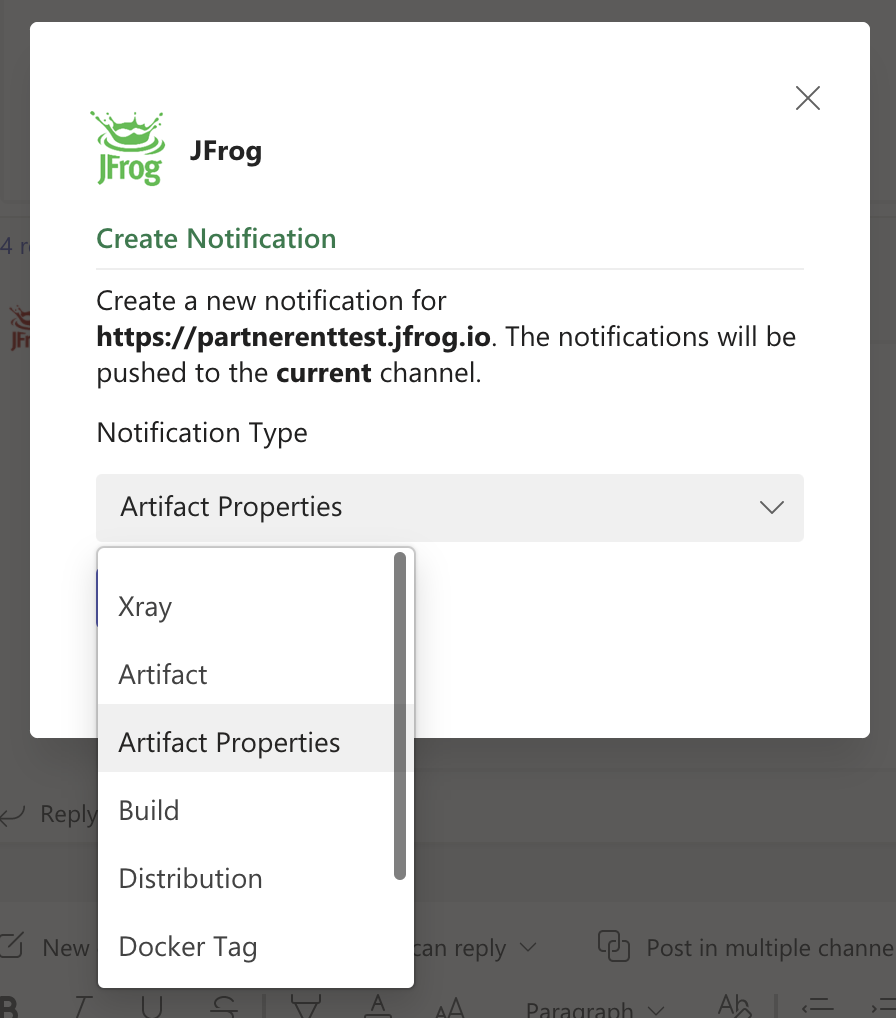
Click on Create Notification.
From the window that appears, use the drop-down to select the notification type you want to create. In this example, we’ll select Artifact Properties.
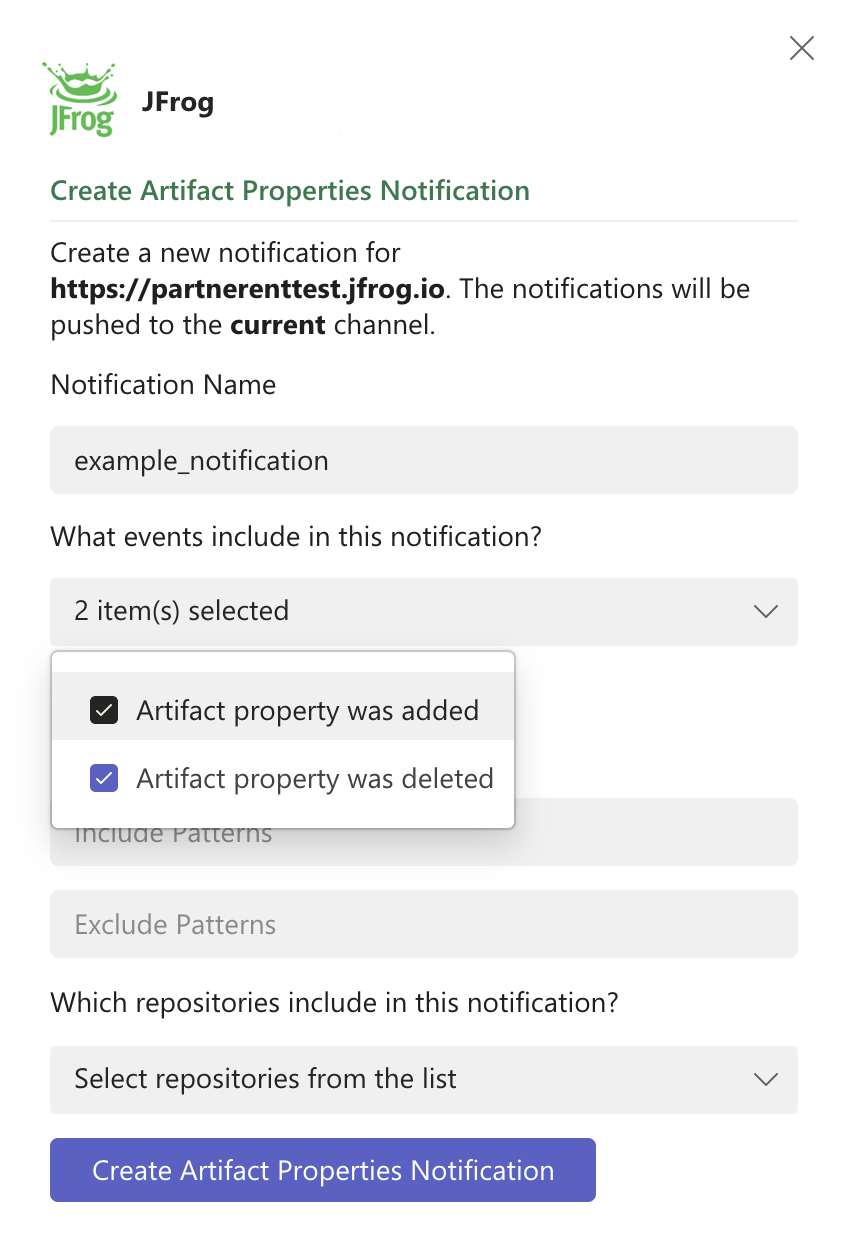
On the next screen, give the notification a name followed by selecting which kinds of artifact properties events you want to get notified about.
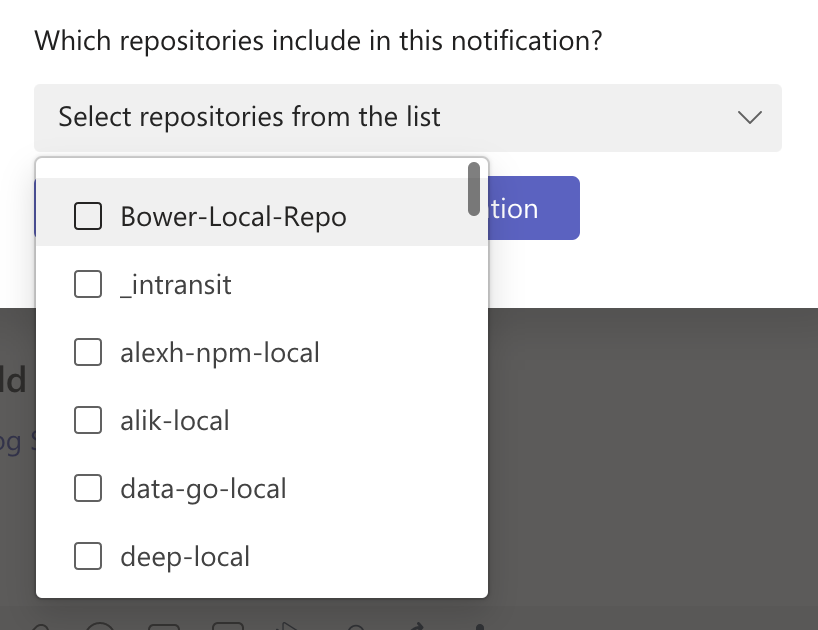
Last, you’ll want to choose which repositories you can get notified from. You have the option of selecting Any Local and Any Remote or you can scroll down and select specific repositories using the drop-down selection.
Click on the Create button at the bottom of the window and you will see a Success message appear. You can now close this window and go back to the channel.
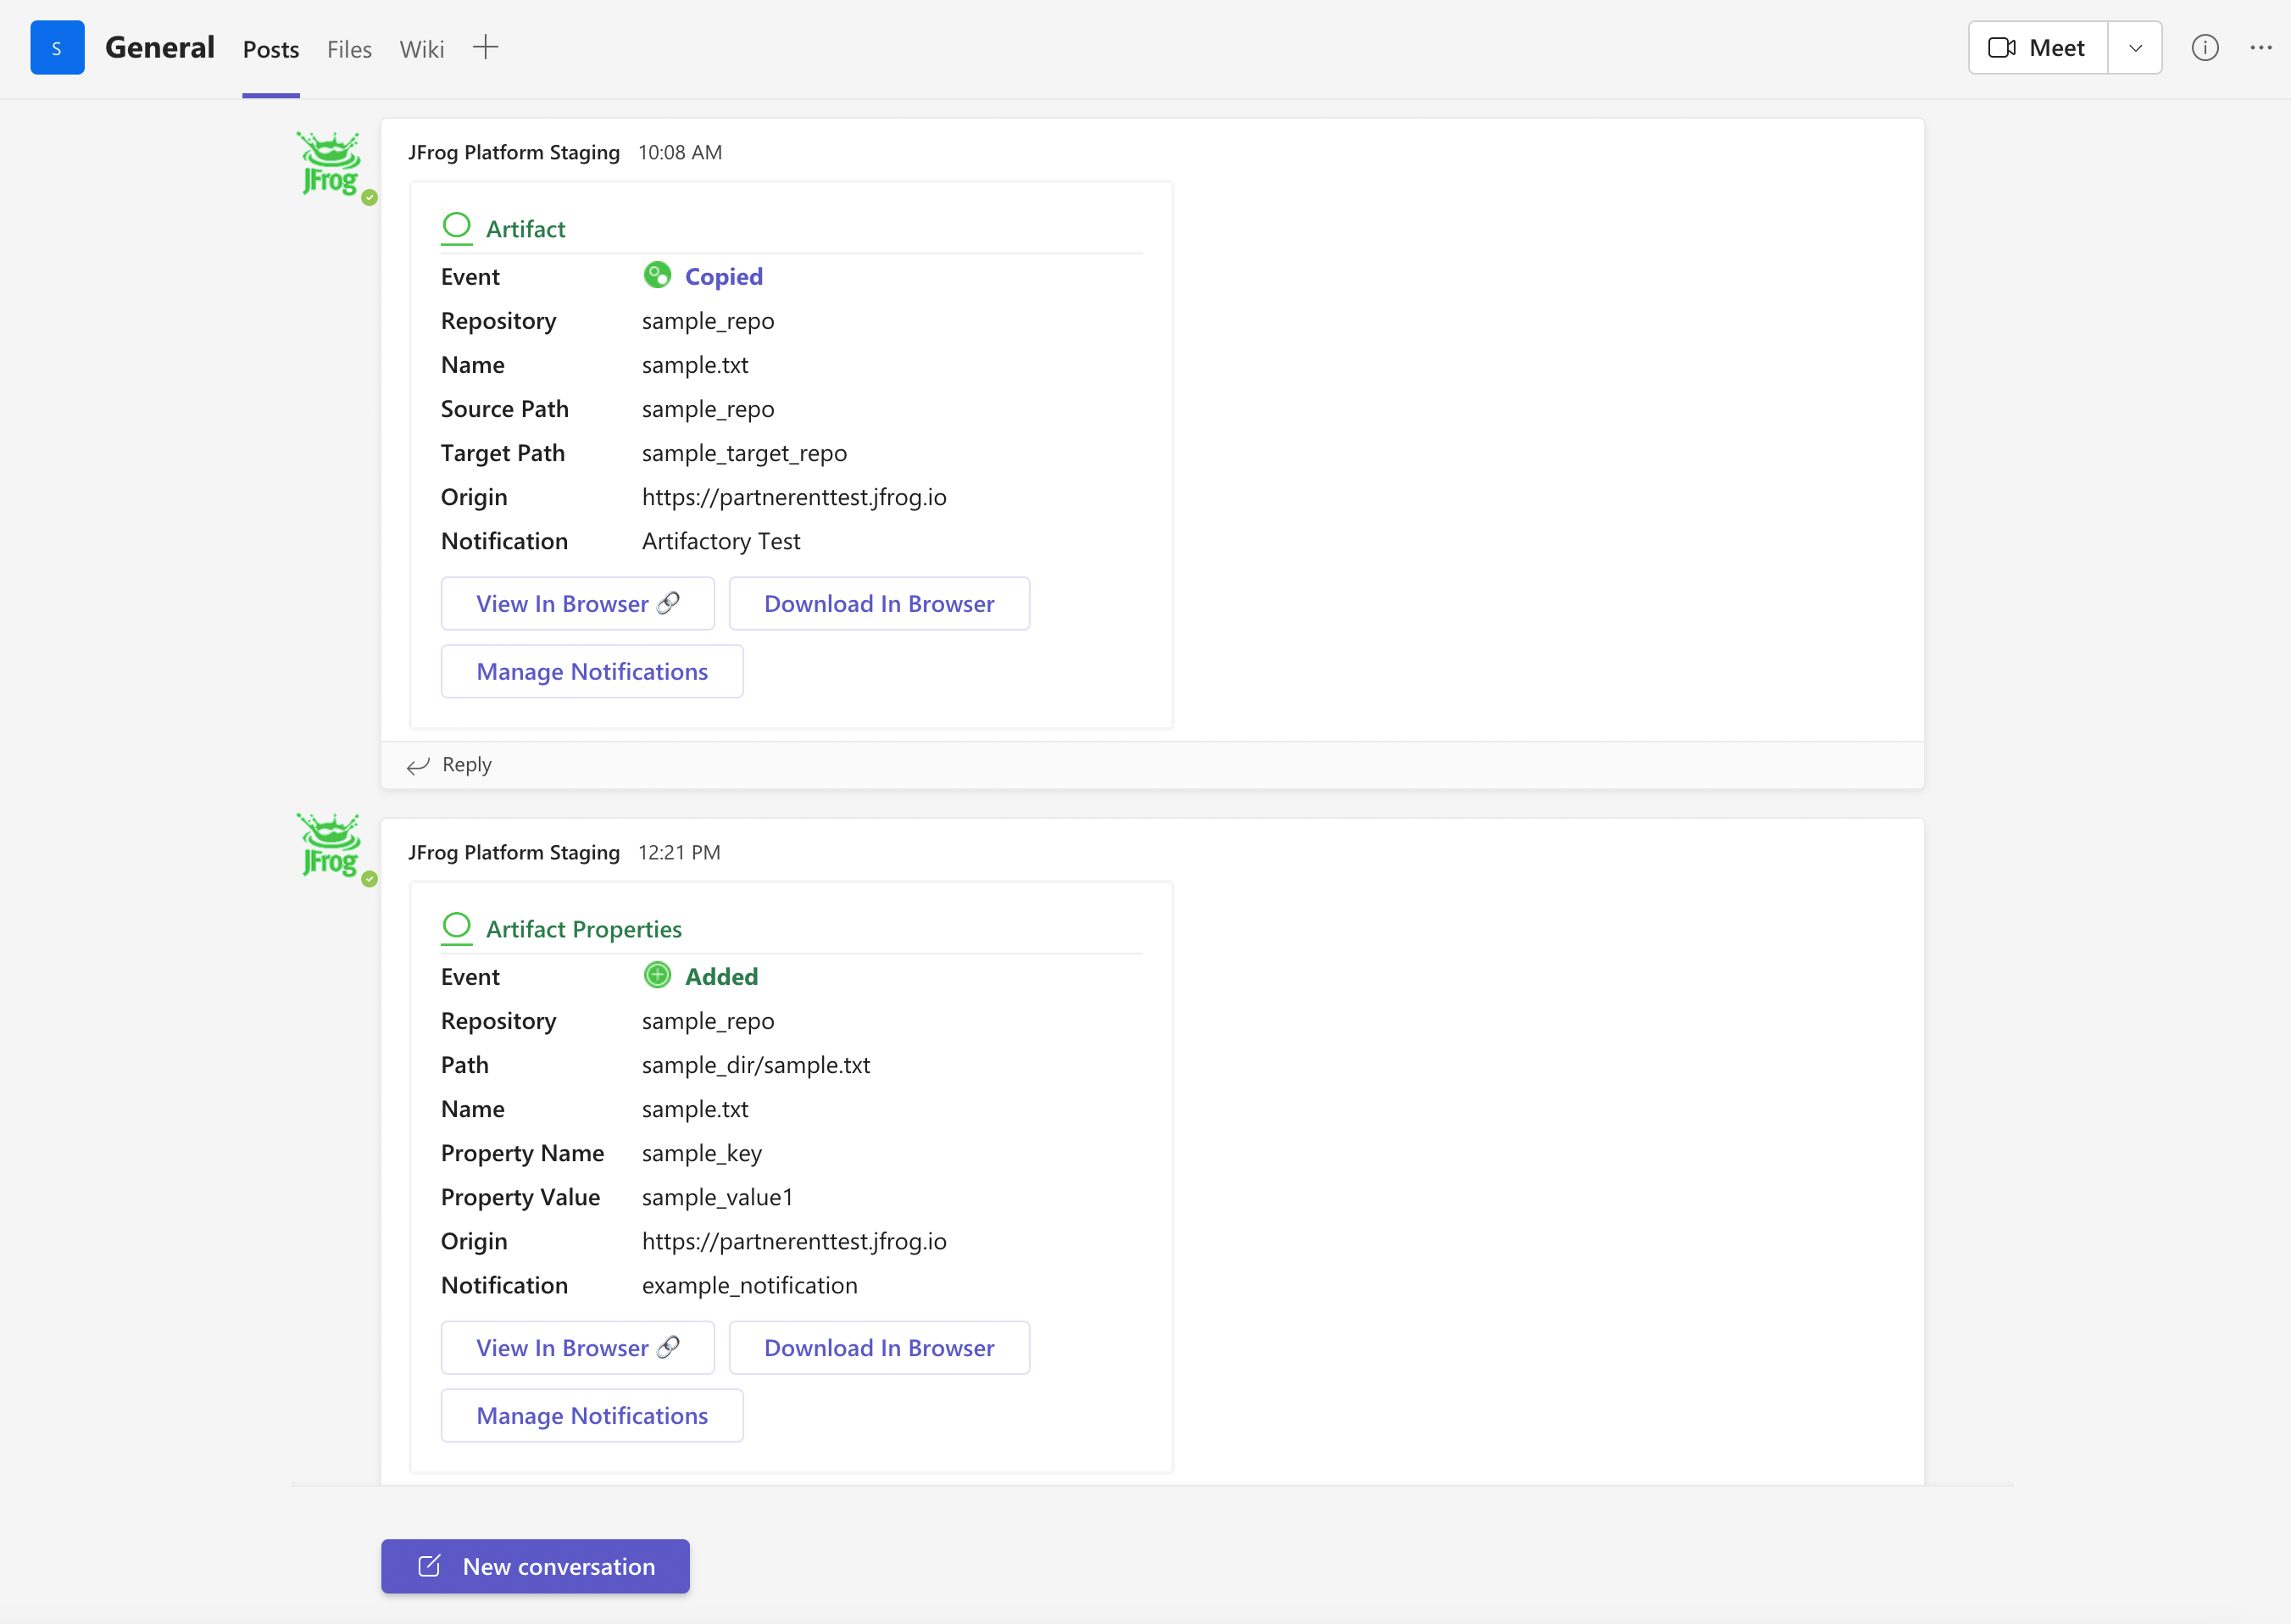
Congrats!!! You should receive one notification for every event type used in the notification.
Test the notification:
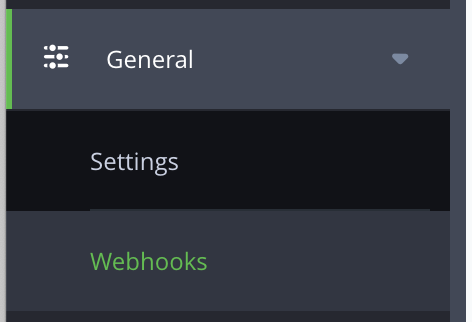
If you want to test the notification, navigate to the JFrog Platform and go to Administration > General > Webhooks.
Look for the name of the notification you created and click on it.
On the bottom right-hand corner, click on the Test button.
You should get a confirmation in the JFrog Platform that a dummy webhook was sent.
If you navigate back to the Microsoft Teams, you will see this information in the UI.
NOTE: It can take up to 2-4 minutes to receive all notifications.
To sign out of the application, click on Help or type /jfrog help
A message will show up with a button that allows you to Sign Out of the JFrog Bot.
Please note that signing out does not disconfigure the JFrog Platform from the JFrog Bot in Microsoft Teams.
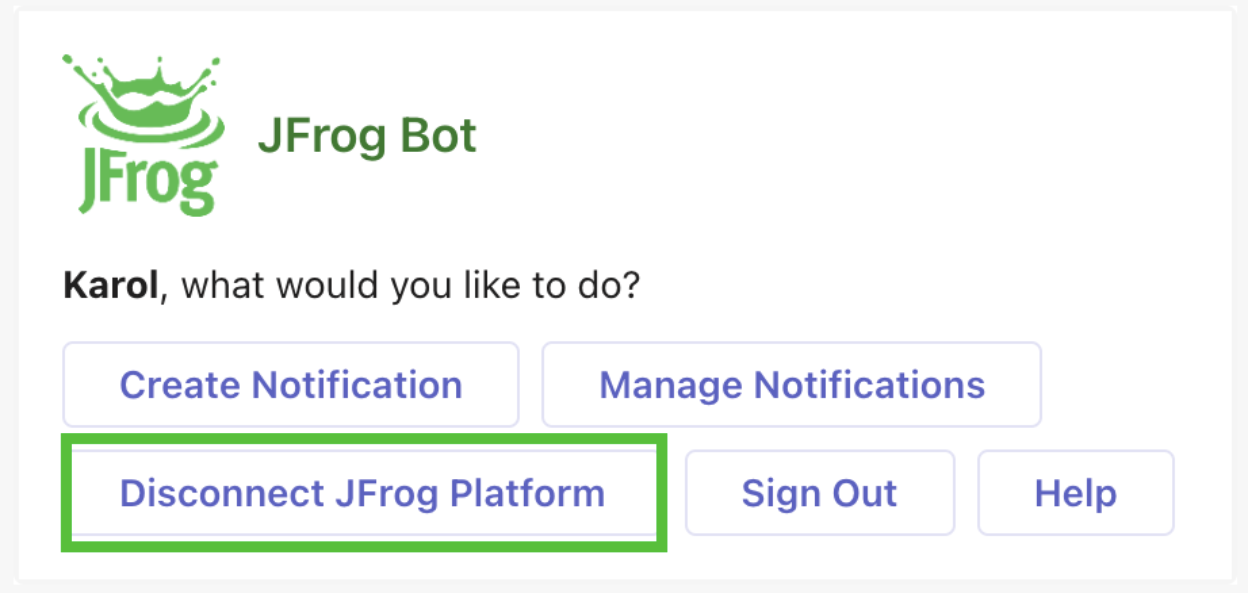
To disable the connection between your JFrog Platform instance and the JFrog bot in Microsoft Teams, you can use the Disconnect JFrog Platform button found on the menu.
To completely uninstall application, follow the instructions here
