This document provides instructions for setting the environment up locally.
Download miniforge from the GitHub repository here.
Depending on your operating system, this should download either an .sh (macOS, Linux) or .exe file (Windows).
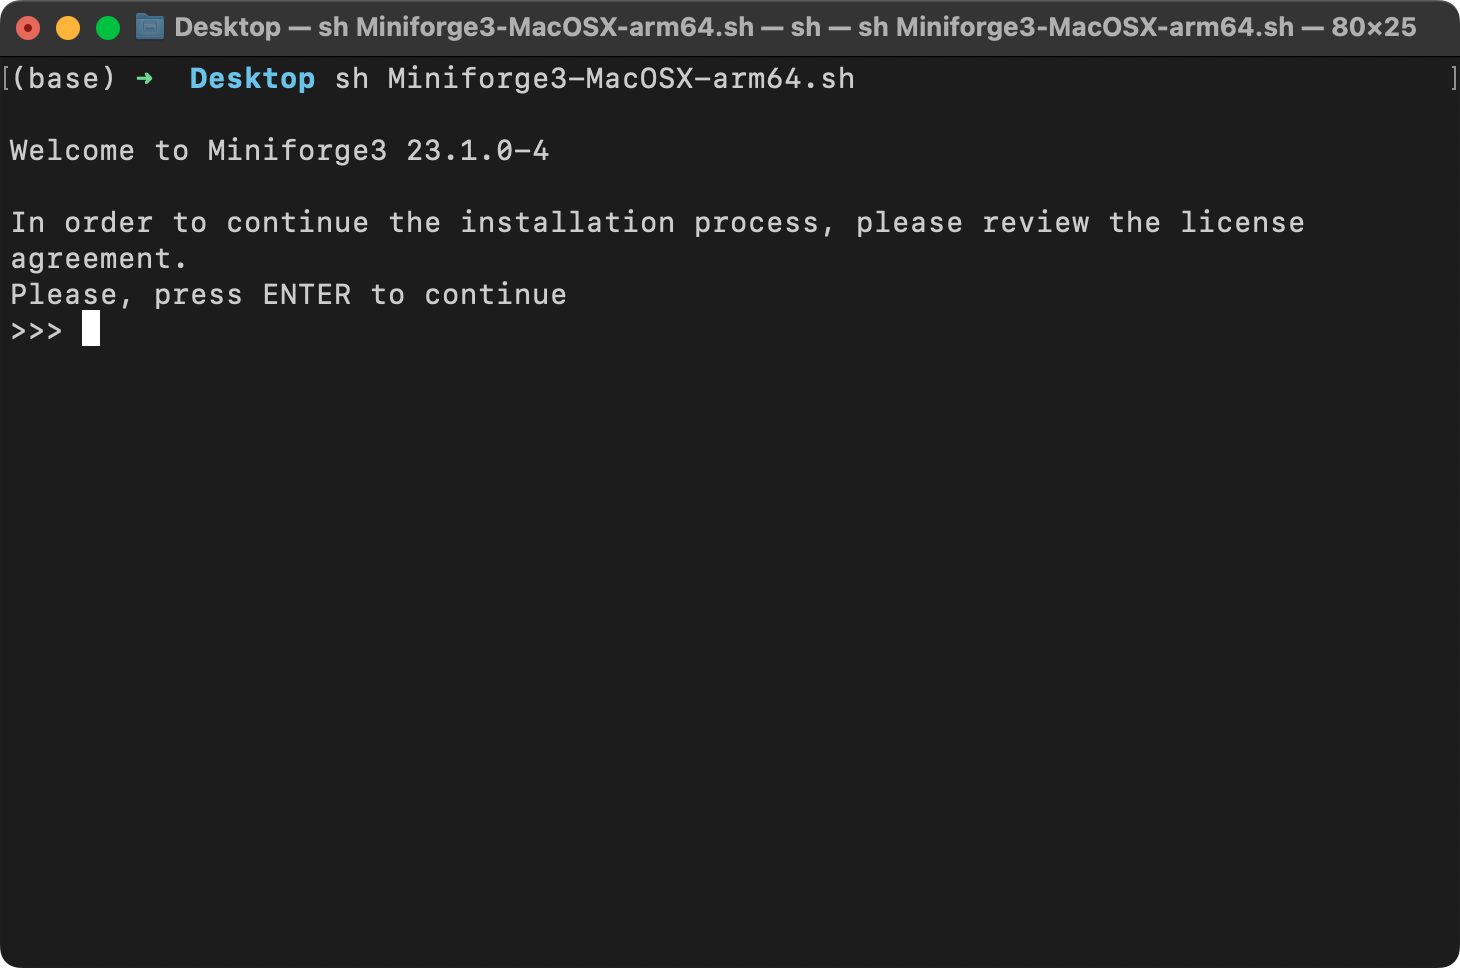
For the .sh file, open your command line terminal and execute the following command
sh ~/Desktop/Miniforge3-MacOSX-arm64.shwhere Desktop/ is the folder where the Miniforge installer was downloaded to. On your computer, you may have to replace it with Downloads/.
Next, step through the download instructions, confirming with "Enter".
If you work with many packages, Conda can be slow because of its thorough but complex dependency resolution process and the handling of large package indexes and metadata. To speed up Conda, you can use the following setting, which switches to a more efficient Rust reimplementation for solving dependencies:
conda config --set solver libmamba
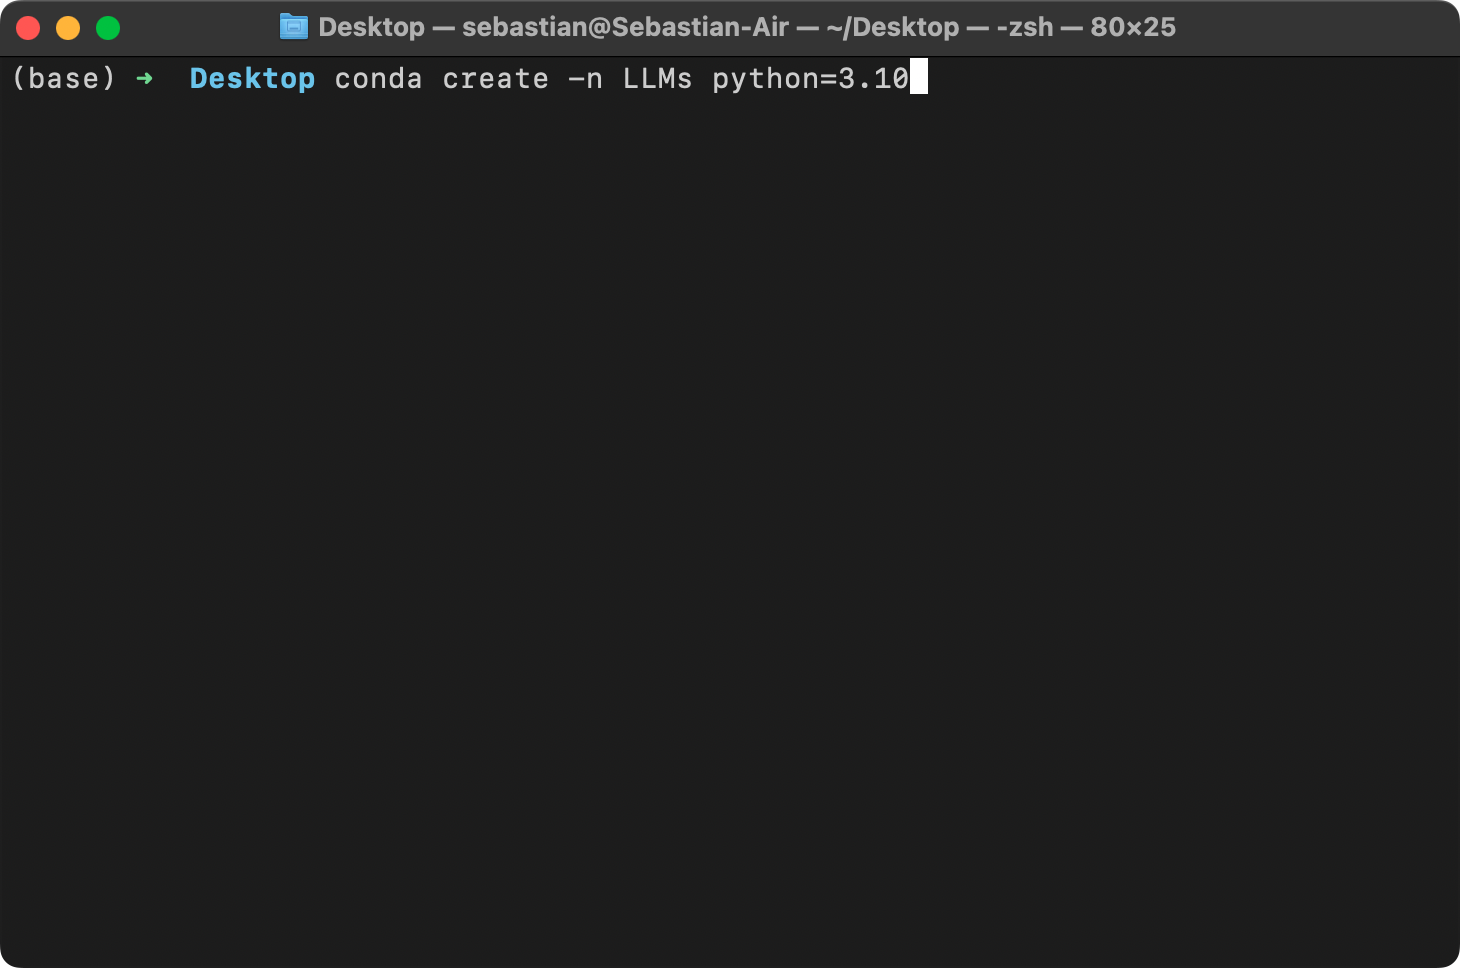
After the installation was successfully completed, I recommend creating a new virtual environment called LLMs, which you can do by executing
conda create -n LLMs python=3.10Many scientific computing libraries do not immediately support the newest version of Python. Therefore, when installing PyTorch, it's advisable to use a version of Python that is one or two releases older. For instance, if the latest version of Python is 3.13, using Python 3.10 or 3.11 is recommended.
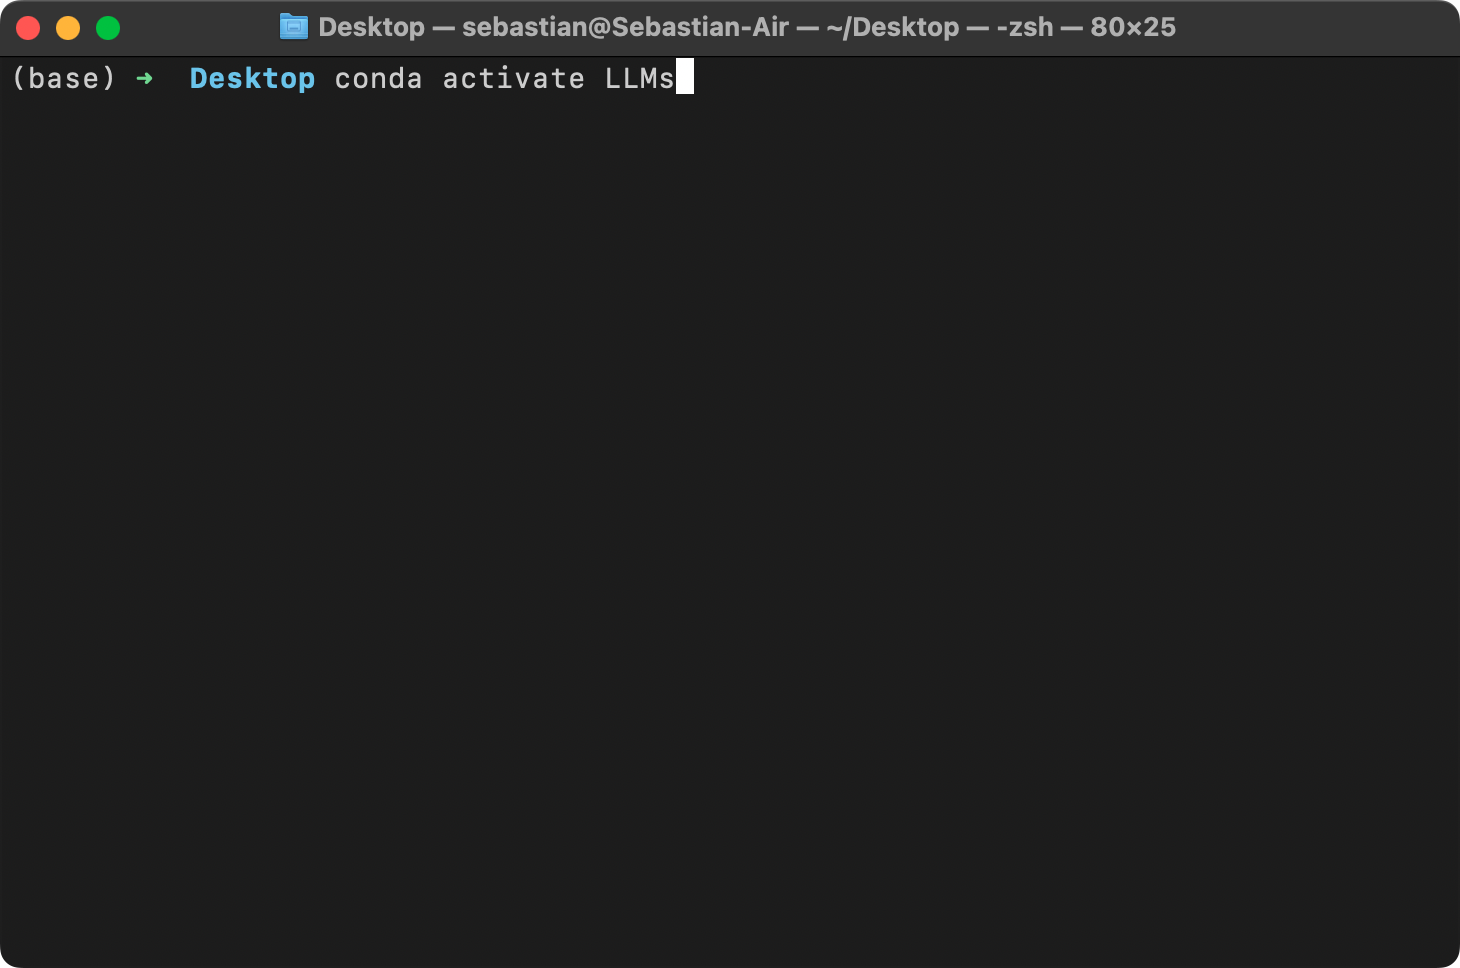
Next, activate your new virtual environment (you have to do it every time you open a new terminal window or tab):
conda activate LLMsTo install these requirements most conveniently, you can use the requirements.txt file in the root directory for this code repository and execute the following command:
pip install -r requirements.txt


