This document is a collection of notes for developers interested in developing and extending cilantro.
This installation allows you to run some components of cilantro locally. Install and run demo by following these commands.
$ pip install numpy, statsmodels, pylint    # dependencies
$ git clone https://github.com/romilbhardwaj/cilantro.git    # download repo
$ cd cilantro
$ pip install -e .   # install cilantro
$ cd demos/demo1
$ python demo1.py
This is the full installation of Cilantro to run E2E. We first install kubernetes on your local machine using kind, then run cilantro and finally run a test workload to make sure everything is working.
Kind is a tool to emulate a kubernetes cluster in your local machine by running kubernetes nodes as docker containers.
- Install kind with on linux with (See guide for Mac):
curl -Lo ./kind https://kind.sigs.k8s.io/dl/v0.11.1/kind-linux-amd64
chmod +x ./kind
mv ./kind /some-dir-in-your-PATH/kind
- Install
kubectl. Kubectl is the command line utility to control and administer a kubernetes cluster.
sudo apt-get update
sudo apt-get install -y apt-transport-https ca-certificates curl
sudo curl -fsSLo /usr/share/keyrings/kubernetes-archive-keyring.gpg https://packages.cloud.google.com/apt/doc/apt-key.gpg
echo "deb [signed-by=/usr/share/keyrings/kubernetes-archive-keyring.gpg] https://apt.kubernetes.io/ kubernetes-xenial main" | sudo tee /etc/apt/sources.list.d/kubernetes.list
sudo apt-get update
sudo apt-get install -y kubectl
- Highly recommended - setup autocomplete for kubectl. This allows you to autocomplete kubectl commands by pressing tab.
- Run
./docker_build_.shin cilantro root to ensure that docker has the latest cilantro image compiled from source. This command takes the current snapshot of code and compiles it into a docker image and loads it into your kind cluster. - Go to
cd cilantro/k8s/ - The first time you setup the cluster, you must create permissions for cilantro to view and modify kubernetes state. Do so by running
kubectl apply -f auth_default_user.yaml. This needs to be run only once per kubernetes cluster. - We can now launch cilantroscheduler. Run
kubectl apply -f cilantro.yaml.
- To get the list of running pods in kubernetes, run
kubectl get pods. - To check the status of the Cilantro Scheduler pod (and identify any failure causes), run
kubectl describe pod cilantroscheduler<tab>. Press tab to autocomplete the pod name. - To check the output logs of cilantro, run
kubectl logs -f cil<tab>or check the kubernetes dashboard (see below). You should see something like08-30 00:37:49 | DEBUG | cilantro.scheduler.cilantroscheduler || Waiting for event
Once cilantro is running, it is looking for workloads to allocate resources to. Workloads in cilantro system have three main components:
- Workload servers, which are scaled by cilantro
- Workload client, which generates the queries (load) for the workload servers
- Cilantro client, which reads the workload client and/or cluster state to compute utility metrics and report them to cilantro scheduler.
For the purposes of testing, we have a dummy workload which runs nginx servers, and a corresponding cilantro client which publishes the utility/load metrics as a function of the resource allocation to this deployment. You can find the functions in cilantro_clients/drivers/k8s_to_grpc_driver.py.
Since the workload is dummy, there are no workload clients to generate load - the metrics reported by cilantro client are a direct function of the allocation.
In these instructions, we first we launch the workload, then we launch the cilantro client which will report the workload's metrics.
- Navigate to
cd k8s/workloads/test - Launch the workload by running
kubectl create -f nginx-deployment.yaml. Also have a look at this file - it starts with a resource allocation of 1 and defines the app_weight, slo threshold and unit demand as kubernetes labels. - Now that the workload is running, you'll notice the
cilantroschedulerlogs will show that it detected a new application and it will change it's resource allocation from 1 to <max_resources> since it is the only running app. - Now we must start reporting metrics to the cilantroscheduler by creating a cilantroclient for this workload. Do so by running
kubectl create -f nginx-cilantroclient-deployment.yaml. Soon it will start publishing metrics, which will again reflect in cilantro logs.
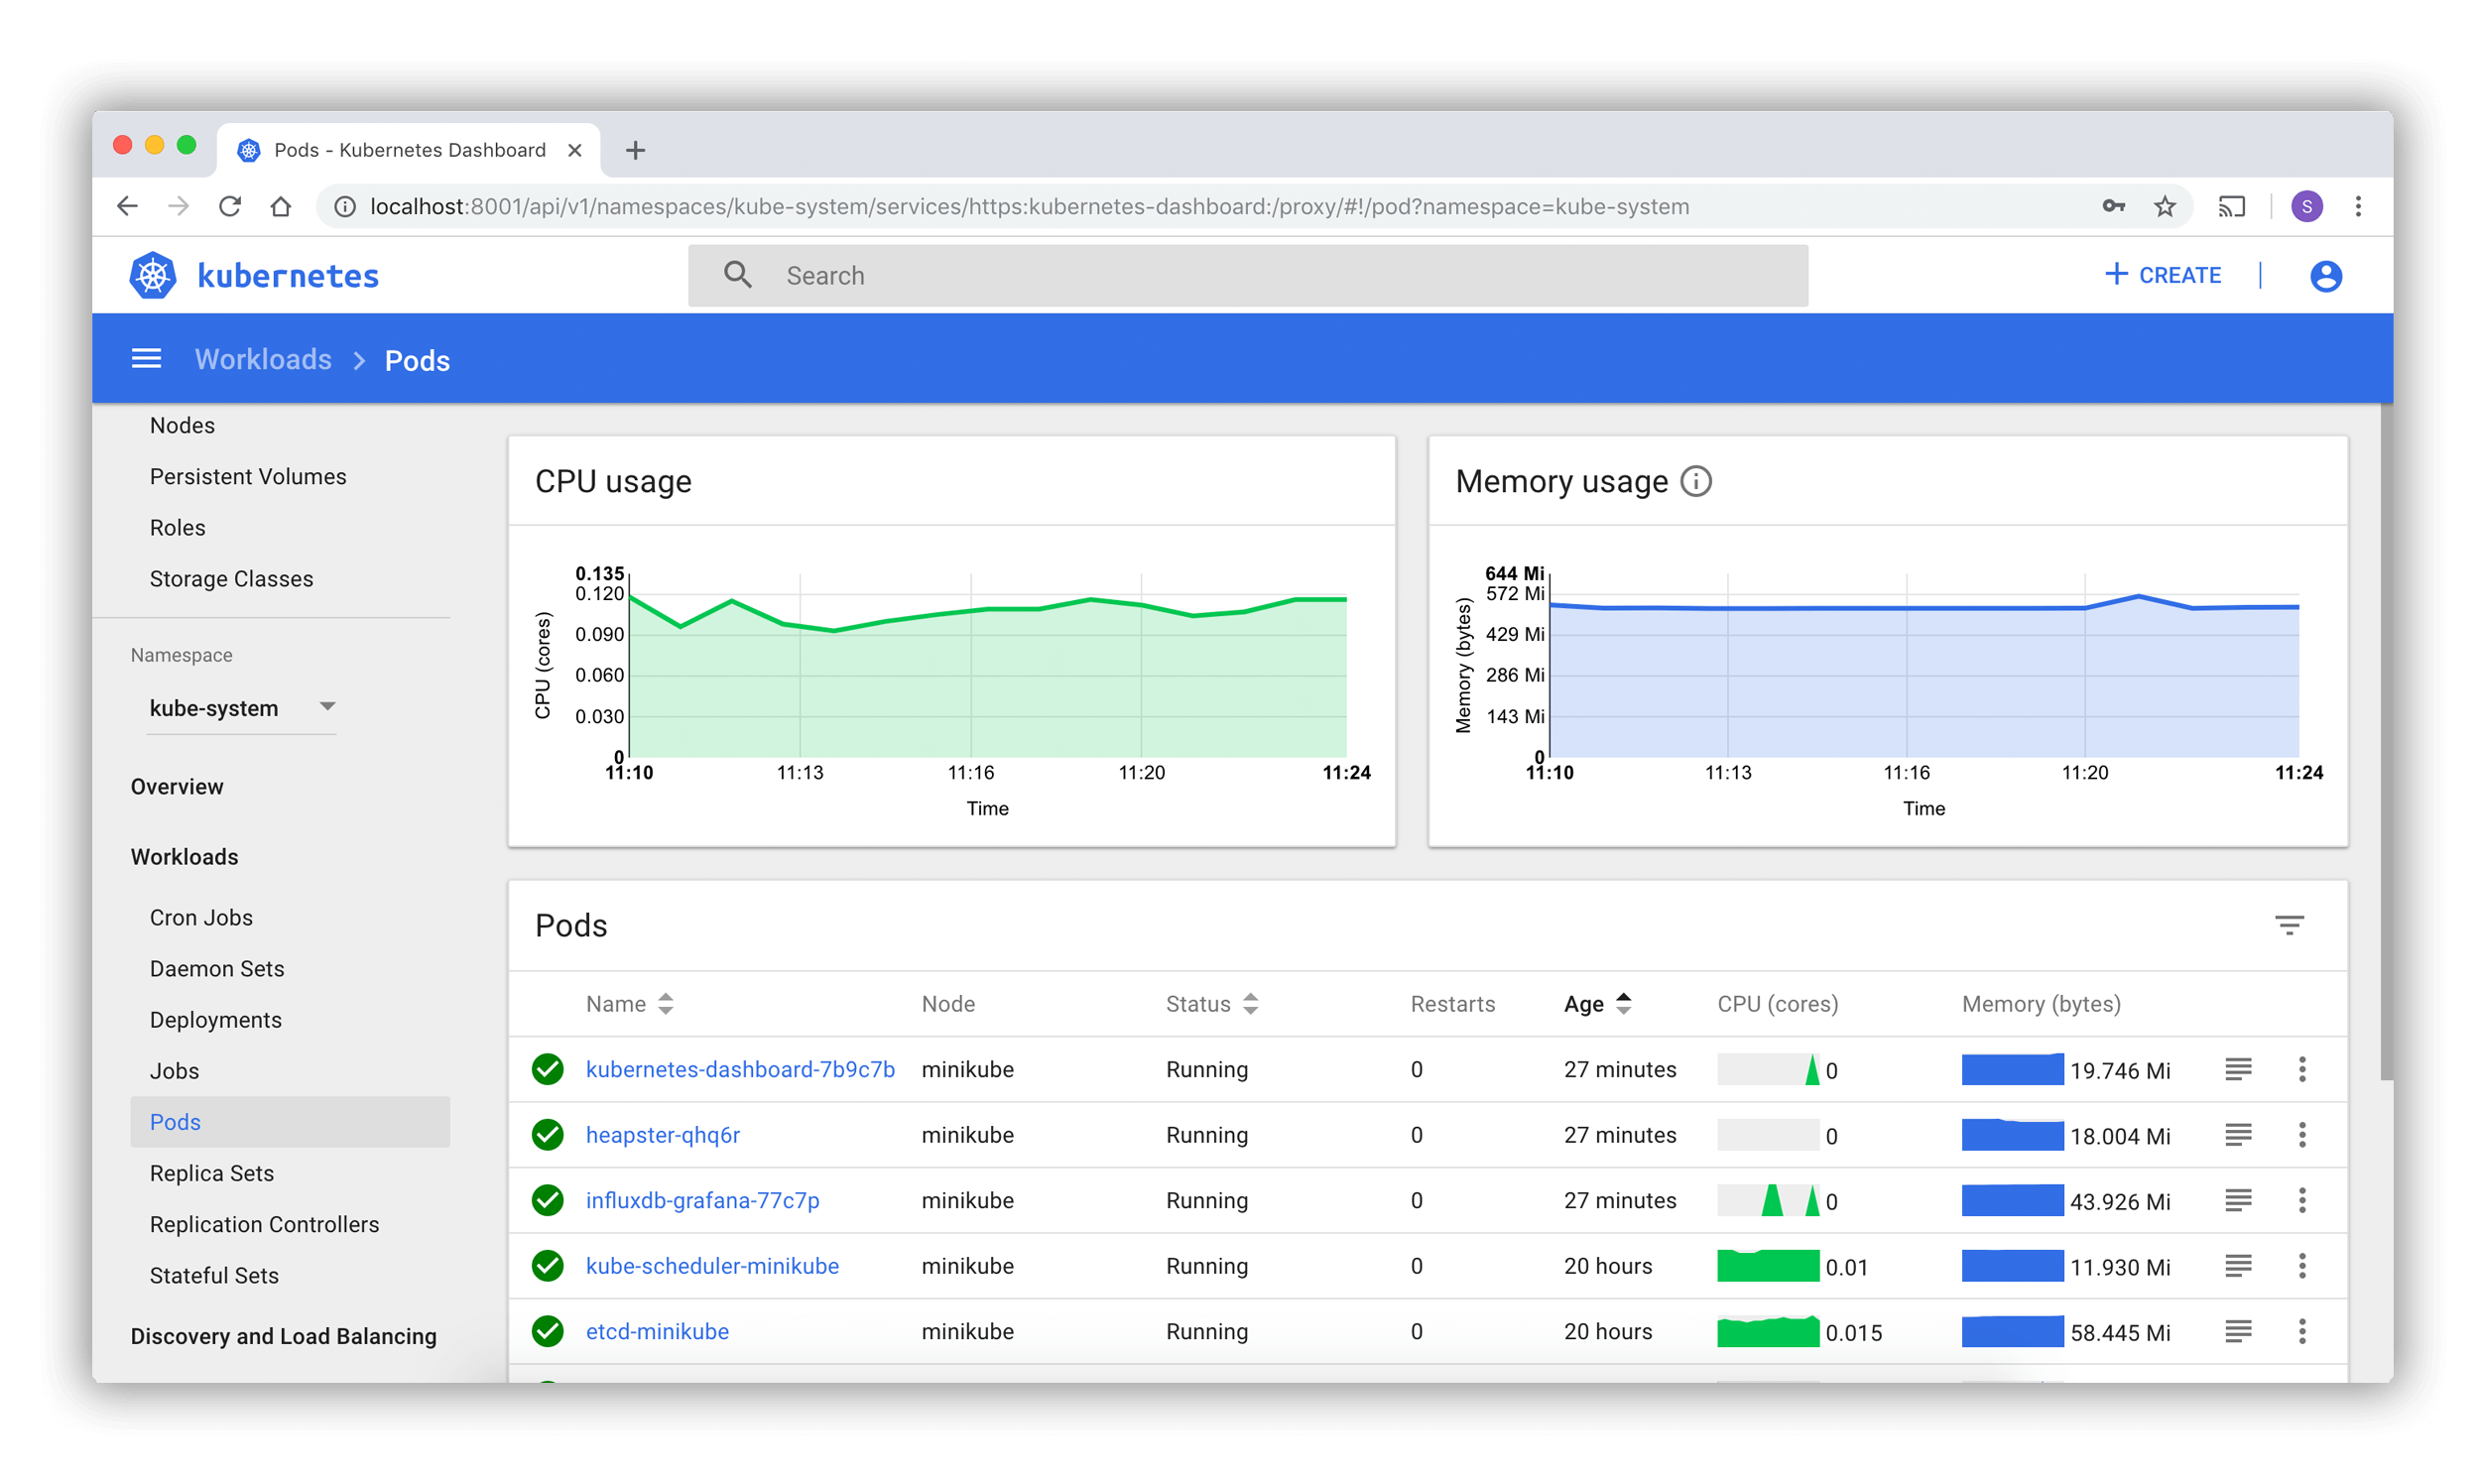
The kubernetes dashboard allows you to monitor the cluster status and running workloads without having to bother with kubectl. To set up the dashboard:
- We need to create the dashboard deployment. Do so by running
kubectl apply -f dashboard.yamlincilantro/k8s - In a new terminal window, run
kubectl proxy - Open your browser and goto
http://localhost:8001/api/v1/namespaces/kubernetes-dashboard/services/https:kubernetes-dashboard:/proxy/#/workloads?namespace=default - If prompted for login, press the skip button.
- Spend some time exploring the dashboard and learning about it. It's a super useful tool - you can view the resource allocations (replica counts) and pod logs.
- To stop a running workload, run
kubectl delete -f <yaml_path>orkubectl delete deployment.apps <name>. - To stop all workloads and the cilantro scheduler, run
kubectl delete deployments.apps --all - To kill the cluster, run
kind delete cluster - Its useful to create a alias for quick clean up:
alias kubeclean "kubectl delete jobs,daemonsets,replicasets,services,deployments,pods,rc,statefulset --all --grace-period=0 --force". Then you can simply runkubecleanto cleanup your kubernetes cluster.
