This project is a comprehensive object detection and tracking system that uses YOLO (You Only Look Once) to detect and track objects in images, videos, and live webcam feeds. The system provides a web interface for easy interaction and visualization of detection results.
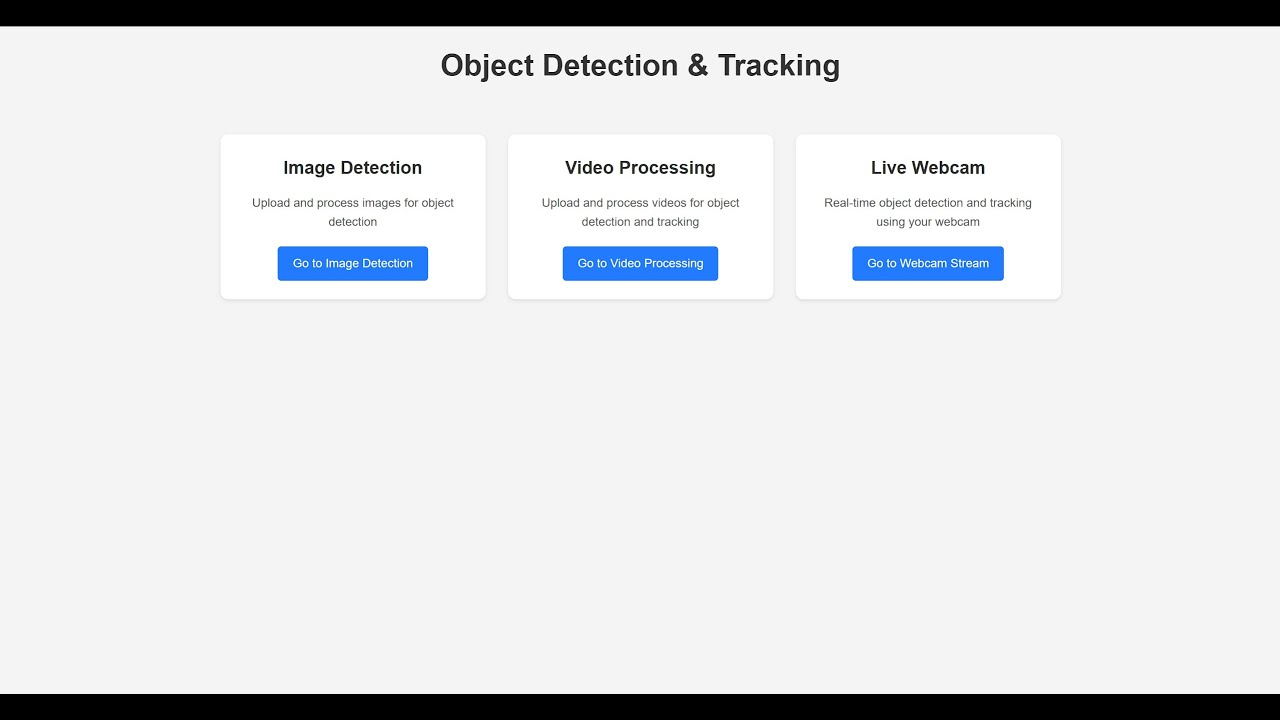
- Image Processing: Upload and process images to detect objects
- Video Processing: Upload and process videos with object detection and tracking
- Live Webcam Detection: Real-time object detection and tracking from webcam feed
- Adjustable Confidence Threshold: Control detection sensitivity
- Real-time Statistics: View FPS and object count during processing
- Asynchronous Processing: Background processing for videos using Celery
- REST API: Programmatic access to all detection features
- Backend: Flask, Python, Socket.IO
- Computer Vision: OpenCV, YOLO (Ultralytics)
- Machine Learning: PyTorch
- Async Processing: Celery, Redis
- Frontend: HTML, CSS, JavaScript
- Real-time Communication: WebSockets
- Python 3.8+
- Redis (Linux) or Memurai (Windows) for Celery task queue
- Webcam (for live detection)
-
Clone the repository:
git clone https://github.com/BukuBukuChagma/CodeAlpha_Object_Detection_and_Tracking.git cd CodeAlpha_Object_Detection_and_Tracking -
Create and activate a virtual environment: (I'd installing pytorch-gpu for this project and setting up gpu and cuda for it)
# Linux/macOS
python -m venv venv
source venv/bin/activate

# Windows
python -m venv venv
venv\Scripts\activate
-
Install dependencies:
pip install -r requirements.txt
-
Install Redis (Linux) or Memurai (Windows):
Linux:
sudo apt update
sudo apt install redis-server
sudo systemctl start redis-server
Windows:
- Download and install Memurai (Redis alternative for Windows)
- Start Memurai from the Start menu
-
Start the Redis/Memurai server (if not already running)
-
Start the Celery worker (in a separate terminal):
# Linux/macOS
celery -A src.web.tasks worker --loglevel=info

# Windows
celery -A src.web.tasks worker --loglevel=info --pool=solo
-
Start the Flask application:
python app.py
-
Open your browser and navigate to:
http://127.0.0.1:5000 -
When running for first time, YOLO model will be downloaded automatically. This may take a while depending on the model selected in script (Default is YOLOv8n).
- Navigate to the "Image" tab
- Upload an image
- Adjust confidence threshold if needed
- Click "Process Image"
- View detection results
- Navigate to the "Video" tab
- Upload a video file
- Adjust confidence threshold if needed
- Click "Process Video"
- Wait for processing to complete
- View and download processed video
- Navigate to the "Webcam" tab
- Adjust confidence threshold if needed
- Click "Start Stream"
- View real-time detection results
- Click "Stop Stream" when finished
For detailed API documentation, please refer to the API Documentation in the docs directory.
object-detection-system/
├── app.py                      # Main web application entry point
├── main.py                     # Main cli entry point
├── requirements.txt            # Project dependencies
├── docs/                       # API Documentation
├── demo_files/                 # Demo files for testing (an image, and a video)
├── src/
│   ├── detection_and_tracking/  # Detection and tracking modules
│   ├── utils/                  # Utility functions
│   └── web/                    # Web application
│       ├── static/             # Static files (CSS, JS)
│       ├── templates/          # HTML templates
│       ├── config.py           # Application configuration
│       ├── socket_handler.py   # WebSocket handlers
│       ├── utils.py            # Utility functions for web
│       └── tasks.py            # Celery tasks
└── tests/                      # Test suite
In addition to the web interface, this project provides a command-line interface through main.py for direct access to detection and tracking functionality.
python main.py [command] [options]image: Process a single imagevideo: Process a video filewebcam: Process live webcam feed
python main.py image --path /path/to/image.jpg --conf 0.5Options:
--path: Path to the image file (required)--conf: Confidence threshold (default: 0.5)--display-width: Width of the display window (default: 1280)
python main.py video --path /path/to/video.mp4 --conf 0.4Options:
--path: Path to the video file (required)--conf: Confidence threshold (default: 0.5)--display-width: Width of the display window (default: 1280)
python main.py webcam --conf 0.5 --camera-id 0Options:
--conf: Confidence threshold (default: 0.5)--camera-id: Camera device ID (default: 1)--display-width: Width of the display window (default: 1280)
When using the CLI with video or webcam modes:
- Press
qto quit the application - Press
sto save the current frame (in webcam mode)
-
Webcam not working:
- Ensure your webcam is properly connected
- Try changing the camera ID in
src/web/socket_handler.py(default is 1)
-
Redis/Celery connection issues:
- Verify Redis/Memurai is running
- Check connection settings in the application
-
YOLO model loading errors:
- Ensure the model weights are in the correct location
- Check for sufficient disk space and memory
For more troubleshooting information, see Troubleshooting Guide.
Contributions are welcome! Please feel free to submit a Pull Request.
This project is licensed under the MIT License - see the LICENSE file for details.
- Ultralytics for the YOLO implementation
- Flask for the web framework
- OpenCV for computer vision capabilities