2024 Healthy Future app V1.0
Healthy Future app v1.0
2024-10-12
The Healthy Future app v1.0 is designed for community workers to visit infant families. It provides prenatal and postnatal counseling sessions for baby caregivers and records baby and caregivers’ information.
- Open the app and load the login page. Enter the account username and password created by the administrator on the management website. Once the verification is successful, proceed with the login.
- Upon successful login, within 30 days of the initial login, the app will automatically log you in.

- Click on the Account tab at the bottom of the app to access the my account page.

- Click on the Reset Password button to access the page where you can modify your login password.
- When changing the password, you will need to enter the old password and input the new password twice for confirmation. The password must be at least 6 characters long.
- Upon successful password modification, the system will automatically log you out. Community workers will need to log in again with the new password.
- Click on the Log Out button in the account page to log out.
- The system will automatically log out every 30 days.
- After a successful login, the app will default to the homepage.
- Upon the initial use of the app, the login page will appear as shown in the image.
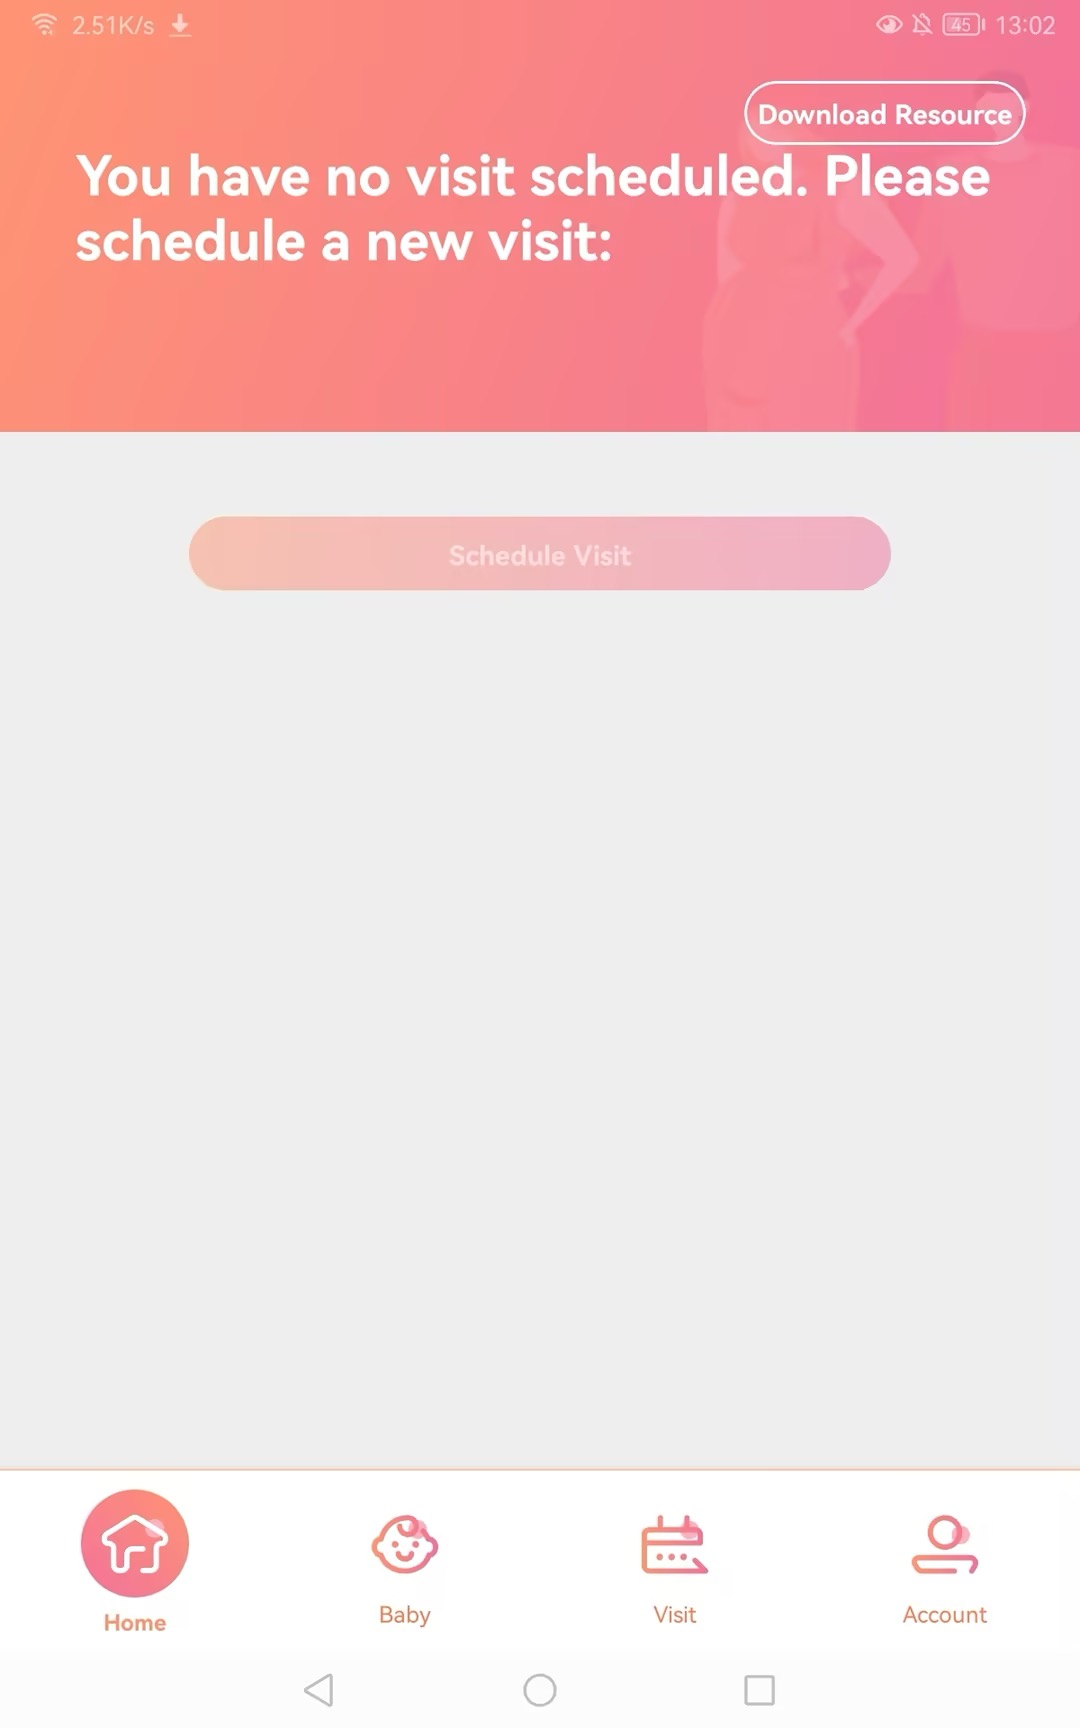
- Since there is no upcoming home visit scheduled, the homepage will only display a Schedule Visit button. After downloading or updating the resources, you can click on the Schedule Visit button to navigate to the page for scheduling a new home visit.
- Upon first use of the app, after logging in, you will need to download the curriculum and session resources to your device in order to start the sessions during offline visits.
- Simply click on the Download Resources button to initiate the download.
- Whenever there are changes made to the curriculum or session in the management website, community workers will receive prompts to update their resources.
- To update, simply click on the Update Resources button for a seamless update process.
- Once home visits are scheduled, the most upcoming visit will be displayed on the homepage as shown in the image.
- You can click on the preview button in the schedule section to preview the content of this visit. The process is similar to the actual session but will not be recorded.

- You can click on the Start Session button to start session.
- To ensure flexibility in home visits, the timing to officially start the class is not bound by the scheduled home visit time. As long as the session is started before 24:00 on the planned day, it is considered valid. After completing the home visit, the system will automatically record the actual start and end times of the visit.
-
You can click on the Cancel Visit button to cancel a home visit that has not yet expired.
-
When canceling a home visit, you will be required to provide a reason for the cancellation.

-
You can also cancel a home visit from the baby's home visit details page.

- Click on the Baby tab at the bottom of the app to switch to the Baby List page. When no babies have been added, the list will be empty, and the New Baby button will be centered on the page.
- When babies have already been added, the Baby List will be displayed, and the New Baby button will be located in the top right corner.

- When the device is connected to the internet, click on New Baby to create a new baby profile.
- In the first step, you will need to fill in the baby's information as shown below. Provide the baby's name, gender, and growth stage.
- If the growth stage is set to Unborn, you will need to input the expected due date.
- If the growth stage is set to Born, you will need to provide the birth date, select whether to add supplementary food, and choose the feeding methods.
- After completing the information, click "Next" to proceed.

- After completing the basic information, you will need to add caregivers for the baby as shown below.
- The relationship of each caregiver must be unique.
- You can add up to 4 caregivers. Once you reach the limit of 4 caregivers, the "Add Caregiver" button will be disabled.
- At least one caregiver must be set as the primary caregiver.Without a primary caregiver, you will not be able to proceed to the next step.
- Note that returning to the previous step on this page will result in the loss of any edited content.


- After adding caregiver(s), click on Next Step to fill in the family address as shown below.
- Input or select the building address, provide detailed address information, and then save and submit.
- Once submitted, the baby will be in an awaiting review status, awaiting approval from the management website by admin or supervisor. The app will navigate to the details page.
- To view this new baby in baby list, you will need to pull down to refresh the list.


- When the device is not connected to the internet, the top of the baby list will display "The current system is in offline mode."

- Click on New Baby to create a new baby profile in offline mode.
- The creation process remains the same as in online mode.
- After creation, the baby will be in a to be submited status. At this point, the baby's data is saved on the device and has not been synchronized with the backend.

- After the device reconnects to the internet, the top of the baby list will display "Please backup baby data to your device promptly for normal offline use. Click here to backup all data." Additionally, refreshing the baby list will automatically sync the baby data created offline to the backend. The status of these babies will be updated to Awaiting Review.

- In the baby list, you can view the status, name, gender, growth stage and age, ID, as well as the primary caregiver's name and contact information for each baby.
- If a baby's expected due date has passed, the position displaying the growth stage and age will change to an orange reminder stating "Baby's due date has arrived." In this case, the community worker needs to contact the baby's caregiver to confirm if the baby has been born. If not, they should extend the due date. If the baby has been born, update the baby's status to "Born" and set the correct birth date.
- Click on the orange "Attention" text below the baby's information to view details related to the baby's due date reminder.
- You can sort the list by name and creation time.
- When clicking on a baby card to access the baby's details page, the baby's general information will be displayed within the orange-colored section.
- To view the baby's family information, you need to click on the Family tab to switch to the family information page.
- Any edits made by community workers to a baby's information will place the baby in an awaiting review status. Babies in this status cannot start session or have home visits scheduled until the edits have been reviewed.
- By clicking on Edit butoon you can access the page for modifying the baby's basic information.
- You can change a baby from the unborn stage to born, but you cannot change a baby from born back to the unborn stage.

- On the family information page, you can modify caregiver information by adding, deleting, or editing details of caregivers. You can also quickly change the primary caregiver.
- Up to four caregivers can be added. The primary caregiver is not able to be deleted.

- On the family information page, you can modify address information for the baby's family.

- Click on the Add/Edit button for comments to add or edit comments for the baby.

- Clicking on the Archive Baby button at the bottom of the family information details page allows you to archive the baby.
- When archiving, you must provide a reason . After submission, the baby will be in an awaiting review status. Once archived, this action cannot be reversed on app, so careful consideration is advised.
- After approval, the baby will be deleted from the community worker app, but historical data will not be removed from the backend.

On the baby details page, you can click on Visit History tab to switch to the detailed home visit records page.
- When the device is online, clicking on Schedule Visit at the bottom of the home visit records details page will lead you to the home visit creation page. If the baby already has a pending home visit scheduled, a new home visit cannot be scheduled.
- On the home visit creation page accessed from the baby details page, the home visit target is automatically set to the current baby and cannot be modified. The system will match the visit with the applicable sessions. Community workers only need to select a visit time within the system-provided time range.
- Clicking on the Edit button will take you to the home visit date selection page. The calendar will display the available time slots for home visits based on sessions schedules. Select a date on the calendar; red dots below the calendar indicate other scheduled visits on that day.
- Choose the home visit time below the calendar. If there is an overlap with existing appointments, you will receive a prompt asking whether you want to proceed.


- After scheduling a home visit plan, you can view pending home visit information under the subpage Planned Visits in the home visit records as shown below, click to access the details page.
- On the details page of a scheduled home visit, you can add comments for this visit.
- Additionally, you can modify the home visit time on the details page.
- You can start or preview the session associated with this home visit from the details page. Starting the session must be done on the scheduled day of the home visit.


- When you click on Visit History - Completed Home Visits, you can view a list of completed home visits. Click on the highlighted area to enter the details page and view more information.
- If a home visit is abruptly interrupted (due to device issues or caregiver emergencies) after some modules have been completed, the home visit will transition to an incomplete state. You can view or resume it from the "Incomplete" category within completed home visits.
- For incomplete or expired home visits, you are required to provide a reason on the details page. If no reason is provided, a gray reminder will be displayed on the right in the Visit History tab.
- At the bottom of the incomplete home visit details page, you can click on the Continue Session button to continue and complete the session.


- Clicking on Visit Tab at the bottom of the app will take you to the home visit calendar view, which defaults to the current day.
- By clicking on the red area, you can expand the calendar view. The dots below dates represent scheduled visits. After selecting a date of interest, the home visits for that date will be displayed below the calendar. Clicking on a visit will allow you to view its details.


- In the calendar view, when you click on Schedule Visit, you will be taken to the home visit editing page where a visit for the currently selected date will be created by default.
- After selecting the date, you will need to choose a baby. The system will display babies with suitable sessions for the selected date based on rules. Once you select a baby, the system will automatically show the matched sessions.
- You can adjust the time after selecting the baby, but the available time slots will be limited to the suitable time range for that baby and session.


- After clicking on Start Session, you can view the session introduction.

- Clicking on Next will take you to the module list.
- The modules have two states: "Scheduled" and "Completed."


- After entering a module, review the provided content such as text, images, and videos uploaded in the backend. Based on the information, make your selections and complete the module accordingly.

- Click on the survey to fill it out, then click on the Submit button to complete it.


- Once all modules and surveys are completed, you can click on Complete Visit to finish the home visit.