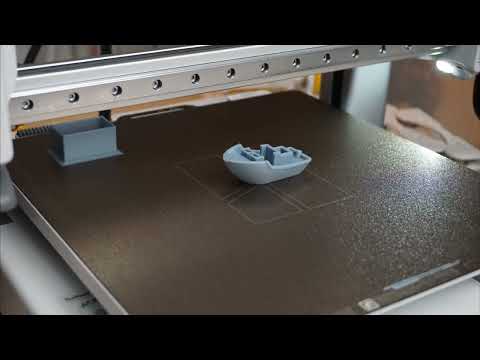
Make beautiful Timelapses on your Bambu Lab printer using the build in Timelapse support in Bambu Studio. Using a external camera, this can be done with multiple type of cameras. This repository have support for a DSLR/Mirrorless camera and a Android Phone/Tablet.
The idea can be used on all Bambu Lab printers, but the designs i have made is for the Bambu Lab A1.
Using this design i made on MakerWorld: https://makerworld.com/en/models/540403#profileId-457794
Watch it in action here:
A door sensor connected to your Raspberry Pi, that is placed on the printer where it can detect when it goes to for taking a picture internally.
This way we do not change anything regarding GCODE or other stuff in Bambu Studio, only using already existing features.
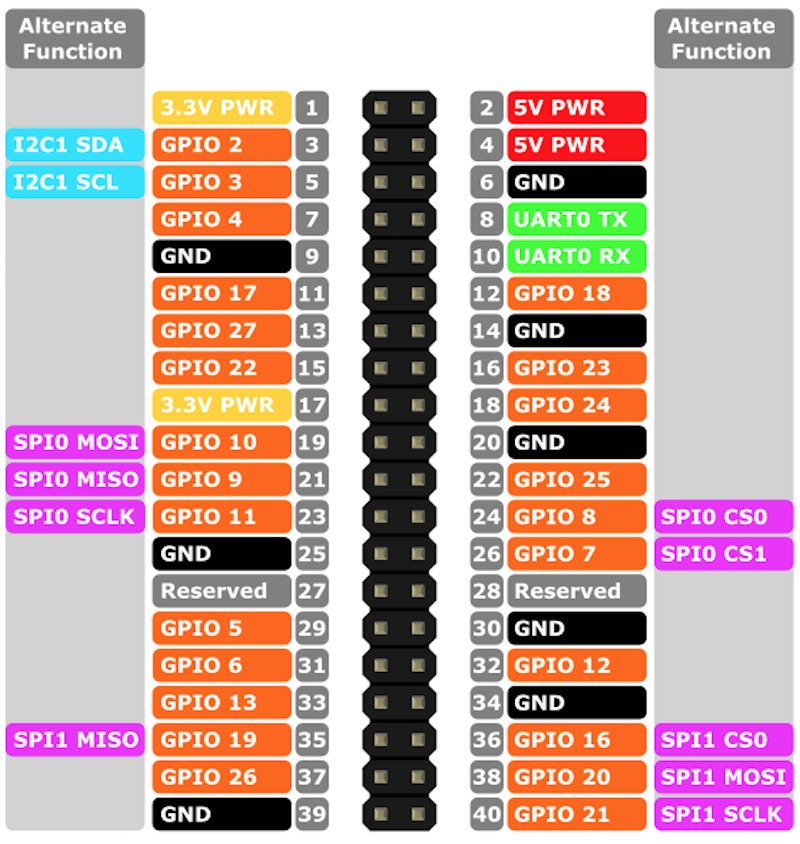
I used a simple magnetic door sensor that I connected to the GPIO pins on the Raspberry Pi. Which can be found here: https://www.aliexpress.com/item/1005006027619189.html
Connected to ground and PIN 26, see image below.

See more here: https://roboticsbackend.com/wp-content/uploads/2019/05/raspberry-pi-3-pinout.jpg
You need to have a camera that is supported by gphoto2. I used a Sony A6000 with a dummy battery and USB connected to my Raspberry Pi. You can see all compatible cameras here: http://www.gphoto.org/proj/libgphoto2/support.php The commands we run when taking a picture can be found and modified in the dslrcamera/run.sh file.
Check the resources in the dslrcamera folder out.

You can use an Android phone or tablet as a camera. I used IP Webcam app on my phone, check the resources in the AndroidCamera folder out.
You can modify the scripts to your needs, it dosent have to be any of these two. You could fx use OBS to take a picture. Get creative, and share your solution with me :)
- Print this design: https://makerworld.com/en/models/540403#profileId-457794
- Connect the door sensor to your Raspberry Pi
- Install the door sensor to the design you printed and install on the A1.
- Install the magnet on the printing head of the A1.
- You might wanna run a full calibration of the printer again, just to be safe. As you have changed the weight on the printing head.

- Make sure to run the python script before starting a print. You can run it in the background, or in a screen session.
- Start a print in Bambu Studio as you normally would, but with the following parameters:
- Go under Others -> Special Mode -> Timelapse -> Smooth
- When starting the print enable the timelapse feature.
- It will now go to the poop position for each layer and take a picture. The pictures will be saved in the folder you specify in the run.sh file.