Redocly OpenAPI is a Visual Studio Code extension that helps you write, validate, and maintain your OpenAPI documents. It warns about errors in OpenAPI definitions and lets you quickly access referenced schemas or open the files that contain them. The extension works with OpenAPI 2.0 and 3.0 definitions, and has basic support for OpenAPI 3.1.
Feature highlights:
- Validate your OpenAPI definitions
- Quickly preview and access referenced schemas
- Work with multi-file definitions
- Preview API documentation side-by-side with your OpenAPI definition
- Access context-aware help about OpenAPI features
- Edit API definitions through interactive forms
Found an issue or have an idea for improving the extension? Let us know!
The changelog is available here.
-
The extension requires a
redocly.yamlconfiguration file in your workspace. Read how to create it in the Configuration section. -
Note that the extension only works with YAML files. Validation for JSON files is supported starting with version
0.2.0of the extension.
Be aware that the extension may be affected by some limitations of the VS Code editor.
So far, we have identified these limitations:
- Special characters
/,$and#do not trigger VS Code suggestions - VS Code doesn't suggest values while inside a snippet
To install the extension in VS Code:
-
Press [Ctrl+Shift+X] or [⇧⌘X] to open the Extensions tab.
-
Type
Redocly OpenAPIto search for the extension in Marketplace. -
Find the extension in the list and select Install.
-
When the installation is complete, select Enable to activate the extension in your workspace.
To use the extension, we recommend you create a configuration file called redocly.yaml and place it in the root directory of your workspace. If the extension detects that this file doesn't exist, it will prompt you to create it automatically for the current workspace.
Here's an example of what your directory structure could look like:
.
├── workspace
│   ├── openapi-definitions
│   │   ├── production.yaml
│   │   └── test.yaml
│   ├── redocly.yaml
│   ├── some-file.txt
The redocly.yaml configuration file defines the criteria for validating OpenAPI definitions.
Add the following example contents to the file and save the changes:
apis:
  apiName@version:
    root: ./openapi.yaml

extends:
  - recommended

rules:
  assert/operation-description:
    subject:
      type: Operation
      property: description
    assertions:
      defined: true
      minLength: 30

theme:
  openapi:
    generateCodeSamples:
      languages:
        - lang: curl
        - lang: Node.js
        - lang: Python
This will let you start working with the extension. You can modify the file at any point to control the behavior of the extension. When modifying the redocly.yaml file, you must save it to disk for your changes to apply.
To learn more about built-in rules you can use, refer to the Redocly OpenAPI CLI documentation. The linting guide provides more information on how to configure the linter.
Note that you can add multiple paths to OpenAPI files under apiDefinitions, each in its own line with a custom, unique name as the key. Files listed in this section will be automatically validated by the extension when you open them in VS Code. Changes made to apiDefinitions are dynamically reflected in the preview panel.
The Redocly OpenAPI VS Code extension helps you create and update OpenAPI documents.
To start using it, either create a new OpenAPI definition or open an existing one in your VS Code.
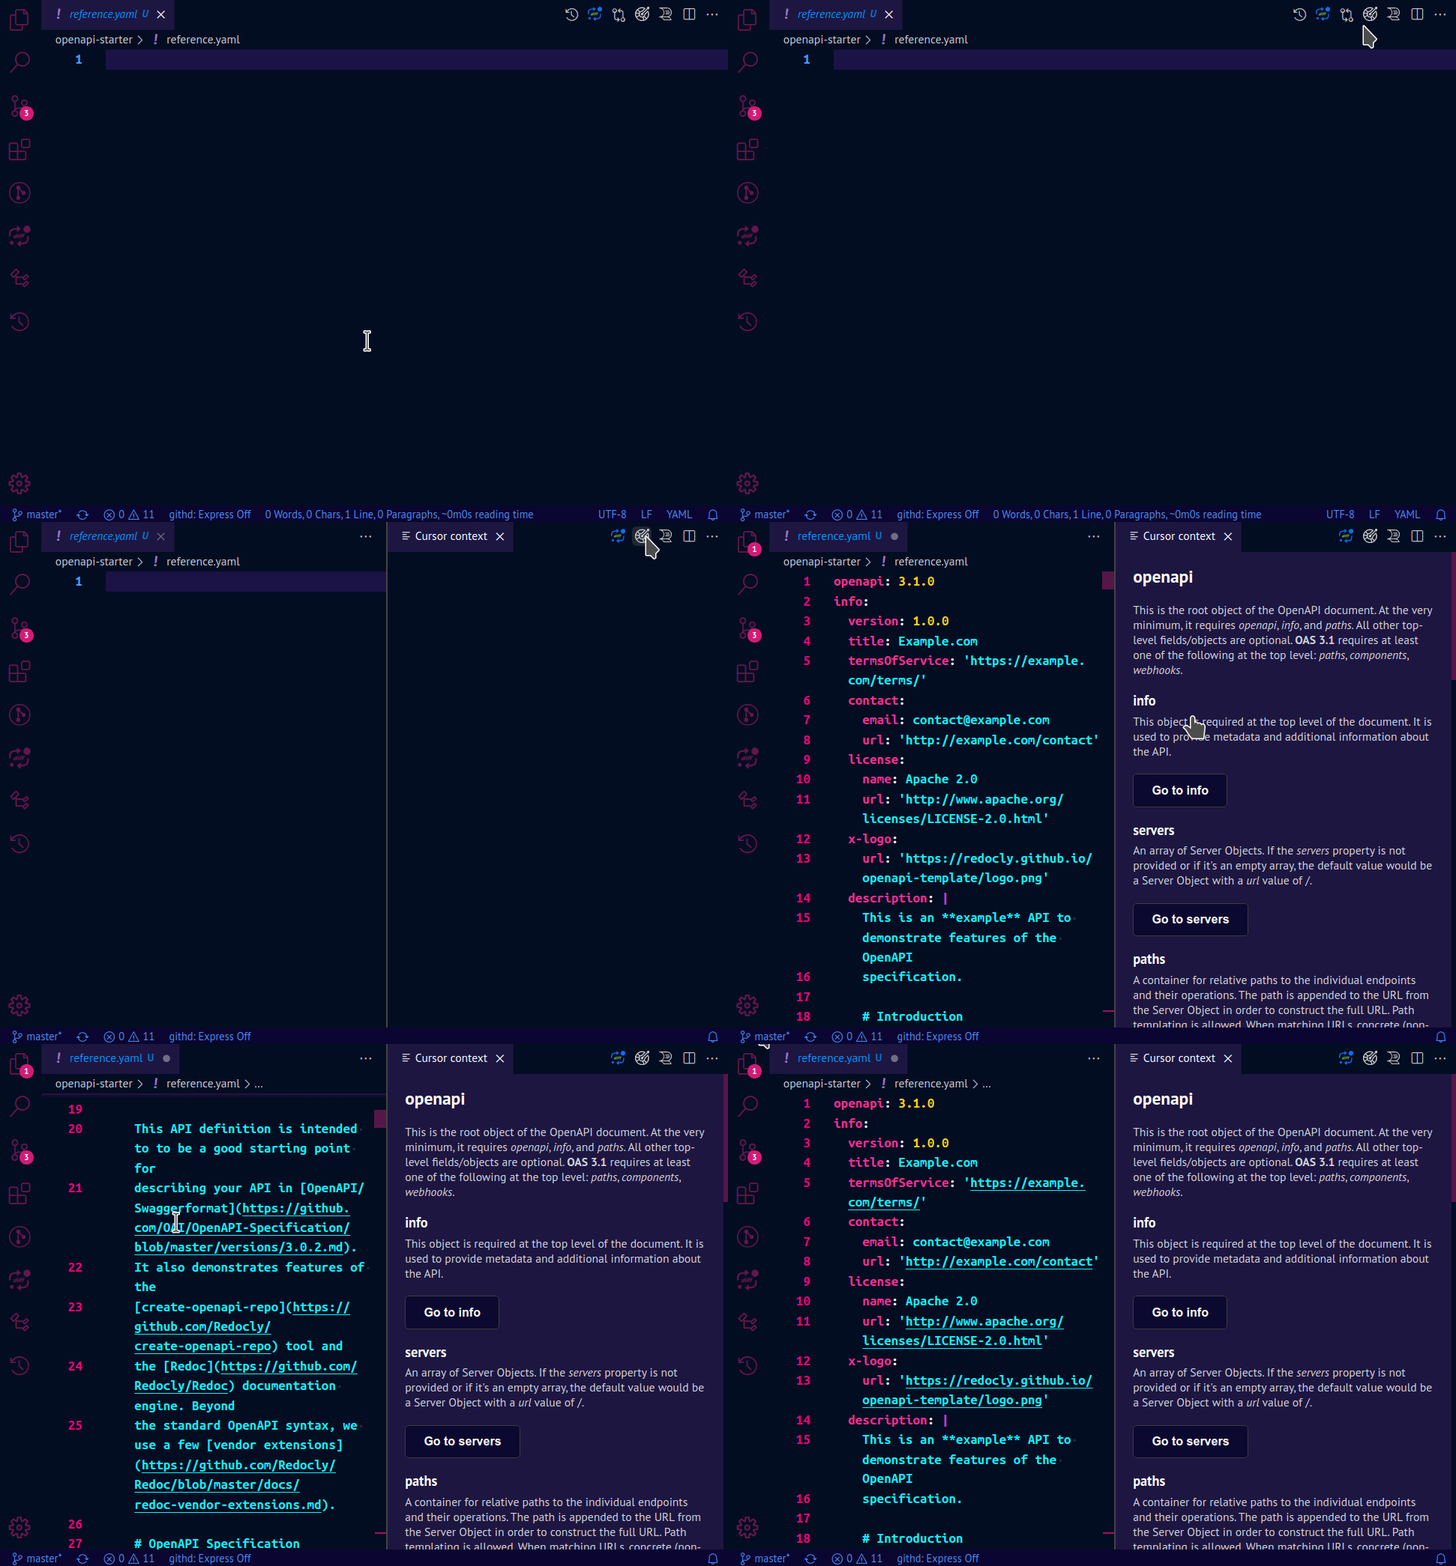
If this is your first time working with OpenAPI definitions, you can use our default template to get started. Create an empty YAML file and open the Cursor context panel. In the panel, select Add template. Now you have a fully functional OpenAPI definition you can use with the extension.
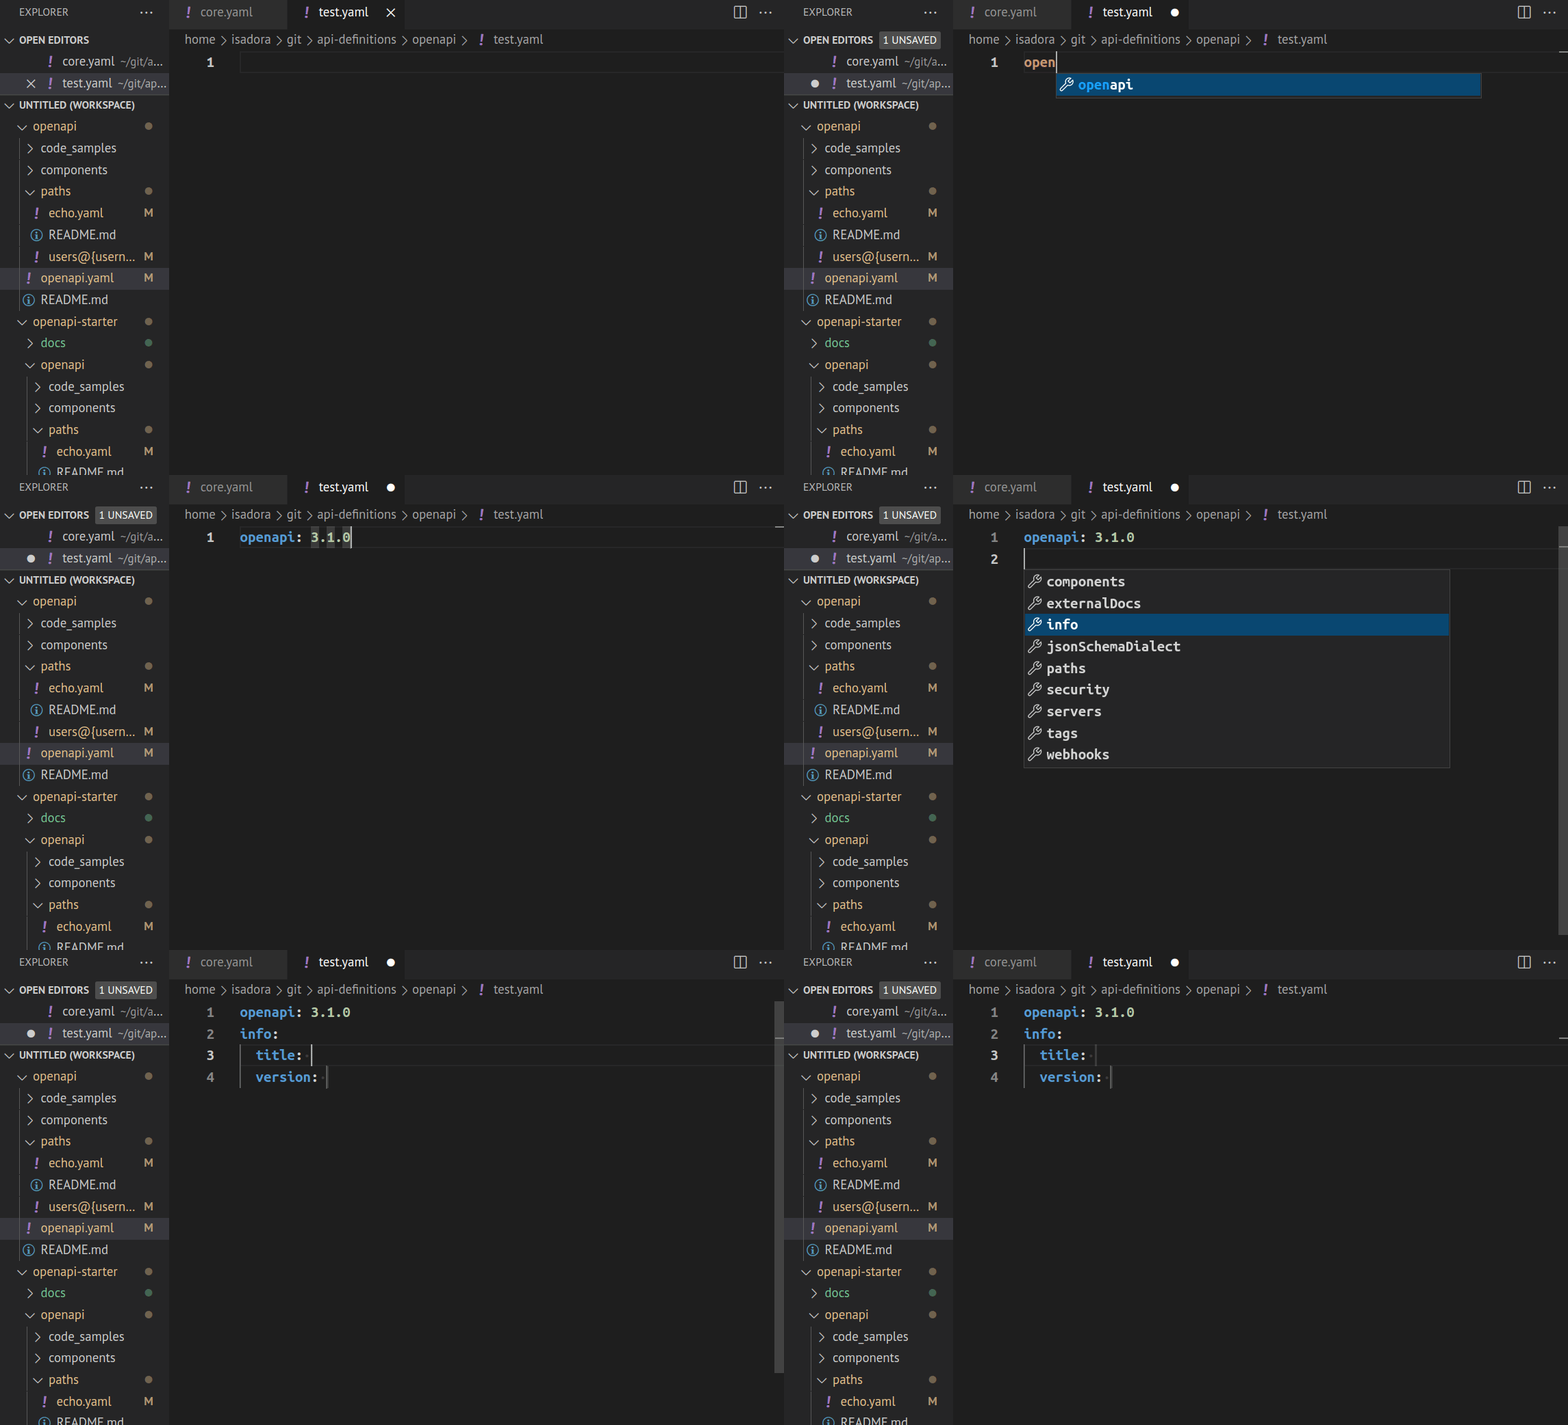
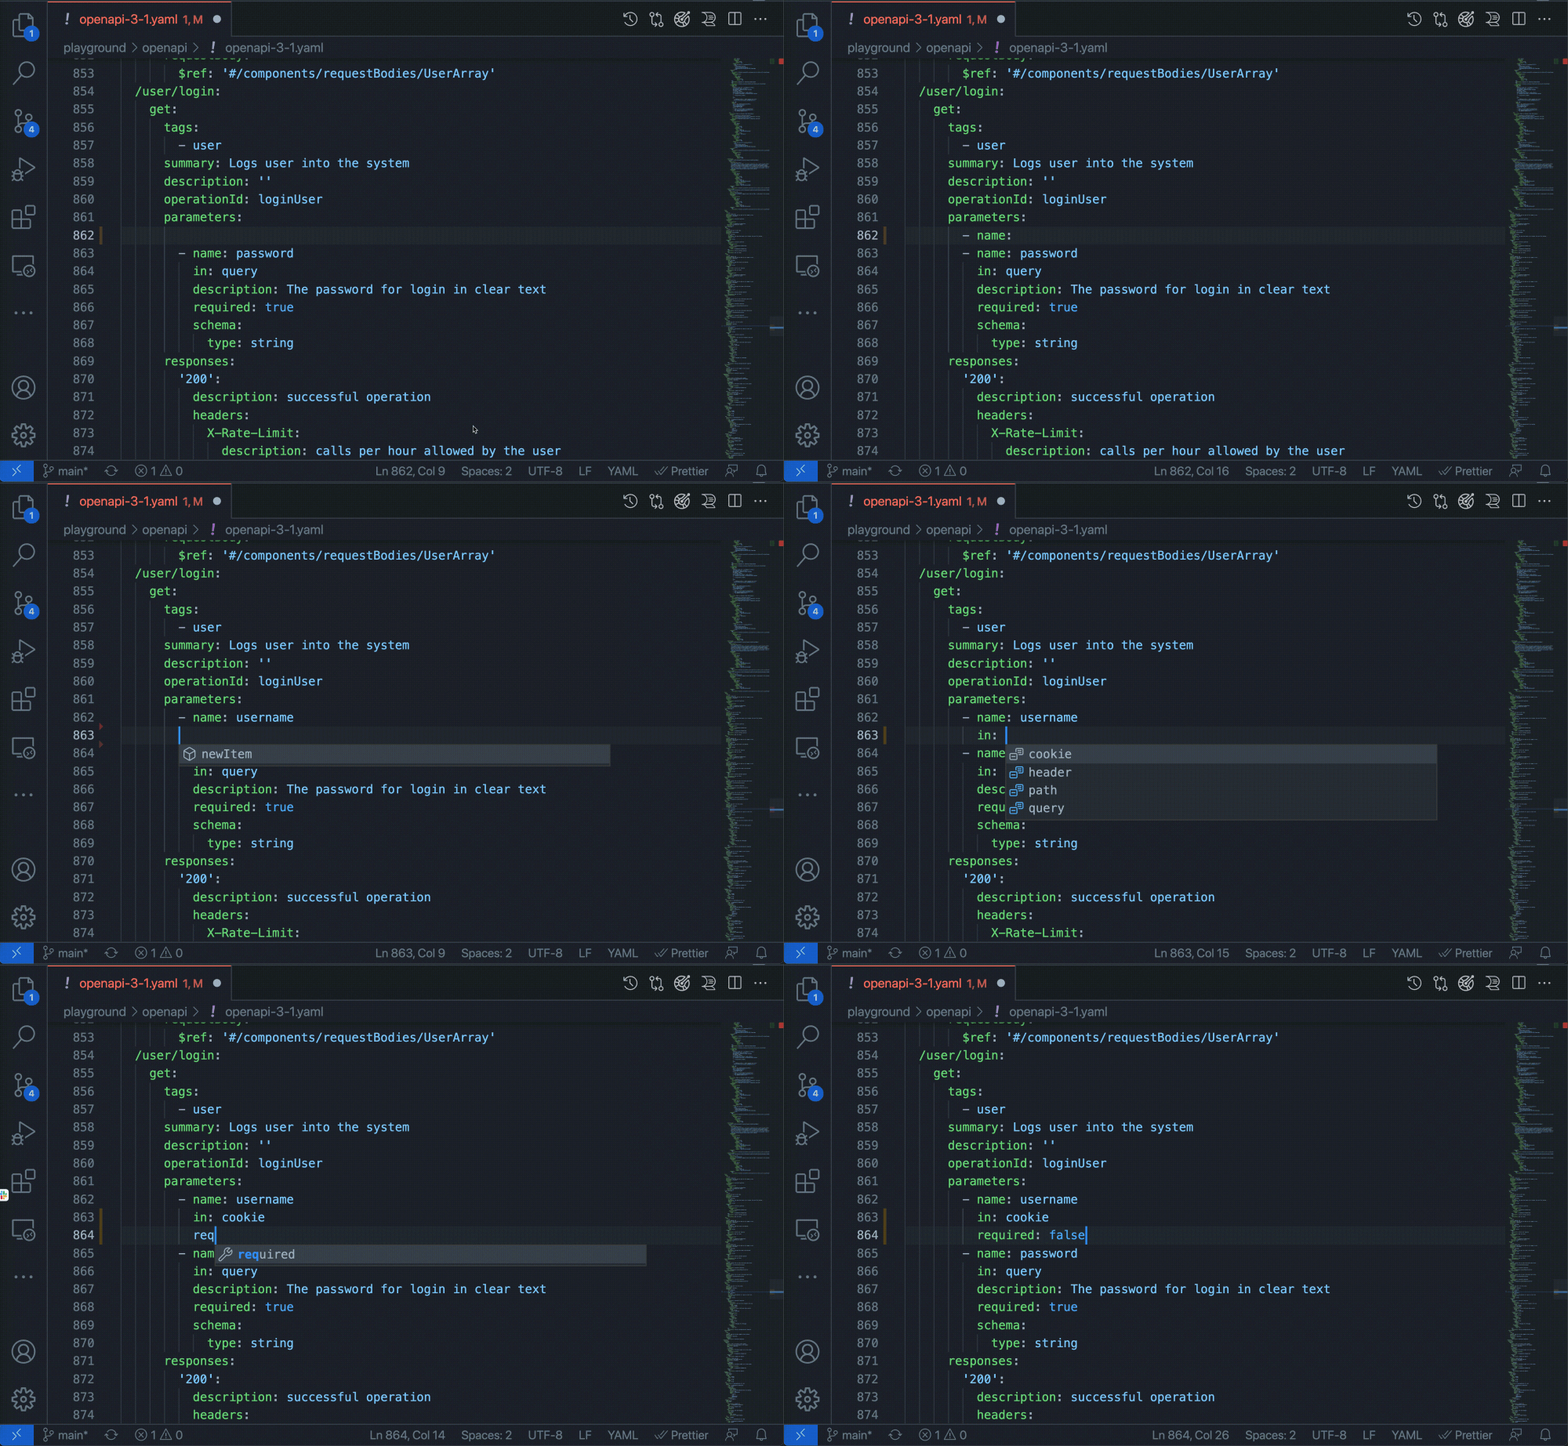
To use the extension for OpenAPI authoring, create a new, empty YAML file. As you start typing openapi at the top of the file, the extension will automatically offer suggestions for OpenAPI definition elements according to the specification.
Select a suggestion from the list. The extension will automatically generate the fields supported by the selected OpenAPI section. You can then add your values for each of the fields.
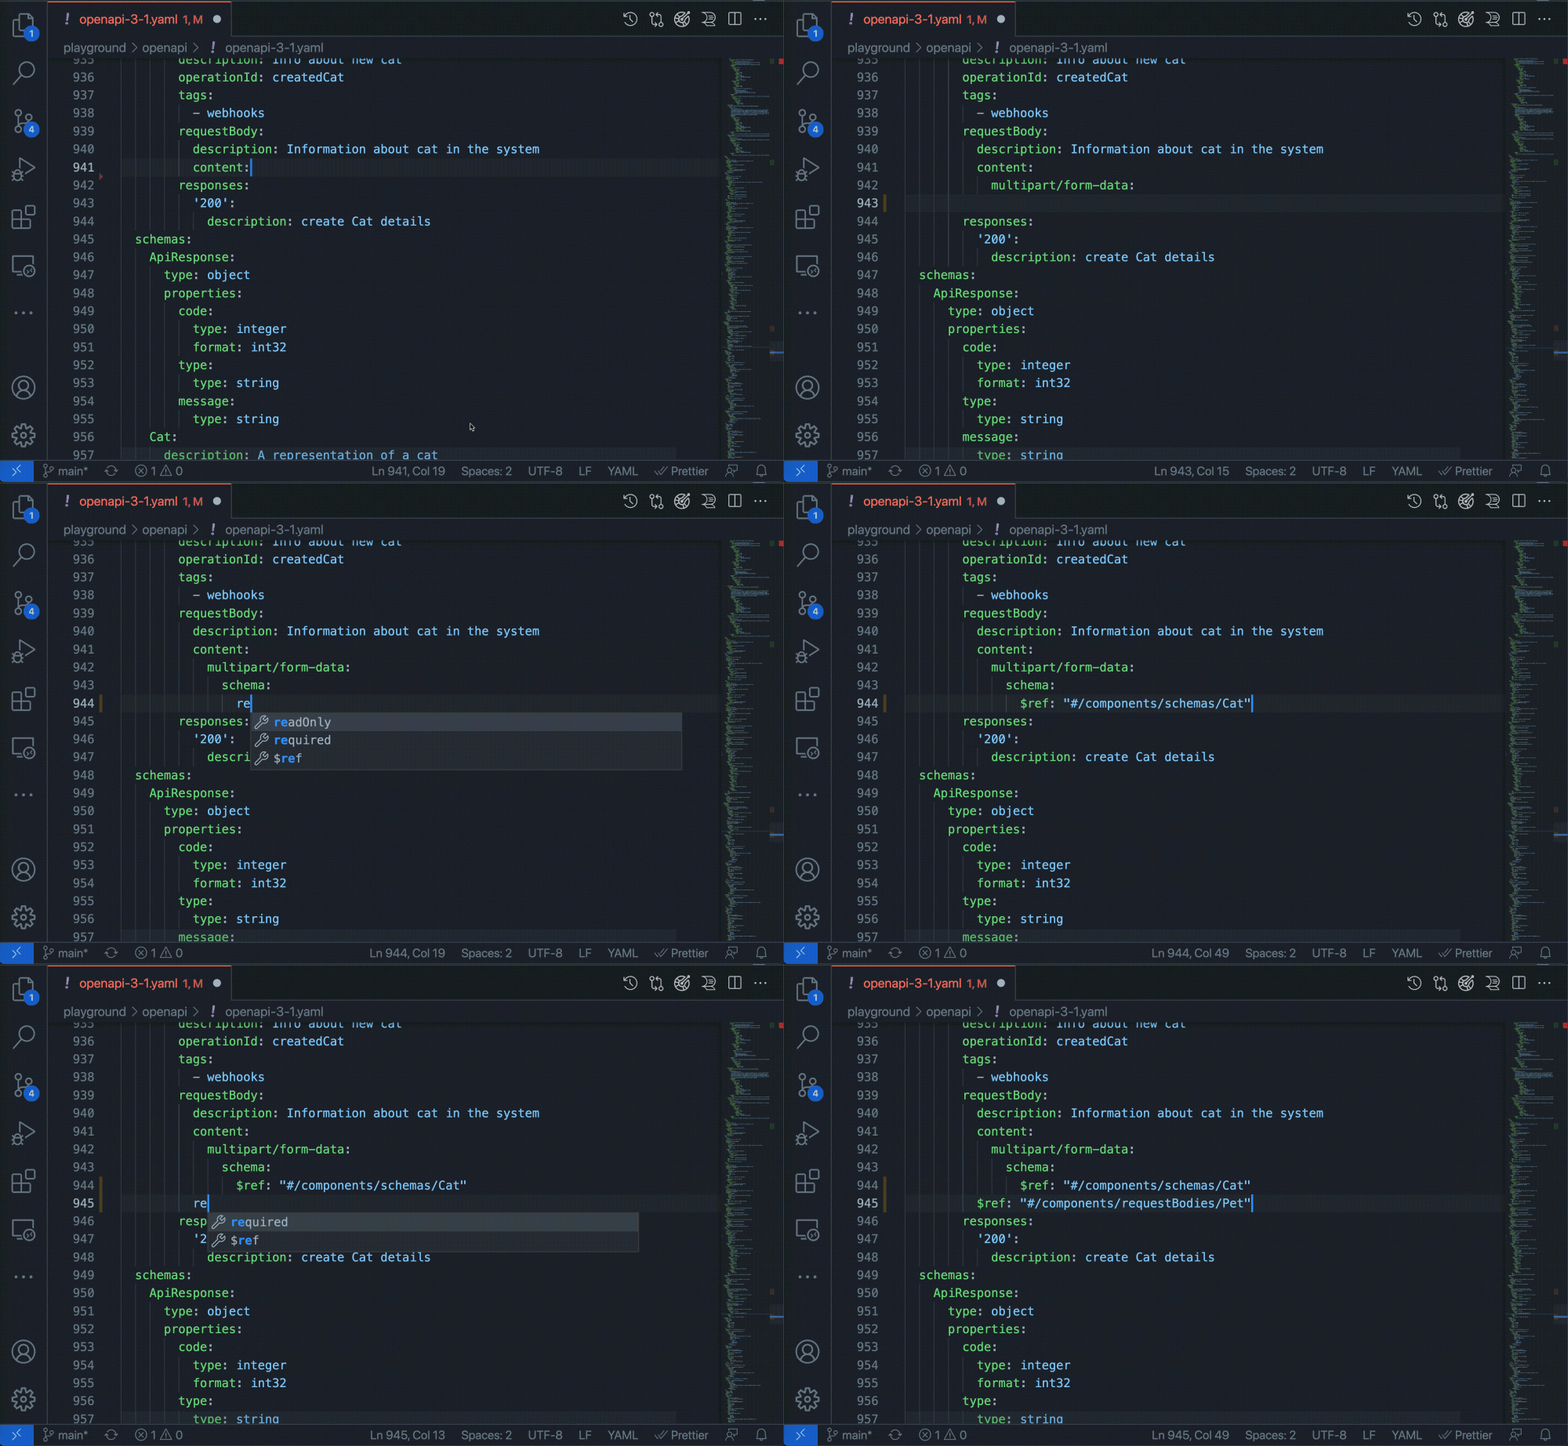
Starting with version 0.2.0, the extension supports value autocompletion for references ($ref fields). To use this feature, your OpenAPI document must have components with a proper type defined. For example, the extension will only suggest values for $ref inside requestBody if you have components defined in requestBodies. Similarly, it will only suggest values from schemas for $ref fields inside schema.
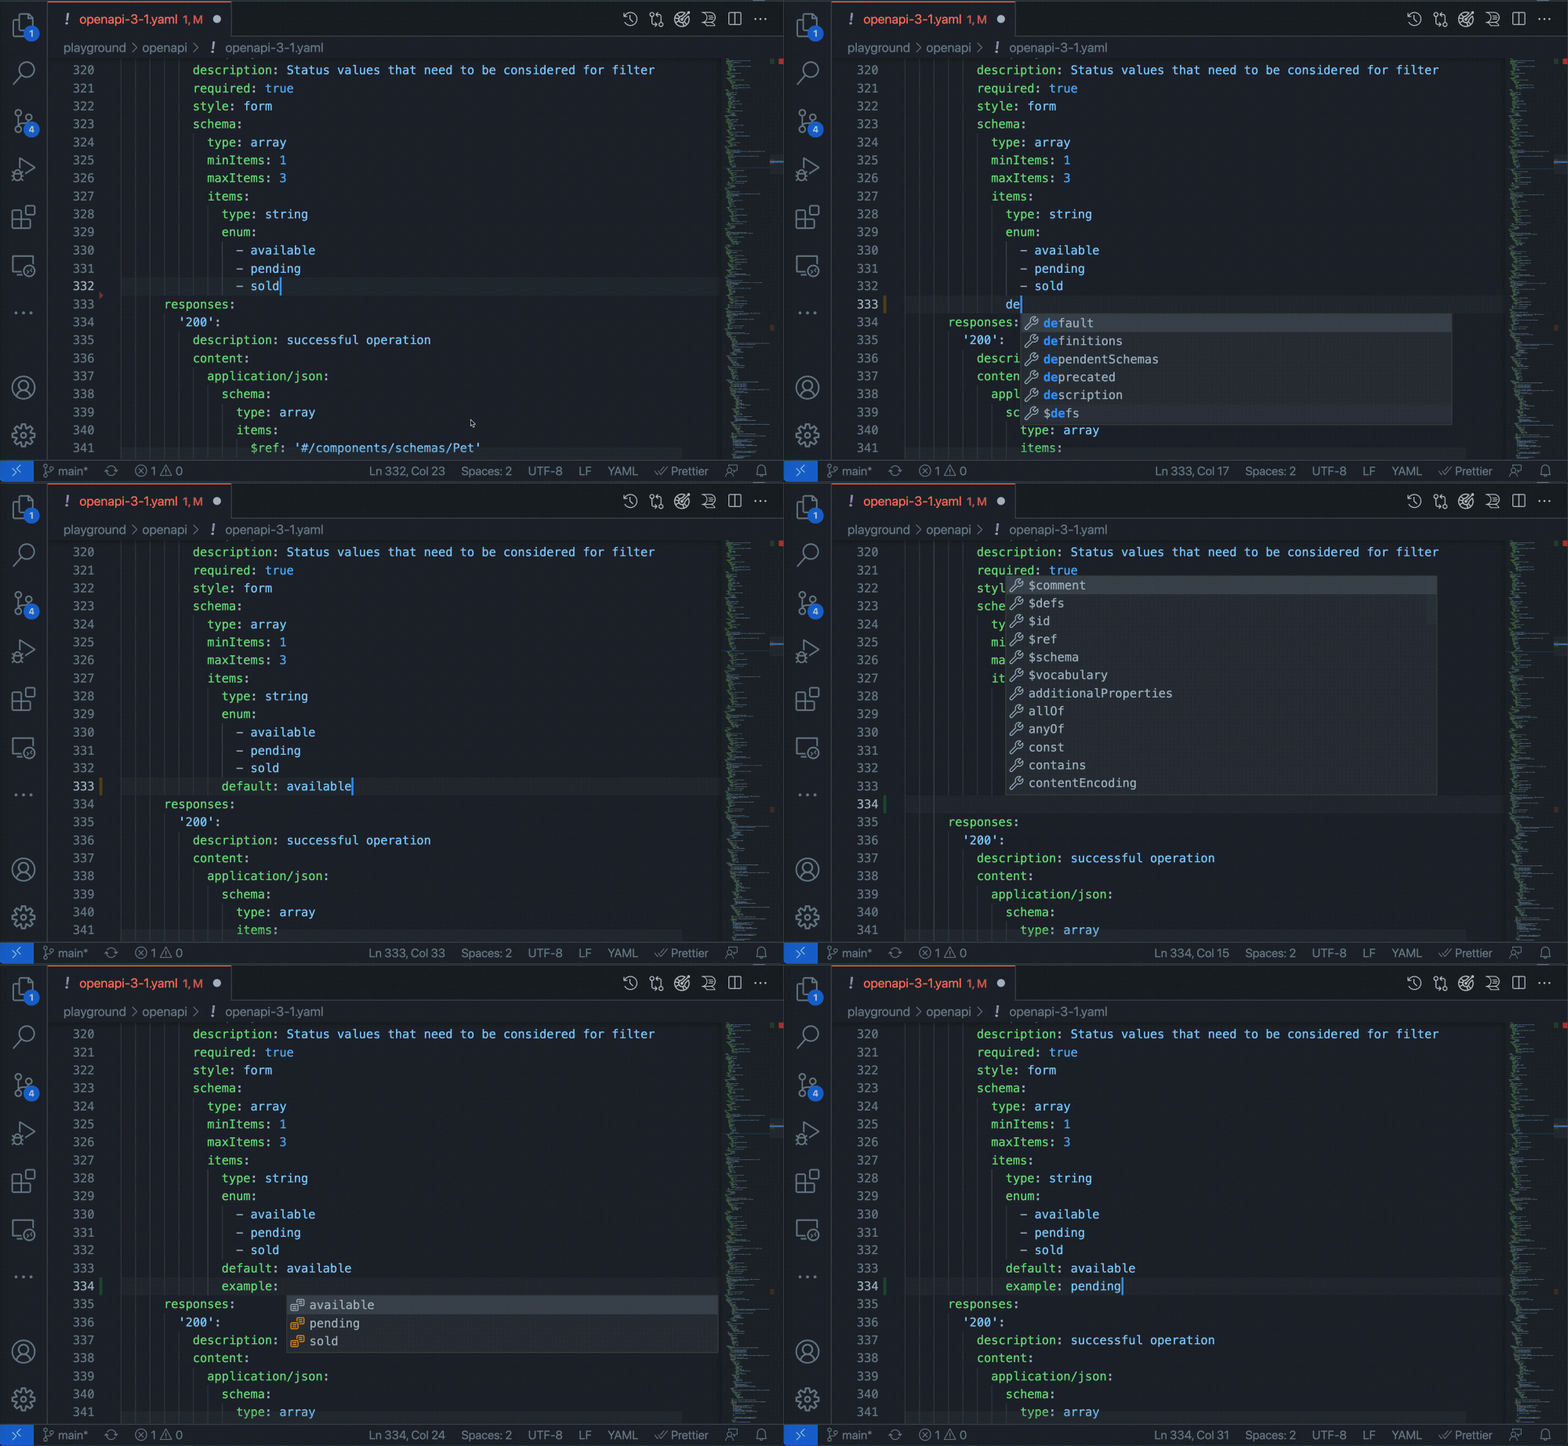
Autocompletion for example and default fields will suggest values you have previously defined in enum on the same level.
The extension will also show suggested values for all other fields that have a predefined set of values according to the OpenAPI specification (like required, which has boolean type; or type, which must be one of array | object | number) and that are supported by [Redocly OpenAPI CLI].
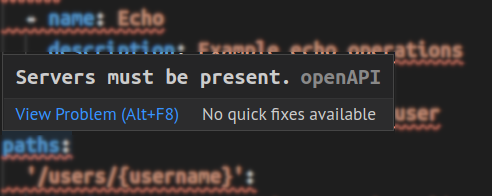
The extension continuously validates the OpenAPI definition you're working on. Depending on the rules you've added to your redocly.yaml file, the extension will warn you about the following issues:
- indentation
- incorrect type usage
- wrong paths to referenced files
- missing or undefined fields and sections
- and more
Here are some examples illustrating different types of issues and how Redocly OpenAPI points them out.
Missing fields and sections
Undefined sections
Type usage
Wrong path to referenced file
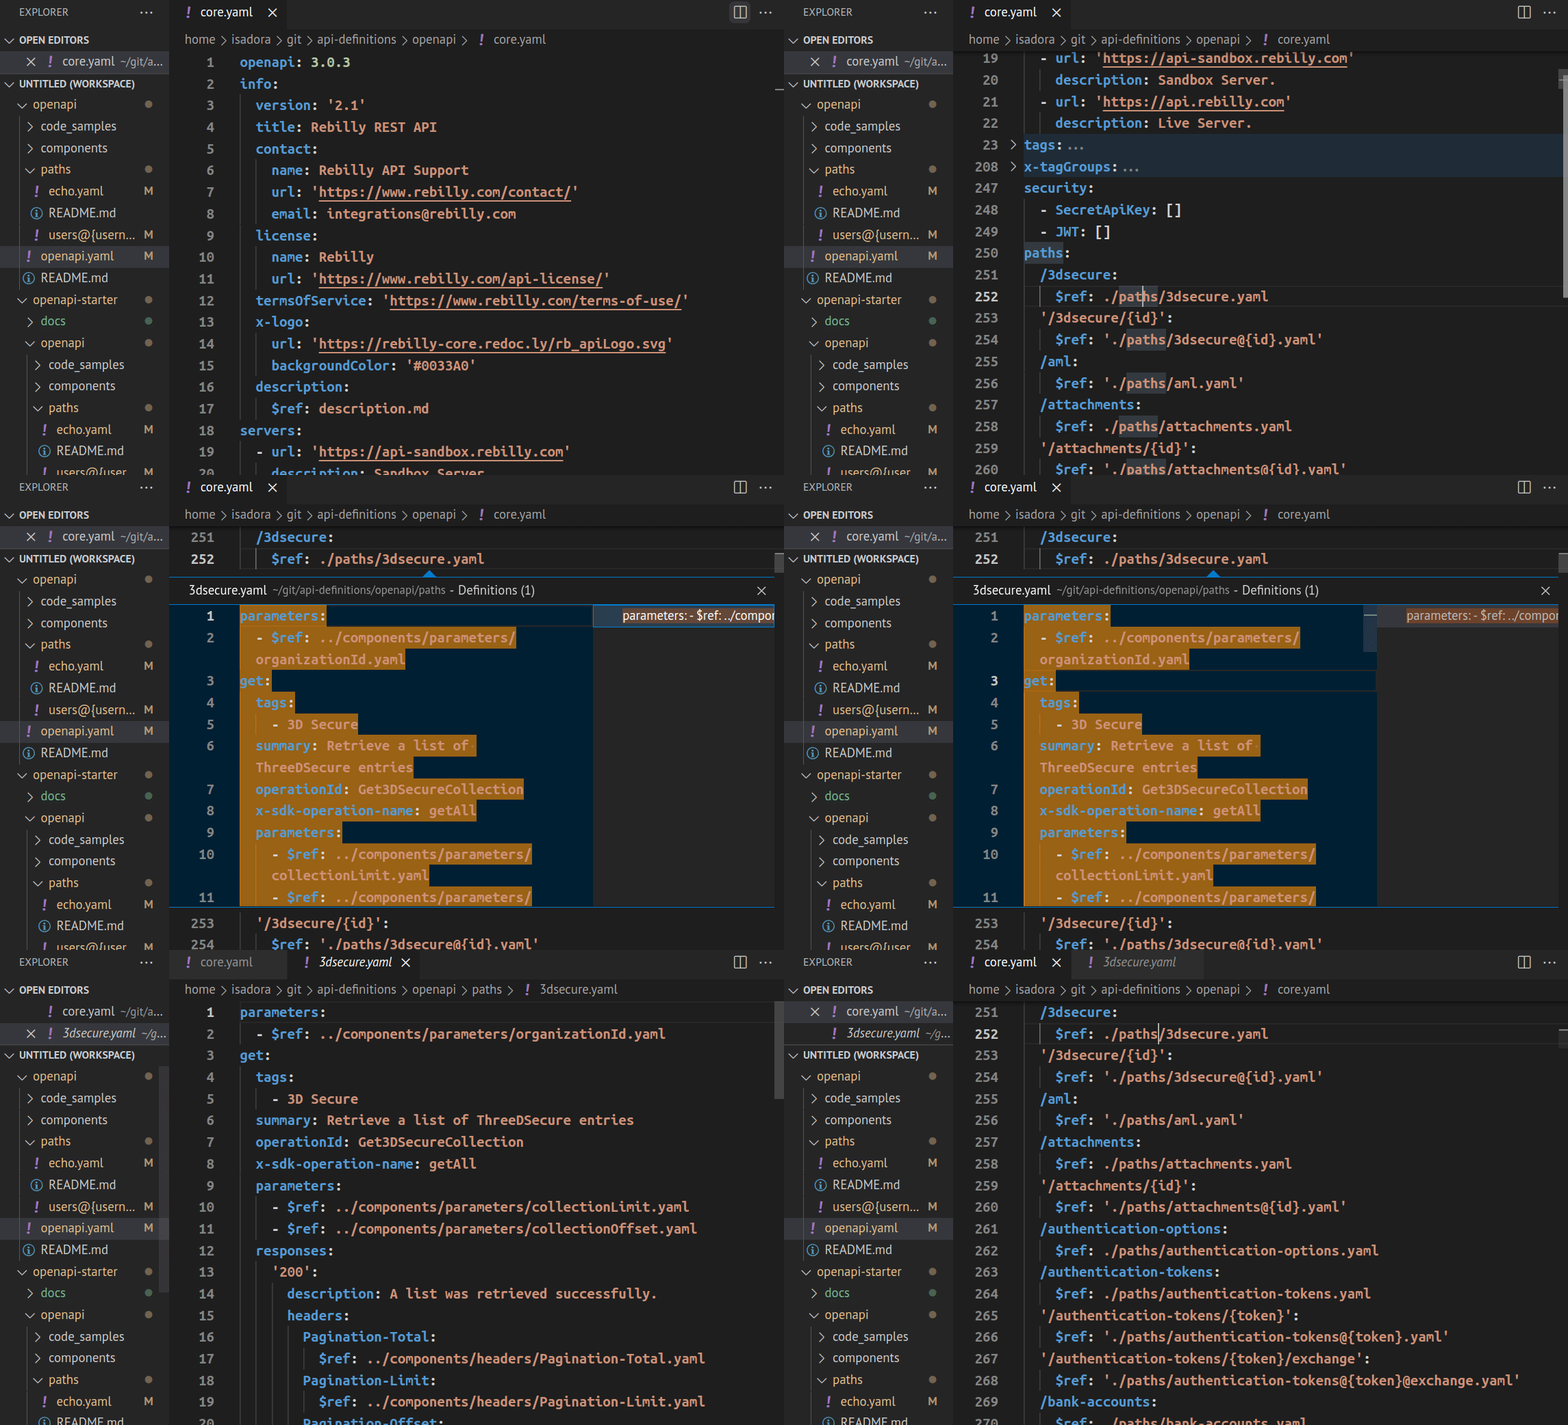
When you use references in your OpenAPI definition, the extension will validate them and warn you if they are incorrect (for example, if the path to a schema in a separate file is incorrect).
Right-click on any $ref value to access additional navigation options: Go to Definition and Peek.
Selecting Go to Definition opens the referenced item in a new VS Code tab (if it's a separate file) or takes you directly to the section where it's defined (if it's in the same file).
Selecting Peek > Peek definition opens an inline preview of the referenced item within the current VS Code tab.
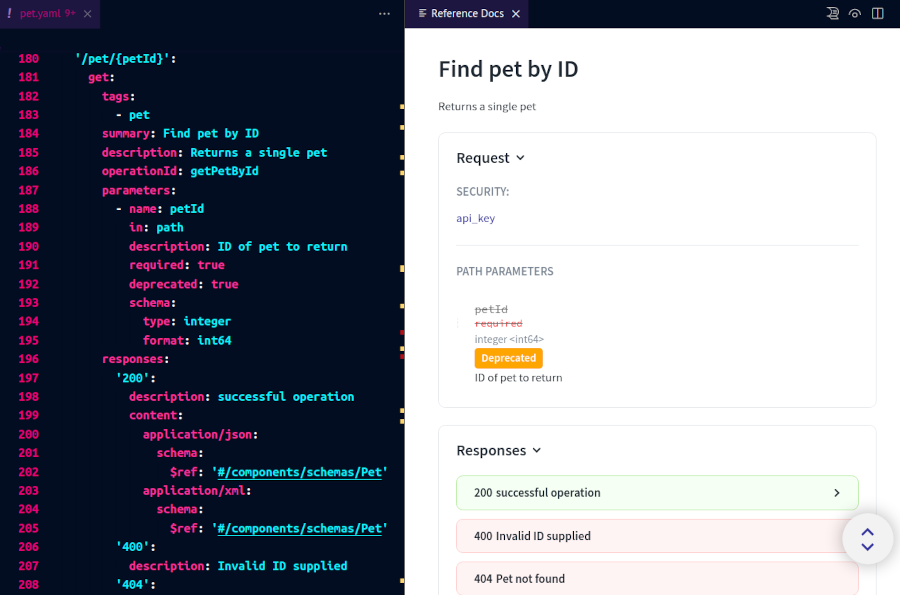
The Redocly OpenAPI VS Code extension relies on Redocly Reference to generate a preview of the API documentation based on the OpenAPI document you're editing. This lets you see the OpenAPI source and the documentation generated from it side-by-side. When you save a change to your OpenAPI definition, the documentation in the preview panel is automatically updated.
Access the documentation preview in any of the following ways:
-
Select the Open preview button in the upper right section of your VS Code window.
-
Open the Command Palette, start typing
redocly, then select Redocly OpenAPI: Open preview.
Both actions open the Preview panel.
In the panel, you must provide an API key from Redocly to use the documentation preview feature. To obtain the key, first create a free Redocly account, then generate a personal API key for it.
When you have generated your personal API key, paste it into the API key in the Preview panel and select Submit. Documentation previews will be enabled for all your workspaces.
In the tab bar above the panel, select the name of the YAML file for which you want to preview the documentation. If you have defined custom names in the apiDefinitions section of the redocly.yaml file, those names will be displayed in tabs instead of file names. Selecting a name loads the API documentation preview for the API definition.
To customize the documentation preview, add supported Reference configuration options to the referenceDocs section in your redocly.yaml file.
For example, to hide the logo image and change the font size and color, you could add the following:
apiDefinitions:
  main: path/to/your-openapi.yaml
  test: path/to/another-openapi.yaml
lint:
  extends:
    - recommended
referenceDocs:
  hideLogo: true
  theme:
    colors:
      text:
        primary: "#FF0000"
    typography:
      fontSize: 16px
Remember to save the redocly.yaml file for changes to apply.
To exit the documentation preview, close the Preview panel. You can open it again at any point.
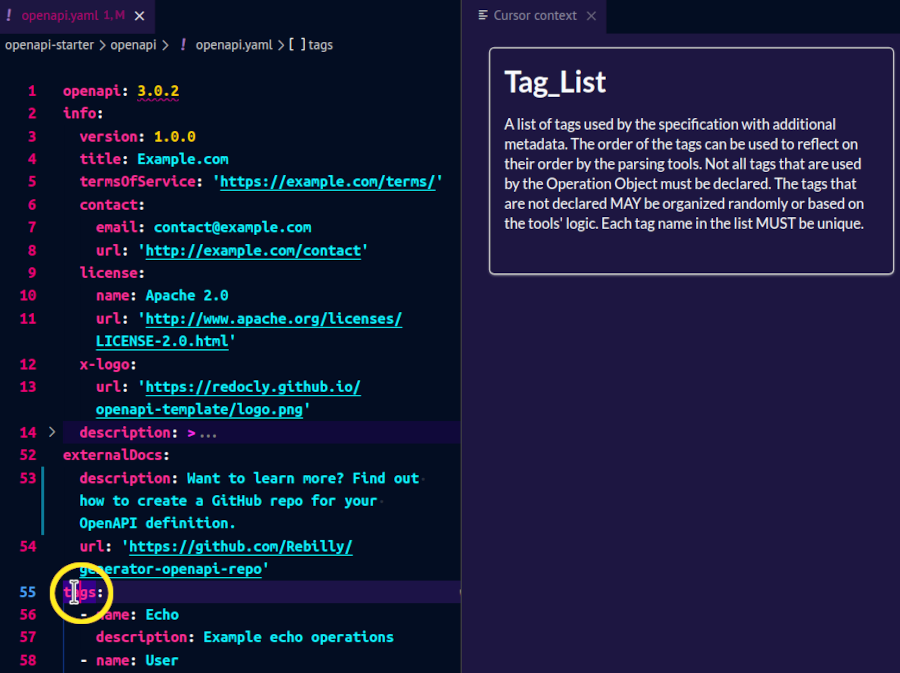
To help you write valid, specification-compliant API definitions, the Redocly OpenAPI VS Code extension provides dynamic descriptions of OpenAPI features in the cursor context panel.
Access the cursor context in any of the following ways:
-
Select the Open cursor context button in the upper right section of your VS Code window.
-
Open the Command Palette, start typing
redocly, then select Redocly OpenAPI: Open cursor context.
Both actions open the Cursor context panel.
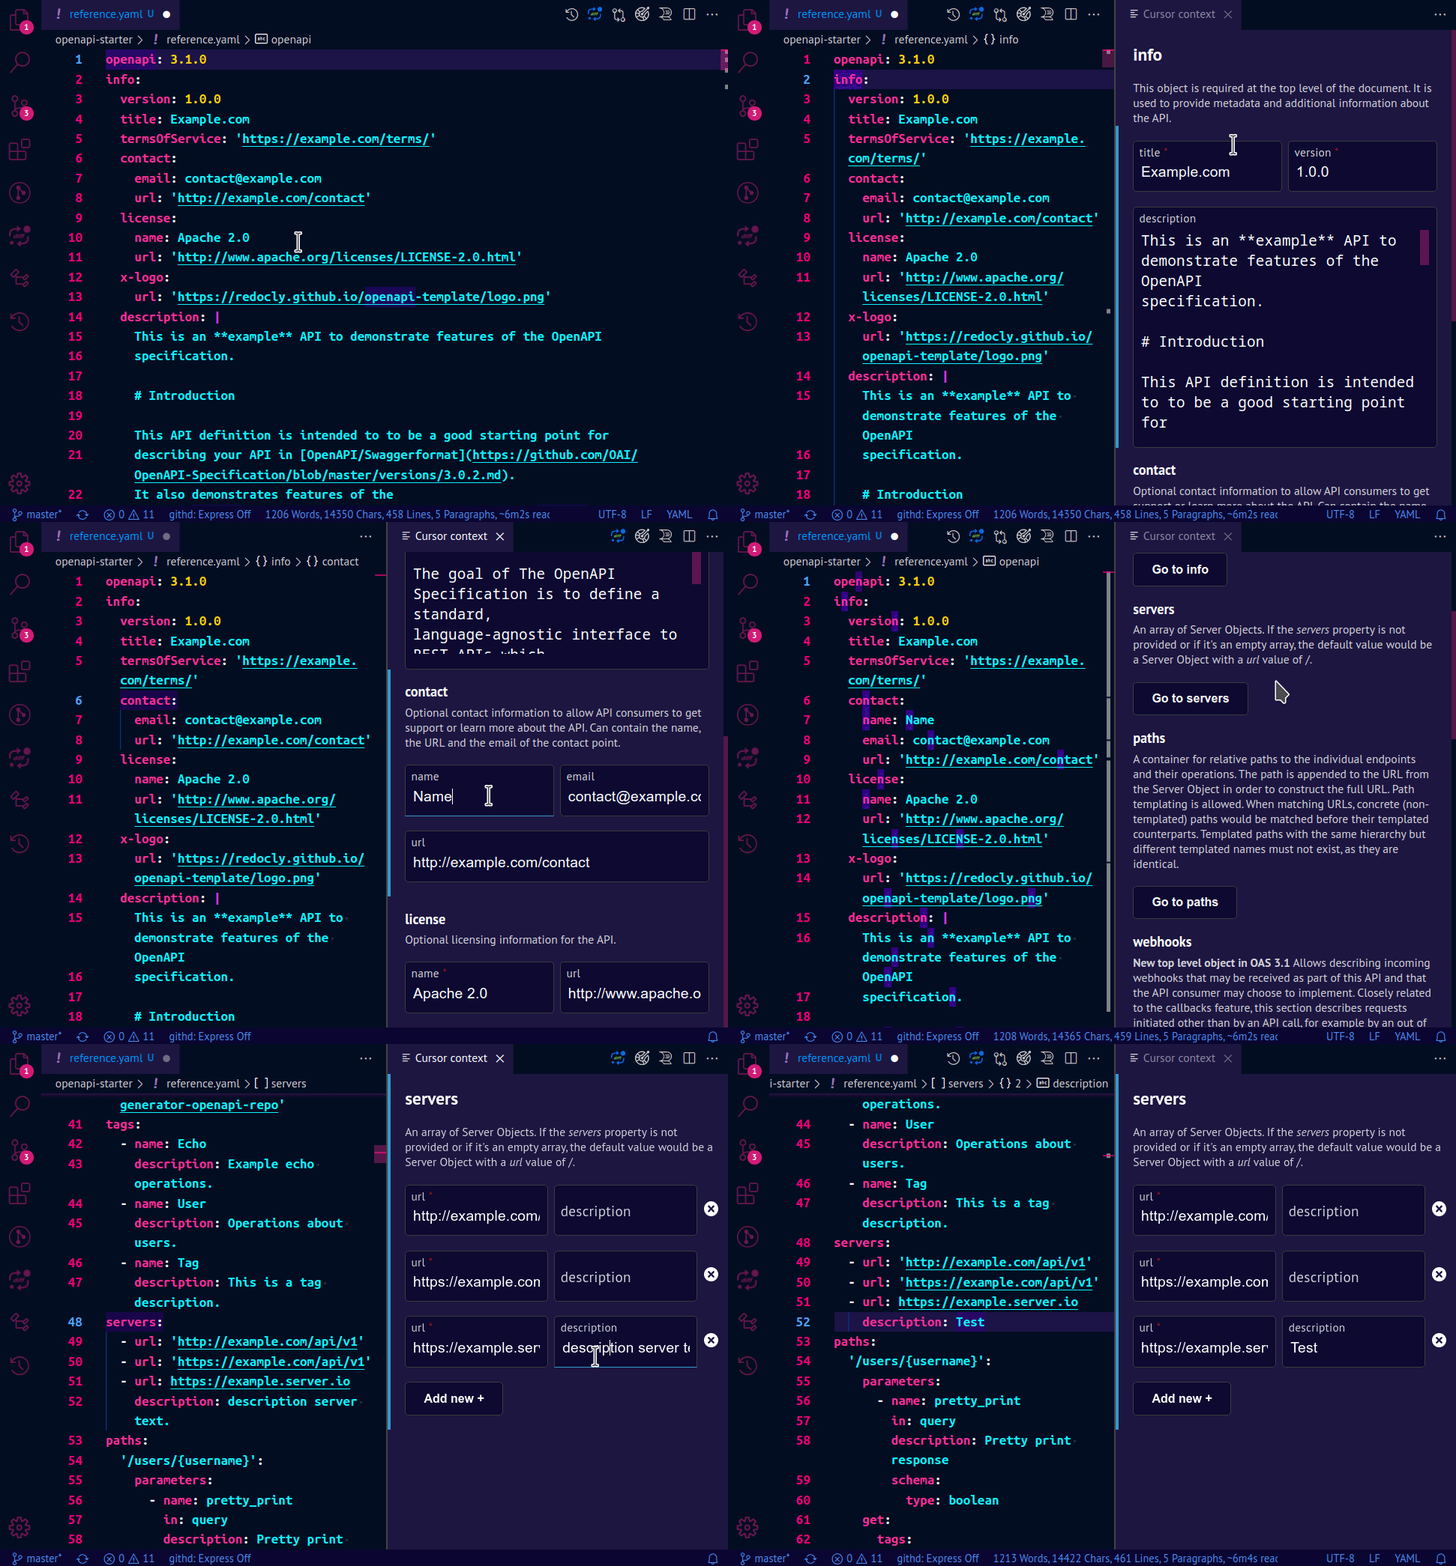
As you place your cursor into different sections of your OpenAPI document, the context-aware descriptions in the panel change to match the exact object or property you're editing.
For supported sections, the Cursor context panel can also display a visual editor where you can change the contents of your API definition through interactive forms.
Depending on the currently selected section of the OpenAPI document, the Cursor context panel may show triple bar ("hamburger") icons to the left of each input field in the visual editor. Use these icons to change the order of fields in the panel. To reorder a field, select the triple bar icon next to it, then drag-and-drop it up or down in the panel.
To exit, close the Cursor context panel. You can open it again at any point.
-
Interactive forms are supported only for
info,server,tagsandexternalDocssections in the current version. -
Autocompletion support is limited in the current version.
-
The
redocly.yamlfile must be saved to disk (Ctrl+S) for changes to apply.
If you suspect the extension is not working properly, make sure the following conditions are true:
- the extension is enabled in the current VS Code workspace (or globally)
- a non-empty
redocly.yamlconfiguration file exists in the root directory of your workspace - your API definition file is in the YAML format
Installation and usage of the extension are subject to the terms and conditions of the Redocly Subscription agreement.
