-
Notifications
You must be signed in to change notification settings - Fork 545
TDesign 单元测试规范
PY edited this page Jun 18, 2022
·
5 revisions
单元测试为白盒测试,在理解组件内部结构和程序运行过程,进行结构化的测试用例编写。
我们使用 vitest 来编写单元测试,相比于之前的 jest 套件他有这些优势:
- 与
Vite的配置、转换器、解析器和插件通用,免去了额外对jest的配置 -
watch模式下极速热更,单元测试开发时更友好 - 与
Jest几乎相同的API,极少量的差异 -
C8生成测试覆盖率 - 源码内联测试
- 很酷的
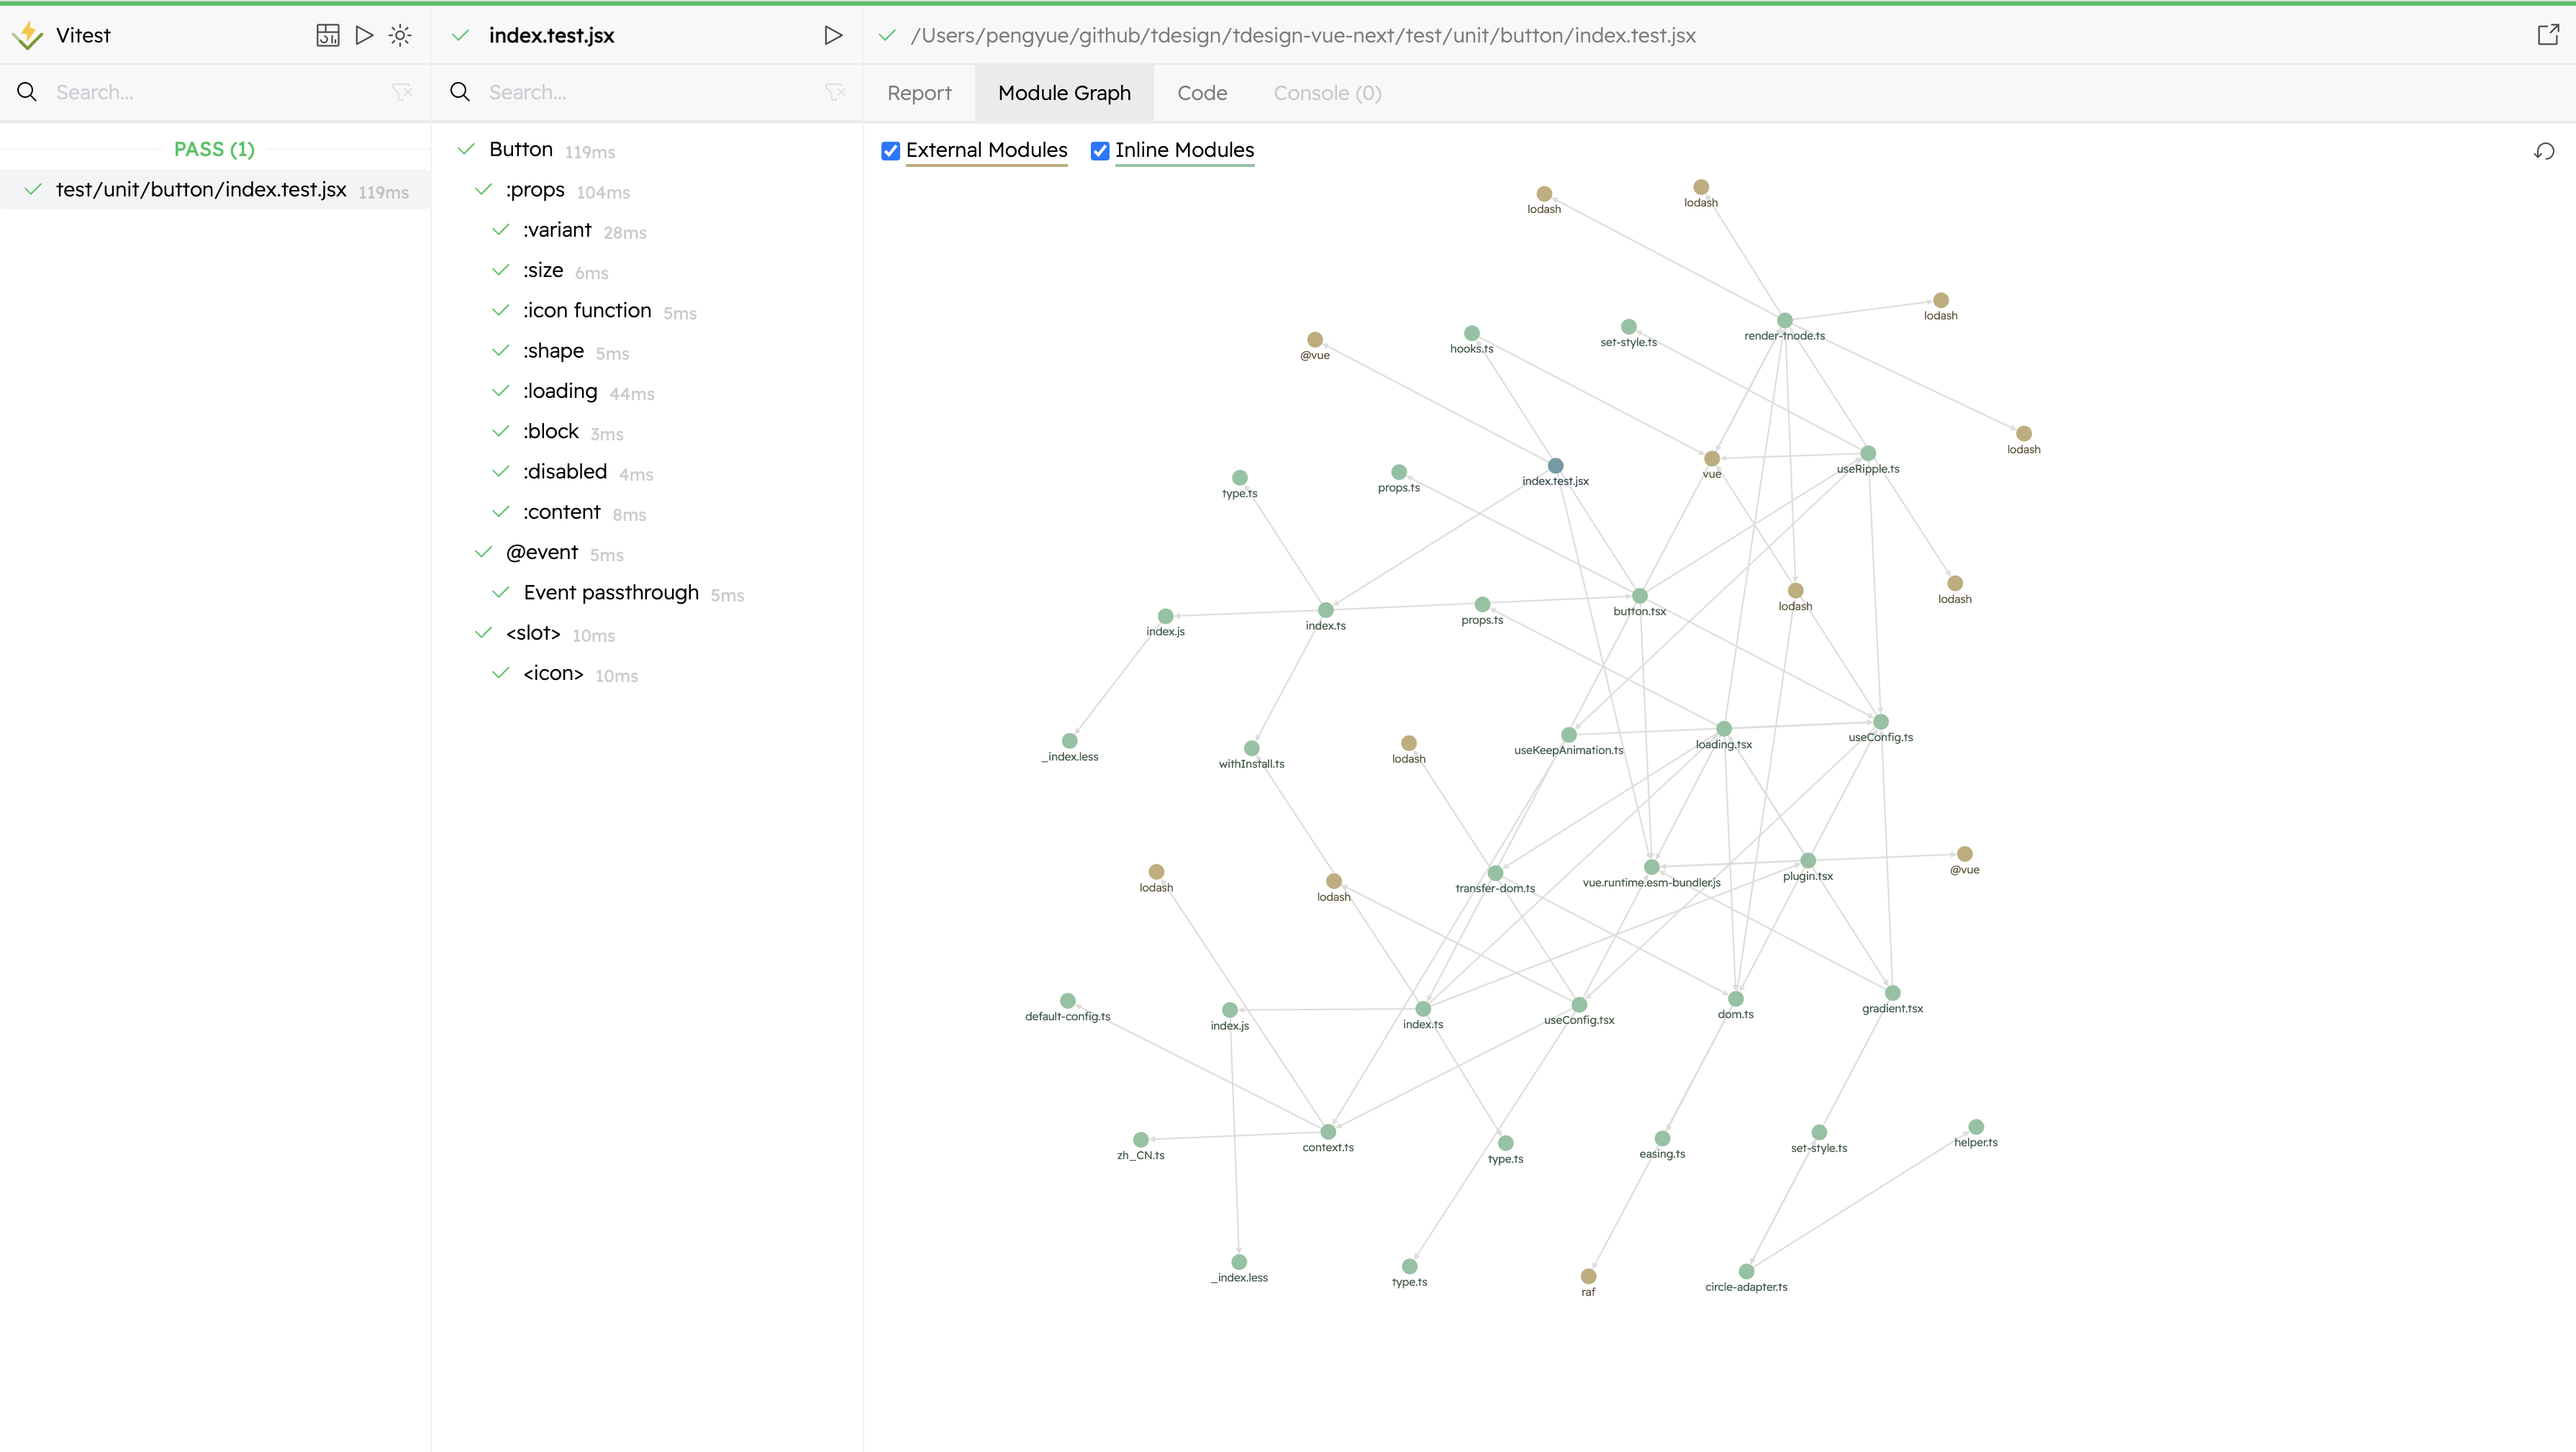
GUI

更多特性相关详情见文档
测试脚本分两块,组件单元测试、组件快照测试
## 组件单元测试与组件快照测试
npm run test

## 快照更新
npm run test:update npm run test:unit
## 开发环境
npm run test:unit-dev
## 开发环境-指定组件
npm run test:unit-dev button
## 开发环境gui
npm run test:unit-gui
## 开发环境gui-指定组件
npm run test:unit-gui button
## 生成覆盖率报告
npm run test:unit-coveragenpm run test:snapAPI 是组件测试最重要的部分,可以按 API 类型编写单元测试代码。
表现层 API 通常影响到 class 类名与节点是否被渲染。对这两个方面的检测为核心内容。
it('Props theme:primary', async () => {
   const fn = vi.fn();
   cosnt props = { theme: 'primary' }
   const wrapper = mount({
     render() {
       return <Component {...props} ></TTable>;
     },
   });

   // 组件 `class` 表现是否符合预期
   const classes = wrapper.classes();
   expect(classes).toContain('t-component');
   expect(classes).toContain('t-component-theme--primary');

   // 组件包含的子组件是否符合预期
   expect(wrapper.findComponent(CloseIcon).exists()).toBe(false);

   // 节点文字内容测试
   const header = wrapper.find('t-header');
   expect(header.exists()).toBe(true);
   expect(header.text()).toBe('关闭');

   // 生成组件快照,不推荐此时生成快照,程序此时的测试快照与批量的快照测试类型。
   expect(wrapper.element).toMatchSnapshot();

   // 组件数据状态是否符合预期
   wrapper.vm[xxx].toEqual(true);

   // 模拟组件动作,如点击后会触发相关状态变化
   const header = msg.find('t-header').trigger('click');
   wrapper.vm[xxx].toEqual(false);
});模拟在组件运行过程中,对外暴露的事件是否符合预期,需要模拟组件的各种情况,做到每一个 API 都能被覆盖到。
以下例子是一个最简化的情况,组件实际运行情况要复杂的多。
import { vi } from 'vitest';
import { Component } from 'xxx'

it('Events.onClick', async () => {
   const fn = vi.fn();
   // 模拟对组件的传参
   cosnt props = { xx: 'xx' }
   const wrapper = mount({
     render() {
       return <Component {...props} ></TTable>;
     },
   });
   // 触发事件的节点
   wrapper.find('div').trigger('click');
   await wrapper.vm.$nextTick();
   // 判断事件是否被触发
   expect(fn).toHaveBeenCalled();
});import { vi } from 'vitest';
import { Component } from 'xxx'
describe('<slot>', () => {
it('<icon>', () => {
const wrapper = mount(Component, {
slots: {
icon: '<div class="test-slot"></div>',
},
});
const testSlot = wrapper.find('test-slot');
expect(testSlot.exists()).toBe(true);
});
});此部分为批量快照生成,在 ssr 环境与 csr 环境分别对所有 demo 生成快照。在代码改动过程中,可以最快的发现对组件结构产生的影响。此模块只能生成组件在 mounted 时候的快照,用于覆盖组件的最简化场景,存在一定局限性。这一部分已经由脚本批量处理,无需开发者编写测试用例代码。
npm run test:snapssr 环境下的测试
// ssr-setup
import { config } from '@vue/test-utils';
import { createApp } from 'vue';
import { renderToString } from '@vue/server-renderer';
import TDesign from '@/src/index';

config.global.plugins = [TDesign];

// global挂载createSSRApp方法,挂载render环境的配置
config.global.createSSRApp = (comp) => {
  const app = createApp(comp);
  app.config.globalProperties.$route = {};
  app.use(TDesign);
  const html = renderToString(app);
  return html;
};
// ssr.test.js
import glob from 'glob';
import MockDate from 'mockdate';
import { config } from '@vue/test-utils';
MockDate.set('2020-12-28');
function runTest() {
// 读取所有demo文件
const files = glob.sync('./examples/**/demos/*.vue');
// 拿到挂载在 `config` 下的 `createSSRApp` 方法
const { createSSRApp } = config.global;
describe('ssr snapshot test', () => {
files.forEach((file) => {
it(`ssr test ${file}`, async () => {
const demo = await import(`../.${file}`);
const realDemoComp = demo.default ? demo.default : demo;
const html = await createSSRApp(realDemoComp);
expect(html).toMatchSnapshot();
});
});
});
}
runTest();csr 环境的配置比较简单,读取所有 demo 的文件,然后渲染即可。