In this project you will apply the skills and knowledge which were developed throughout the Cloud DevOps Nanodegree program. These include:
Working in AWS
- Using Jenkins to implement Continuous Integration and Continuous Deployment
- Building pipelines
- Working with Ansible and CloudFormation to deploy clusters
- Building Kubernetes clusters
- Building Docker containers in pipelines
As a capstone project, the directions are rather more open-ended than they were in the previous projects in the program. You will also be able to make some of your own choices in this capstone, for the type of deployment you implement, which services you will use, and the nature of the application you develop.
You will develop a CI/CD pipeline for micro services applications with either blue/green deployment or rolling deployment. You will also develop your Continuous Integration steps as you see fit, but must at least include typographical checking (aka “linting”). To make your project stand out, you may also choose to implement other checks such as security scanning, performance testing, integration testing, etc.!
Once you have completed your Continuous Integration you will set up Continuous Deployment, which will include:
- Pushing the built Docker container(s) to the Docker repository (you can use AWS ECR, create your own custom Registry within your cluster, or another 3rd party Docker repository) ; and
- Deploying these Docker container(s) to a small Kubernetes cluster. For your Kubernetes cluster you can either use AWS Kubernetes as a Service, or build your own Kubernetes cluster. To deploy your Kubernetes cluster, use either Ansible or Cloudformation. Preferably, run these from within Jenkins as an independent pipeline.
Plan what your pipeline will look like.
Decide which options you will include in your Continuous Integration phase.
Use Jenkins.
Pick a deployment type - either rolling deployment or blue/green deployment.
For the Docker application you can either use an application which you come up with, or use an open-source application pulled from the Internet, or if you have no idea, you can use an Nginx “Hello World, my name is (student name)” application.
Create your Jenkins master box with either Jenkins and install the plugins you will need.
Set up your environment to which you will deploy code.
Use Ansible or CloudFormation to build your “infrastructure”; i.e., the Kubernetes Cluster.
It should create the EC2 instances (if you are building your own), set the correct networking settings, and deploy software to these instances.
As a final step, the Kubernetes cluster will need to be initialized. The Kubernetes cluster initialization can either be done by hand, or with Ansible/Cloudformation at the student’s discretion.
Construct your pipeline in your GitHub repository.
Set up all the steps that your pipeline will include.
Configure a deployment pipeline.
Include your Dockerfile/source code in the Git repository.
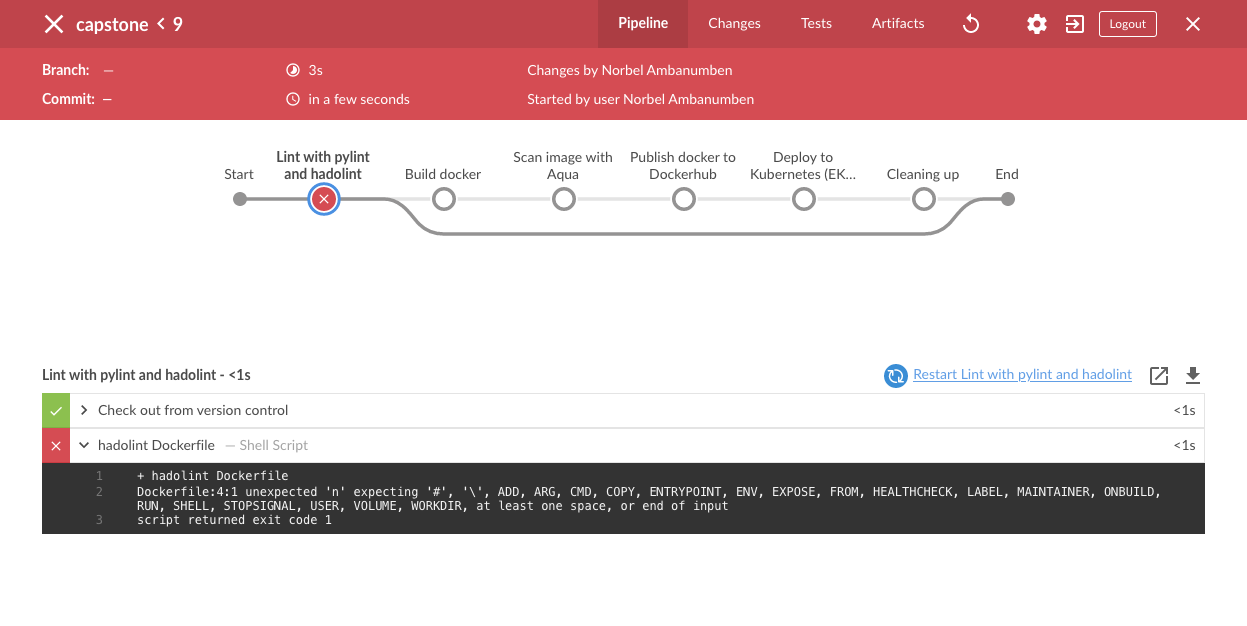
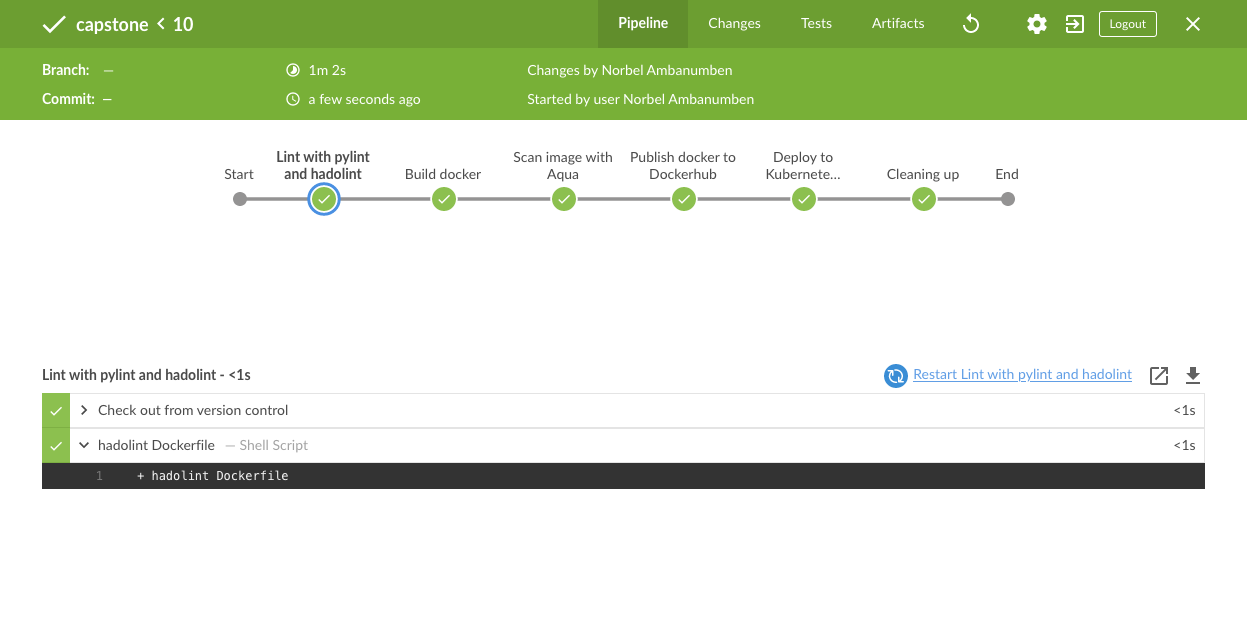
Include with your Linting step both a failed Linting screenshot and a successful Linting screenshot to show the Linter working properly.
Perform builds on your pipeline.
Verify that your pipeline works as you designed it.
Take a screenshot of the Jenkins pipeline showing deployment and a screenshot of your AWS EC2 page showing the newly created (for blue/green) or modified (for rolling) instances. Make sure you name your instances differently between blue and green deployments.
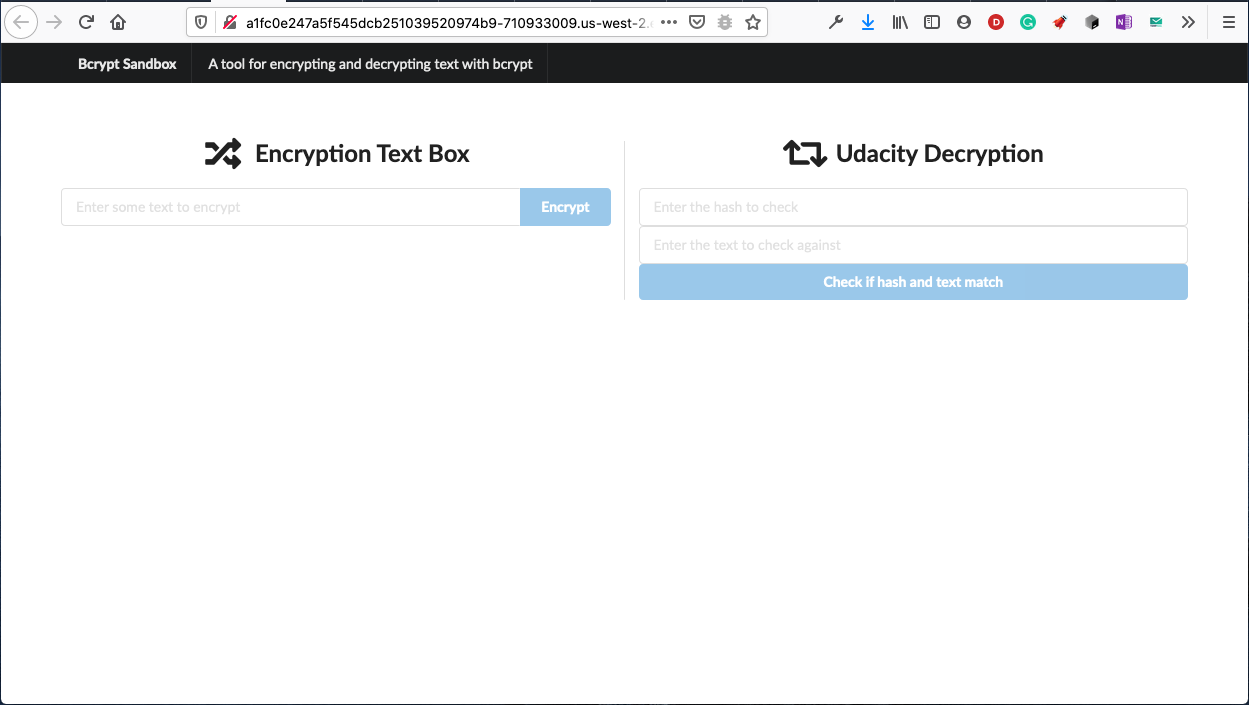
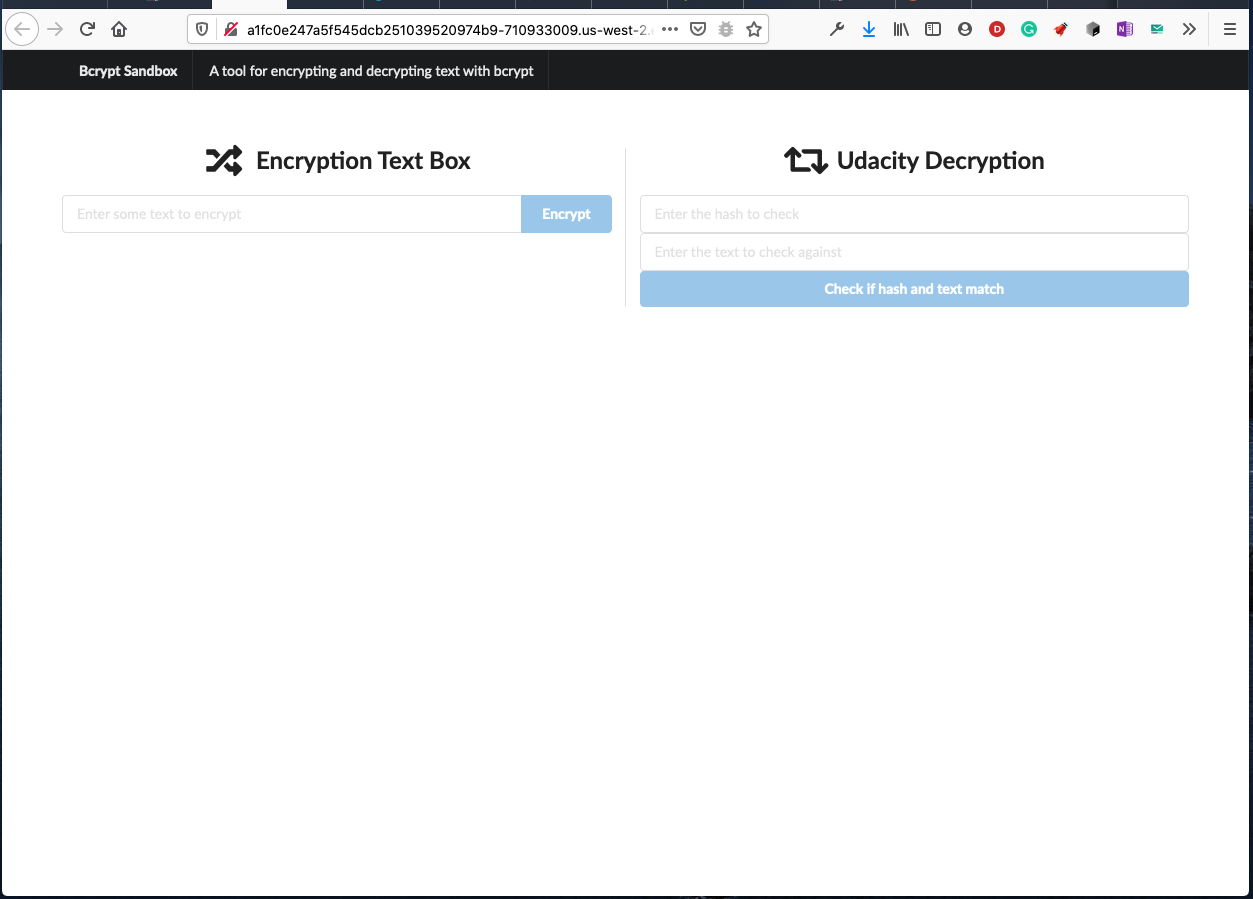
Bcrypt Sandbox, as the main application.
```md
.
├── Dockerfile
├── Jenkinsfile
├── README.md
├── app
│   ├── LICENSE
│   ├── README.md
│   ├── package-lock.json
│   ├── package.json
│   ├── screenshot.png
│   └── src
│       ├── app.jsx
│       ├── index.html
│       └── index.jsx
├── infra
│   ├── eks
│   │   ├── eks-nodes.json
│   │   ├── eks-nodes.yml
│   │   ├── eks.json
│   │   └── eks.yml
│   ├── jenkins
│   │   ├── iam.json
│   │   ├── iam.yml
│   │   ├── server.json
│   │   └── server.yml
│   └── network
│       ├── network.json
│       └── network.yml
├── kubernetes
│   ├── aws-auth-cm.yaml
│   └── deployment.yml
└── scripts
    ├── create-stack.sh
    ├── delete-stack.sh
    ├── run_docker.sh
    ├── run_kubernetes.sh
    ├── update-stack.sh
    └── upload_docker.sh
```
Run in AWS:
You need create the whole infrastructure to deploy the app
-
Create the network for the project.
scripts/create-stack.sh network-stack infra/network/network.yml infra/network/network.json
-
Create IAM User for jenkins. This will be used by jenkins to communicate to EKS cluster
scripts/create-stack.sh iam-stack-jenkins infra/jenkins/iam.yml infra/jenkins/iam.json
-
Create Jenkins server and install neccessary tools.
scripts/create-stack.sh server-stack infra/jenkins/server.yml infra/jenkins/server.json
-
Create EKS cluster and add nodes.
scripts/create-stack.sh eks-stack infra/eks/eks.yml infra/eks/eks.json

scripts/create-stack.sh eks-nodes-stack infra/eks/eks-nodes.yml  infra/eks/eks-nodes.json
Now you can access to Jenkins to deploy using the pipeline.
You can access the demo using this link