![]()


Elastic Cloud is a powerful cloud-hosted Elasticsearch service provided by Elastic, offering scalable search and analytics capabilities with enterprise-grade security and management features.
The ballerinax/elastic.elasticcloud package offers APIs to connect and interact with Elastic Cloud API endpoints, enabling seamless integration with Elasticsearch deployments, cluster management, security configurations, and data operations.
- Visit the Elastic Cloud registration page.
- Fill in your account details including email, password, and organization information.
- Verify your email address by clicking the verification link sent to your email.
- Complete your profile setup and accept the terms of service.
- Choose your subscription plan (you can start with the free trial).
- Go to the Elastic Cloud login page.
- Enter your email and password credentials.
- You can also sign in using Google, Microsoft, or SSO if configured.
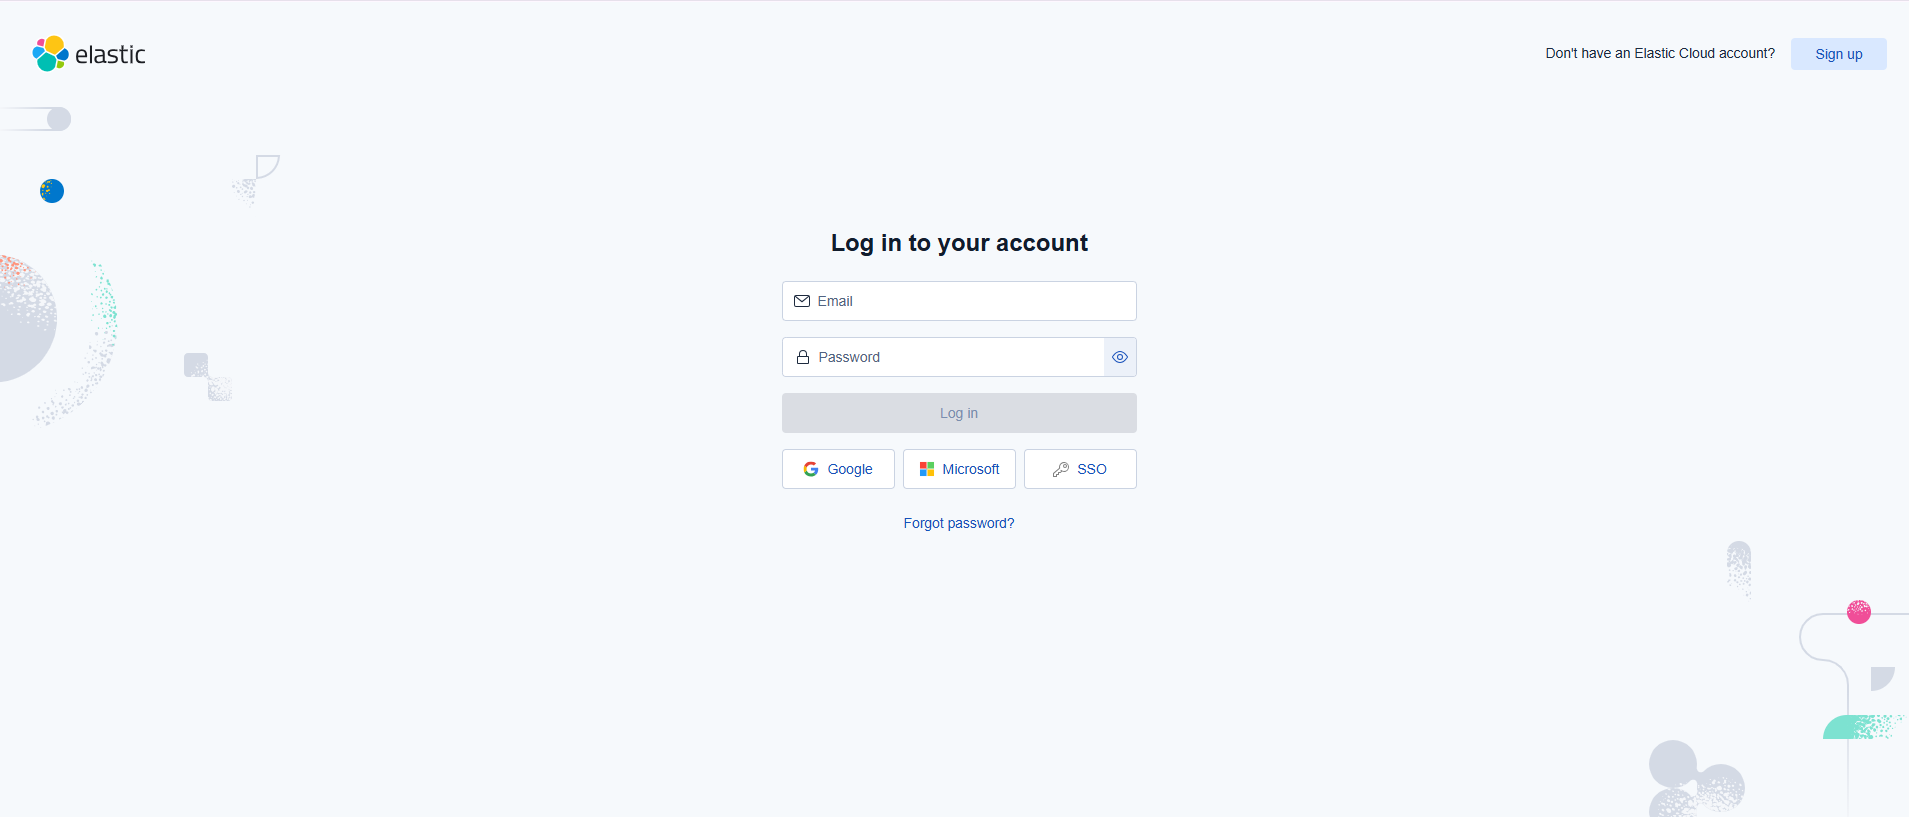
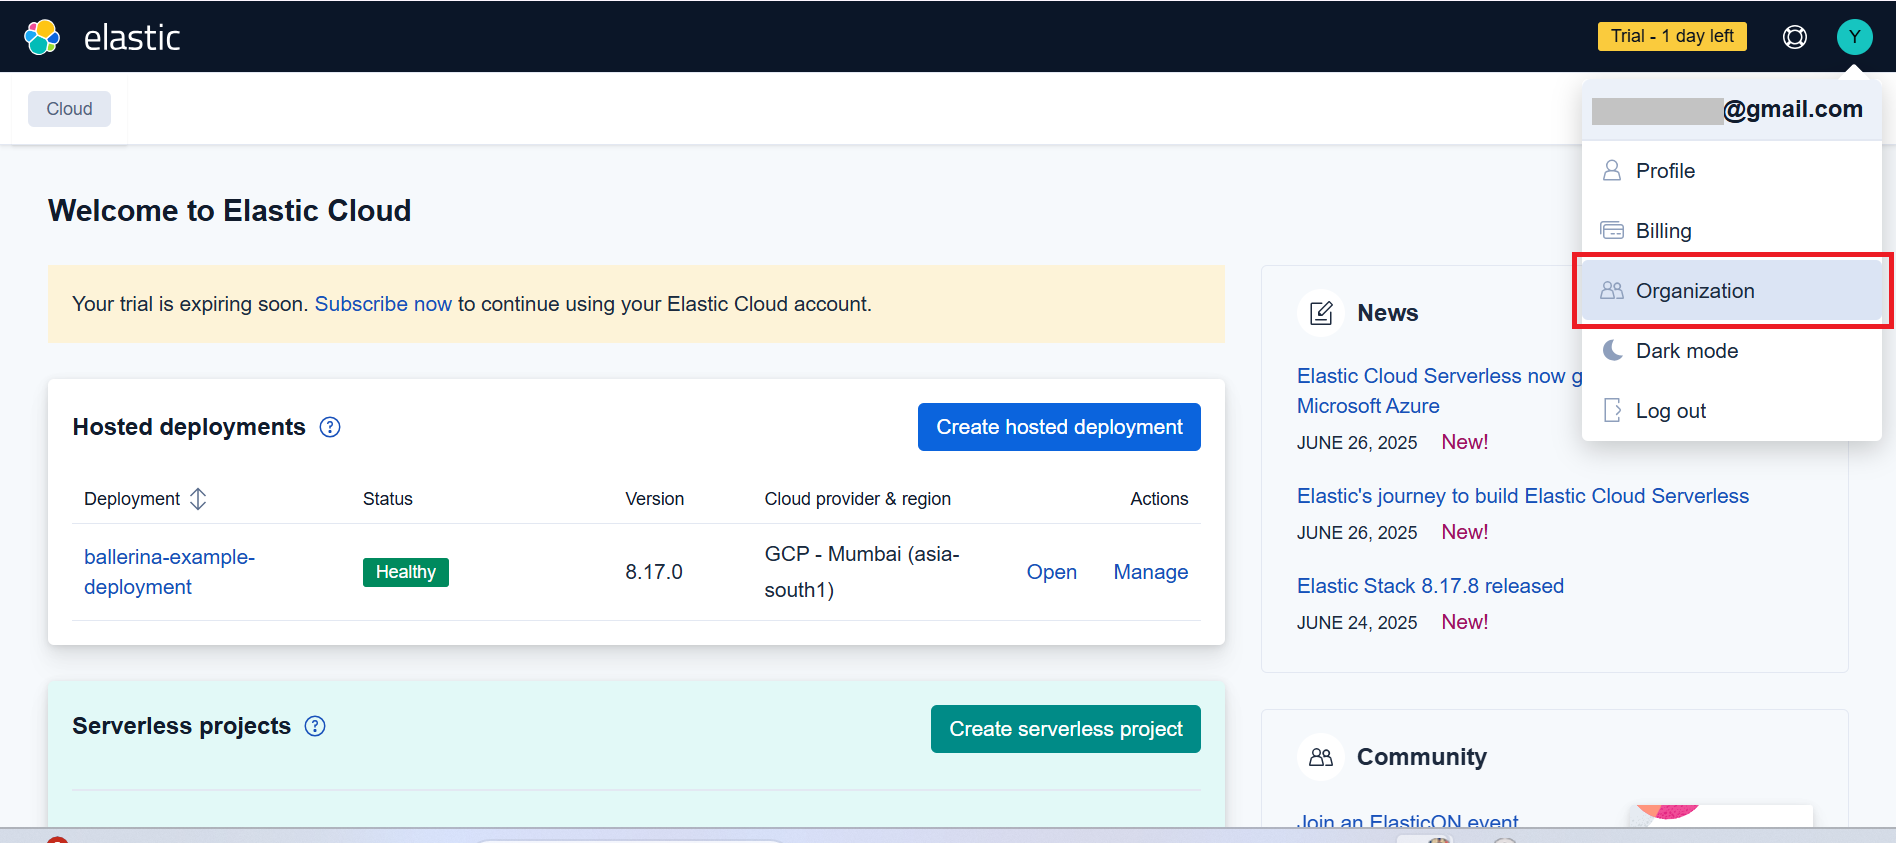
- After successful login, you will be redirected to the main dashboard.
- Here you can see your hosted deployments and manage serverless projects.
- The dashboard shows your deployment status, version, and available actions.
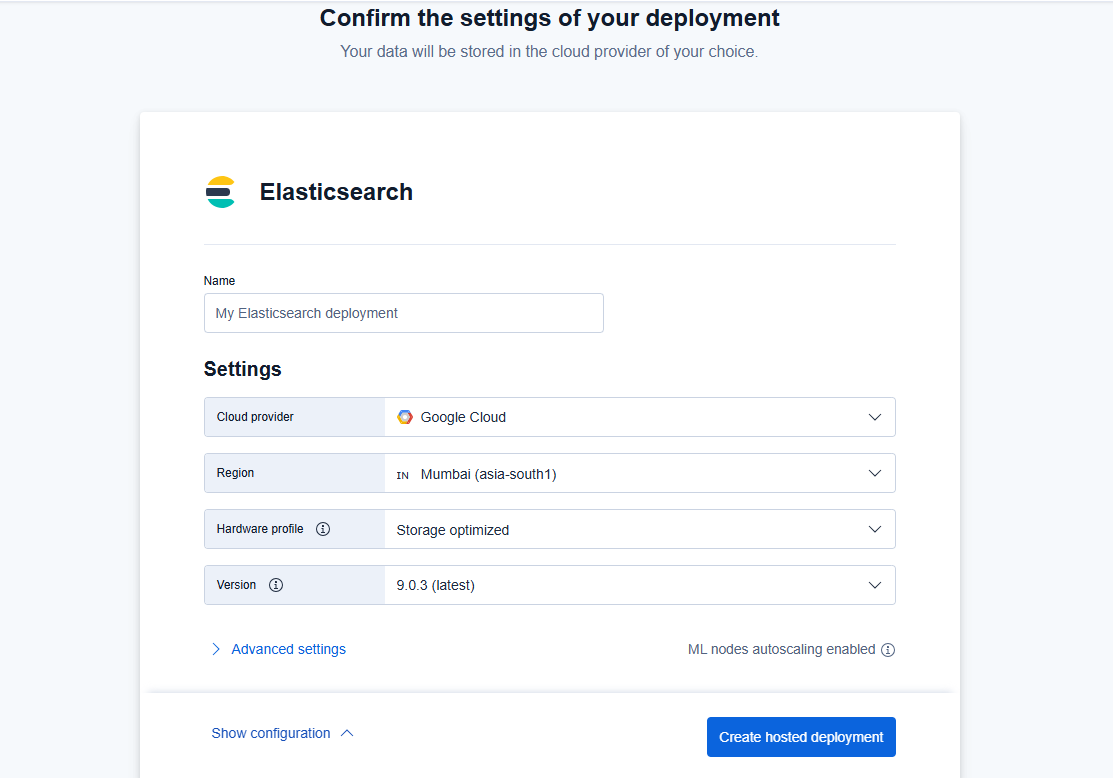
- Open the Elastic Cloud Console.
- Click on "Create deployment" to set up a new Elasticsearch cluster.
- Choose your deployment configuration:
- Select your cloud provider (AWS, Google Cloud, or Azure)
- Choose your region
- Configure your deployment size and features
- Click "Create deployment" and wait for it to be ready.
- From the dashboard, click on "Organization" in the top navigation.
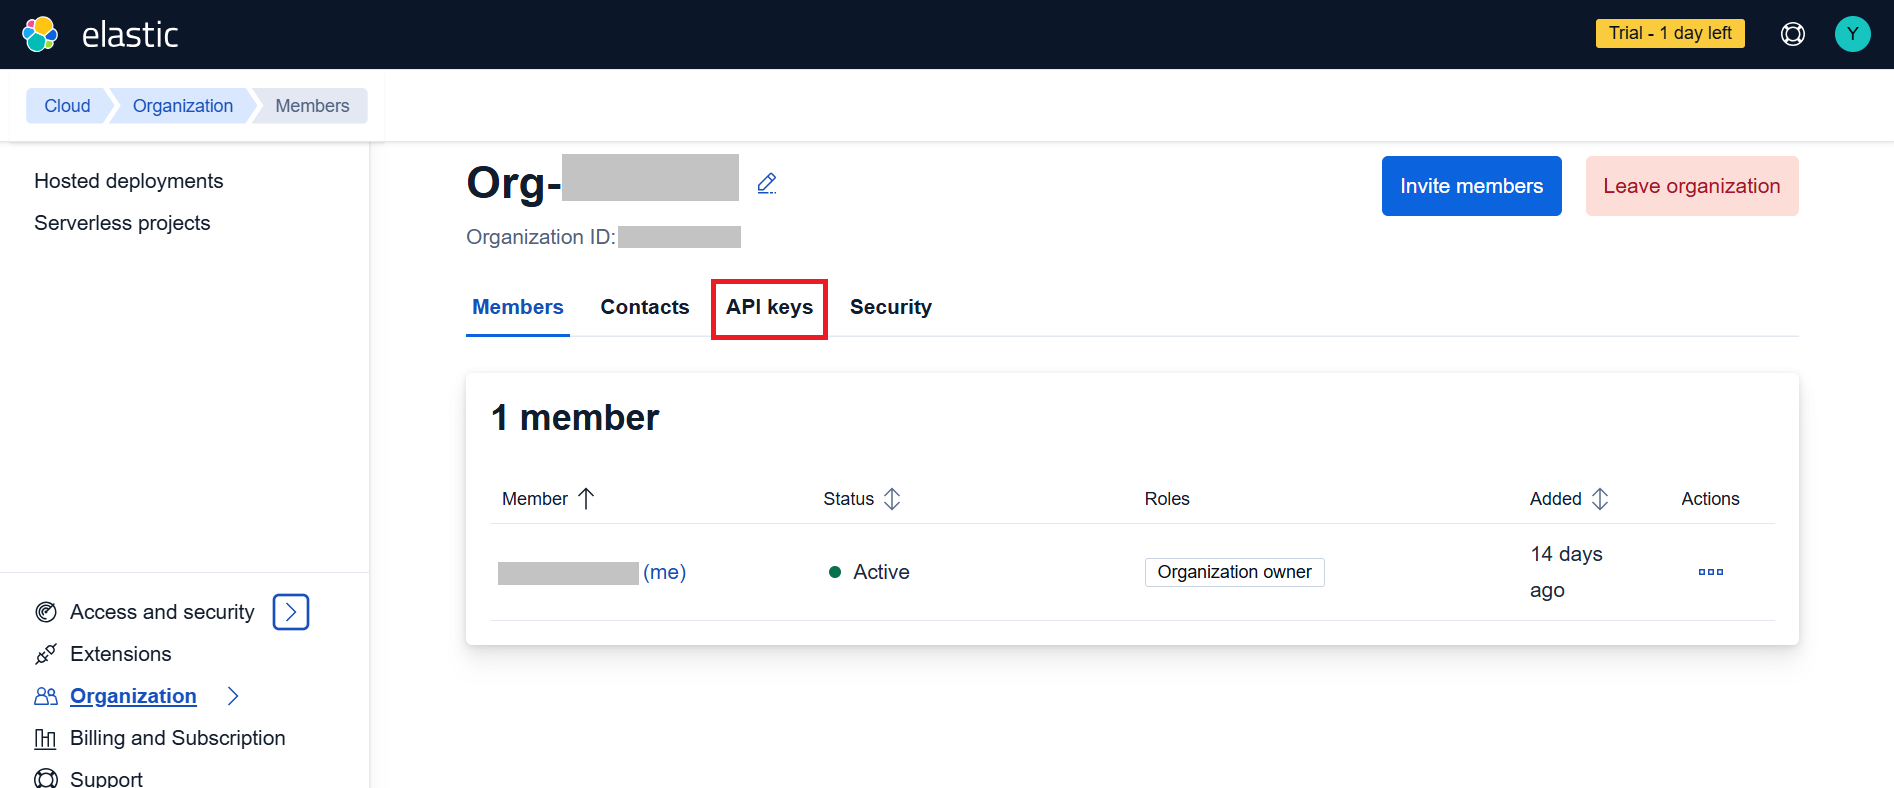
- Go to the organization management page where you can manage members, contacts, API keys, and security settings.
- You will see your organization details including the Organization ID.
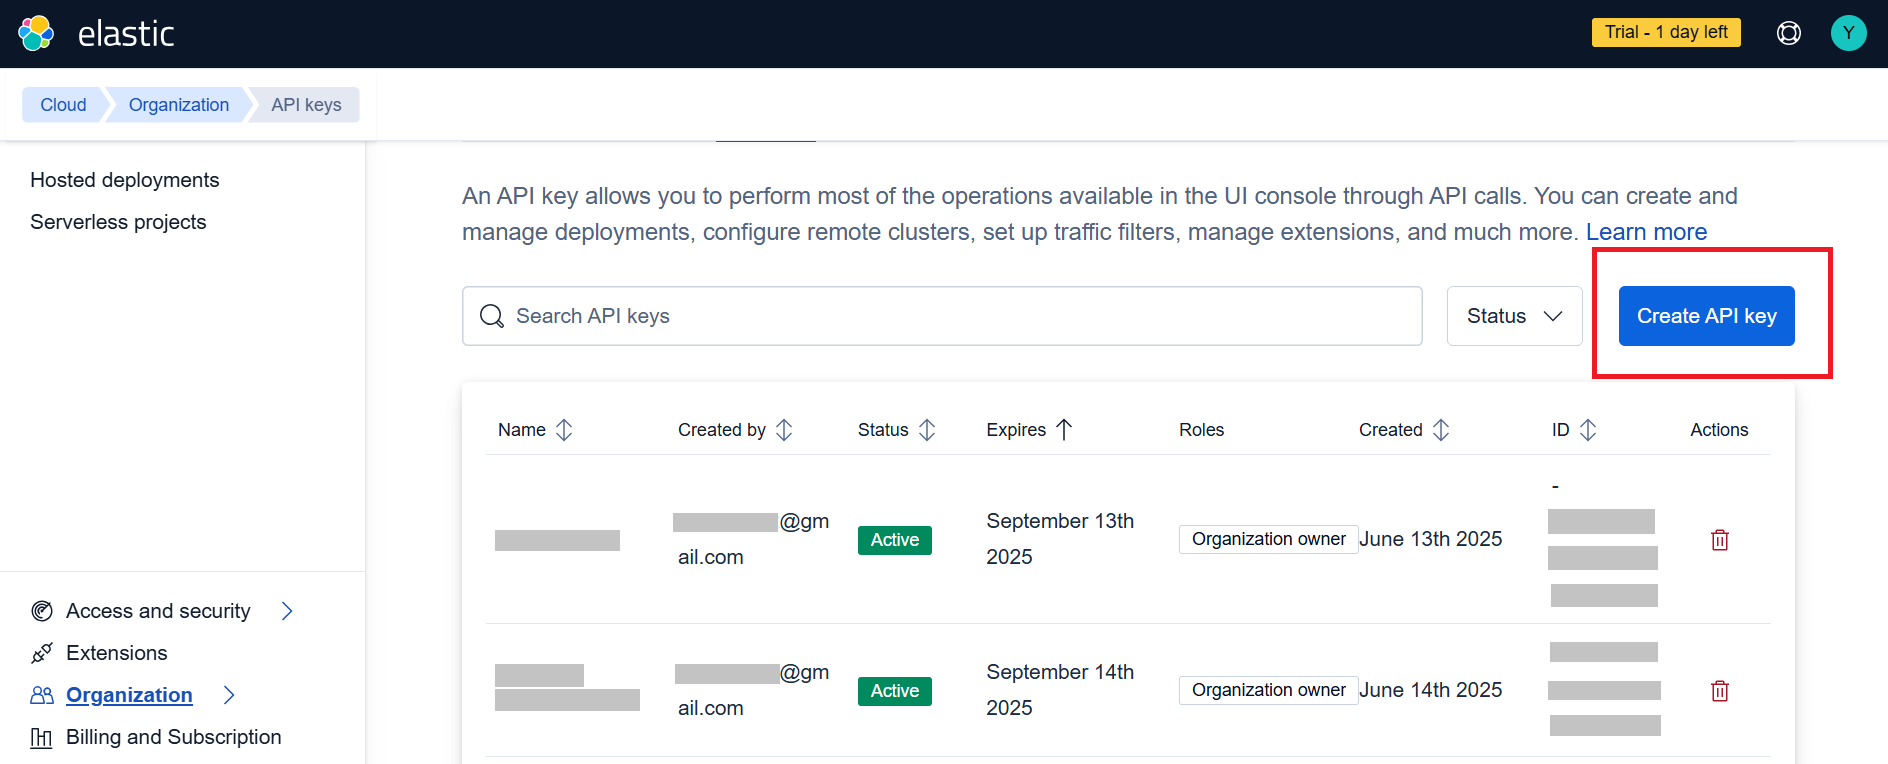
- In the organization settings, click on the "API keys" tab.
- You will see a list of existing API keys and can create new ones.
- Click the "Create API key" button to generate new credentials.
-
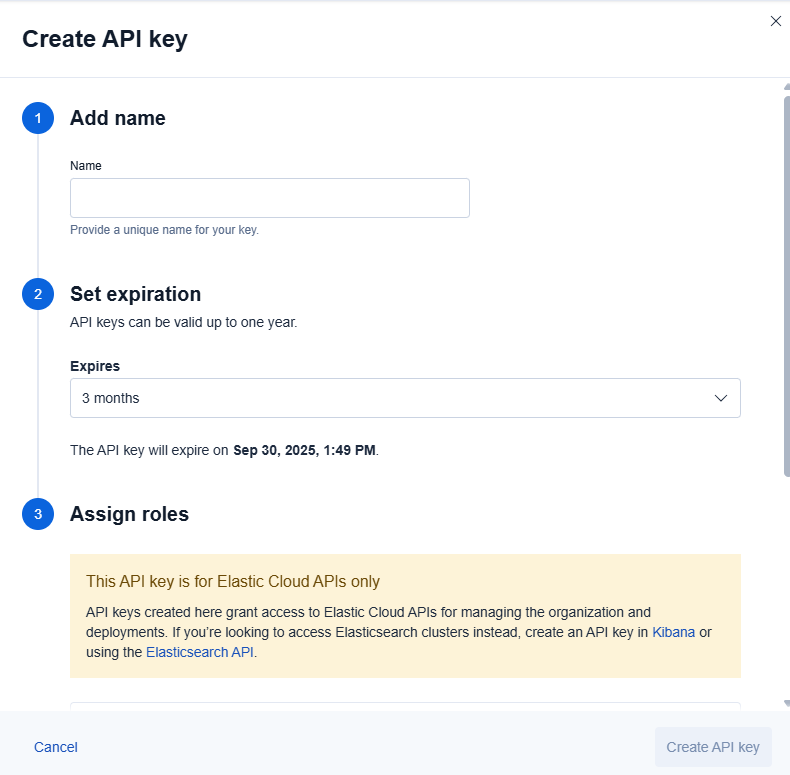
In the "Create API key" dialog, provide the following details:
- Add name: Enter a unique name for your API key (e.g., "Ballerina Connector")
- Set expiration: Choose an appropriate expiration period (3 months, 6 months, or 1 year)
- Assign roles: Select appropriate permissions for your use case
-
The API key is specifically for Elastic Cloud APIs and provides access to organization and deployment management.
-
Click "Create API key" to generate your credentials.
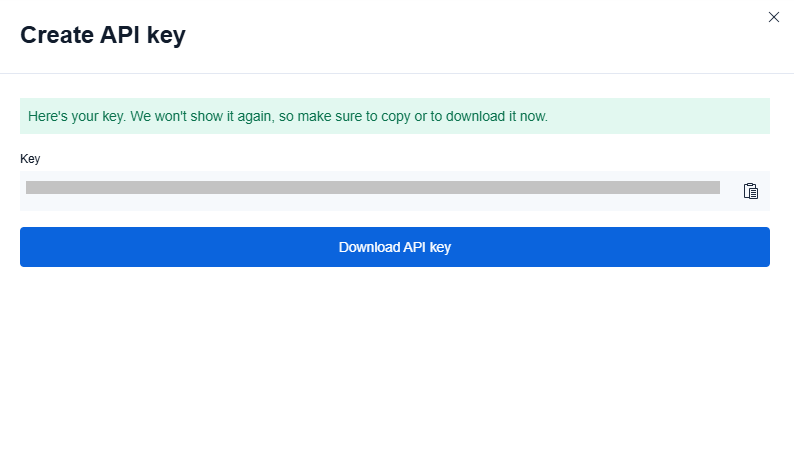
Important: Copy and securely store the generated API key as it won't be shown again.
You have an option for configuring your credentials securely:
Create a Config.toml file in your project root directory with the following content:
# Elastic Cloud Configuration
apiKey = "<Your API Key>"Note: Make sure to add
Config.tomlto your.gitignorefile to avoid committing sensitive credentials to version control.
To use the ballerinax/elastic.elasticcloud connector in your Ballerina application, update the .bal file as follows:
Import the elasticcloud module.
import ballerinax/elastic.elasticcloud;- Create a
Config.tomlfile and configure the obtained credentials in the above steps as follows:
apiKey = "<Your API Key>"- Create an
elasticcloud:ApiKeysConfigwith the obtained API key and initialize the connector with it.
configurable string apiKey = ?;

final elasticcloud:Client elasticClient = check new({
    authorization: "ApiKey " + apiKey
});Now, utilize the available connector operations.
public function main() returns error? {
    elasticcloud:DeploymentCreateRequest newDeploymentRequest = {
        name: "my-ballerina-deployment",
        region: "gcp-asia-south1",
        version: "8.17.0"
    };

    elasticcloud:CreateDeploymentQueries queries = {
        template_id: "gcp-general-purpose"
    };

    elasticcloud:DeploymentCreateResponse deployment = check elasticClient->/deployments.post(
        newDeploymentRequest,
        queries = queries
    );
}bal runThe Elasticcloud connector provides practical examples illustrating usage in various scenarios. Explore these examples, covering the following use cases:
-
Manage Deployment - Create, list, and manage Elasticsearch deployments in your organization.
-
API key Management - Create, list, and delete API keys for secure access to Elastic Cloud resources.
-
Download and install Java SE Development Kit (JDK) version 21. You can download it from either of the following sources:
Note: After installation, remember to set the
JAVA_HOMEenvironment variable to the directory where JDK was installed. -
Download and install Ballerina Swan Lake.
-
Download and install Docker.
Note: Ensure that the Docker daemon is running before executing any tests.
-
Export Github Personal access token with read package permissions as follows,
export packageUser=<Username>
export packagePAT=<Personal access token>
Execute the commands below to build from the source.
-
To build the package:
./gradlew clean build
-
To run the tests:
./gradlew clean test -
To build the without the tests:
./gradlew clean build -x test -
To run tests against different environments:
./gradlew clean test -Pgroups=<Comma separated groups/test cases>
-
To debug the package with a remote debugger:
./gradlew clean build -Pdebug=<port>
-
To debug with the Ballerina language:
./gradlew clean build -PbalJavaDebug=<port>
-
Publish the generated artifacts to the local Ballerina Central repository:
./gradlew clean build -PpublishToLocalCentral=true
-
Publish the generated artifacts to the Ballerina Central repository:
./gradlew clean build -PpublishToCentral=true
As an open-source project, Ballerina welcomes contributions from the community.
For more information, go to the contribution guidelines.
All the contributors are encouraged to read the Ballerina Code of Conduct.
- For more information go to the
elasticsearchpackage. - For example demonstrations of the usage, go to Ballerina By Examples.
- Chat live with us via our Discord server.
- Post all technical questions on Stack Overflow with the #ballerina tag.