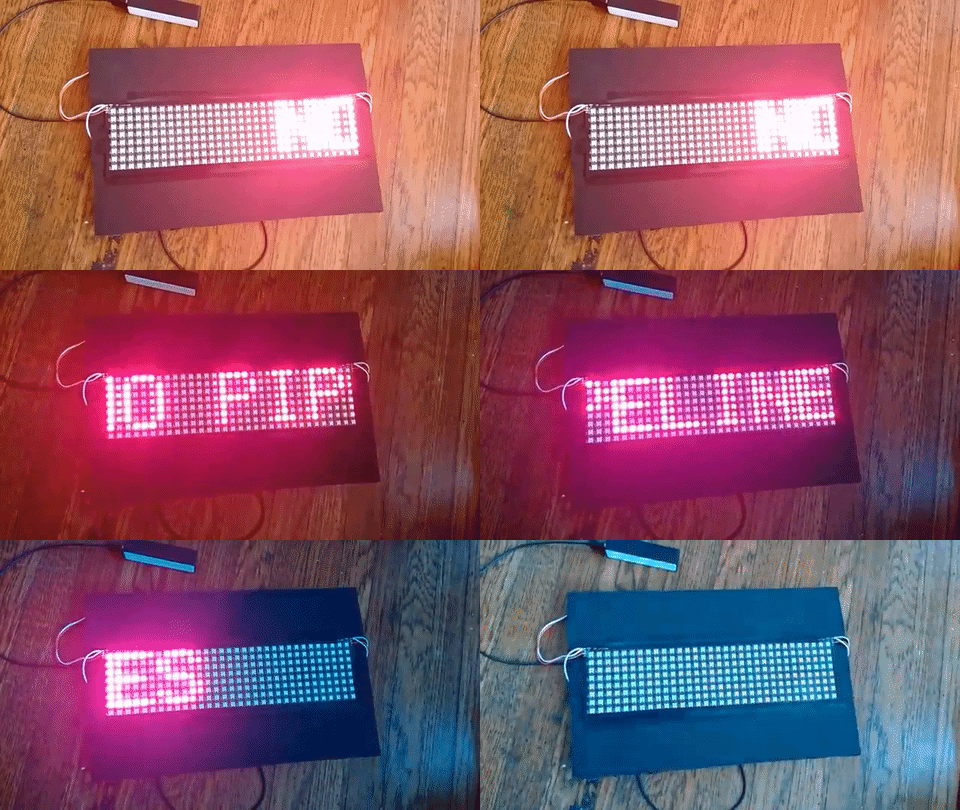
"Christmas Light" LED signs are now ubiquitous! This is my quick and dirty attempt to make signs out of lightweight semi-flexible, addressable LED matrix boards. For use with Arduino compatible board and WS281x (Neopixel) or APA102 (DotStar) LEDs, and probably easily adaptable to other microcontrollers and LEDs.
I've built a version mounted on posterboard, and some water-resistant bag-mounted versions encased in vinyl too!
- 8x32 WS2812 "Neopixel" LED Matrix Ebay Adafruit, 8x32 APA102 "DotStar" LED Matrix can also work.
- Small Arduino-compatible board of your choice: Arduino Nano, Flora, Feather 32u4, Metro Mini, Trinket Pro all work great here. Tip: Flora and Feather boards can handle a good amount of current and make working with lithium batteries a breeze. If you use one of these minimal hacking is required!
- Power source: USB Battery Pack or lithium battery.
- Posterboard, wire, solder and soldering iron, tape, glue, etc.
- If using a USB Battery Pack: an old USB cable you don't mind chopping up (you're going to use it for power, not data)
- If using a lithium battery: a lithium battery charger
- Optional, but very helpful extra JST connectors (if you want to make everything detachable)
Cost: ~$80-120 if you buy everything retail, a lot less if you can buy bulk, do your own sourcing, or have some of the parts on hand!
Very basic hardware setup shown below: LED Matrix, a lithium battery, a Flora board, some JST SM connectors.

To keep things easy here I've tried to use as much off the shelf material as possible.
You need to install the Arduino IDE:
And some Arduino libraries:
And download the sample sketch neopixelsign.ino
(If you're using APA102 LEDs you'll want DotStar variations of the above)
These assume you are using WS2812 "Neopixels", but the process should be similar with an APA102 "Dotstar" Matrix and I've included an ino sketch for those as well!
-
Open the
neopixelsign.inoin Arduino IDE -
Install the Adafruit libraries,
Sketch > Include Libraries > Manage Libraries, or unzip into yourArduino/librariesfolder (more instructions how to install Arduino libraries) -
In the Arduino IDE, edit the protest messages in the config area (and colors if desired)
// Put your messages here
char* slogans[]= {"NET NEUTRALITY!","OPEN + AFFORDABLE INTERNET","SAVE THE NET","DEFEND INTERNET FREEDOM","#SAVETHENET #NETNEUTRALITY"};

// And your RGB colors here
const uint16_t colors[] = { matrix.Color(255, 0, 0), matrix.Color(0, 255, 0), matrix.Color(0, 0, 255),matrix.Color(130, 0, 128),matrix.Color(0, 101, 200) };
-
Attach the
DATAline of your LED matrix to one of your Arduino's digital pins (in the example we use Digital Pin 6, but you can change this) -- if you'd like you can add a 300 to 500 Ohm resistor. NeoPixel/WS2812 Best Practices -
Upload the sample sketch to your microcontroller.
If you're using a USB power pack
- Cut off the end of your USB cable, strip the power and ground wires (red and black).
- You're going to create a "Y" here. Run power and ground to your LED matrix power and ground. Run power and ground to your microcontroler's power and ground pins. Solder.
If you're using a lithium battery (This assumes your micro controller has a connector for the battery and is robust enough to handle the output current needed to drive the matrix. Many are now designed with this in mind!)
-
Connect the LED matrix to your board's power output and ground.
-
Connect the lithium battery to your microcontroller board
-
Enjoy, create and share patterns of your own :-)
NOTE when you attempt to reprogram your Arduino, I suggest either unplugging the LED matrix or making sure to connect your matrix to external power / USB Battery, so the matrix is not powered by your computer's USB through the Ardunio (could cause unintentional damage).
- Some LEDs might be wired a bit differently (RGB, BRG, GRB?). Take a look at the initialization params in
Adafruit_NeoMatrix()if you're having trouble! - If you're using APA102 and you want to use Hardware SPI omit the CLOCK and DATA pins from your
Adafruit_DotStarMatrix()constructor. - Boards like Flora and Feather 32u4 can handle a good amount of current and make working with Li-ion batteries a breeze. If you use one of these minimal hacking required!
- Add a bluetooth to serial dongle, wifi, or cellular connectivity and modify the code to remotely control the display. Sketches for this coming soon!
- Static LED signs via Overpass Light Brigade
- LED POV Umbrella
- Matrix protest sign with MicroSD
- SMS Messenger Bag via Adafruit
