50 minutes, Intermediate, Start Building
This sample Python backend provides a REST API service that is used with the Getting Started with Astra UI to show a simple example of how to connect to and query DataStax Astra databases.
- How to connect to DataStax Astra using the secure connect bundle
- How to share a DataStax Driver Session throughout a Python application
- How to expose a basic REST API using the DataStax Driver
This project is built in Python and uses Flask to expose a REST API backend for use with the Getting Started with Astra UI.
This application is the middle man that receives requests from the UI web page and serves data from the underlying DataStax Astra database.
To build and play with this app, follow the build instructions that are located here: https://github.com/DataStax-Examples/getting-started-with-astra-python
Let's do some initial setup.
-
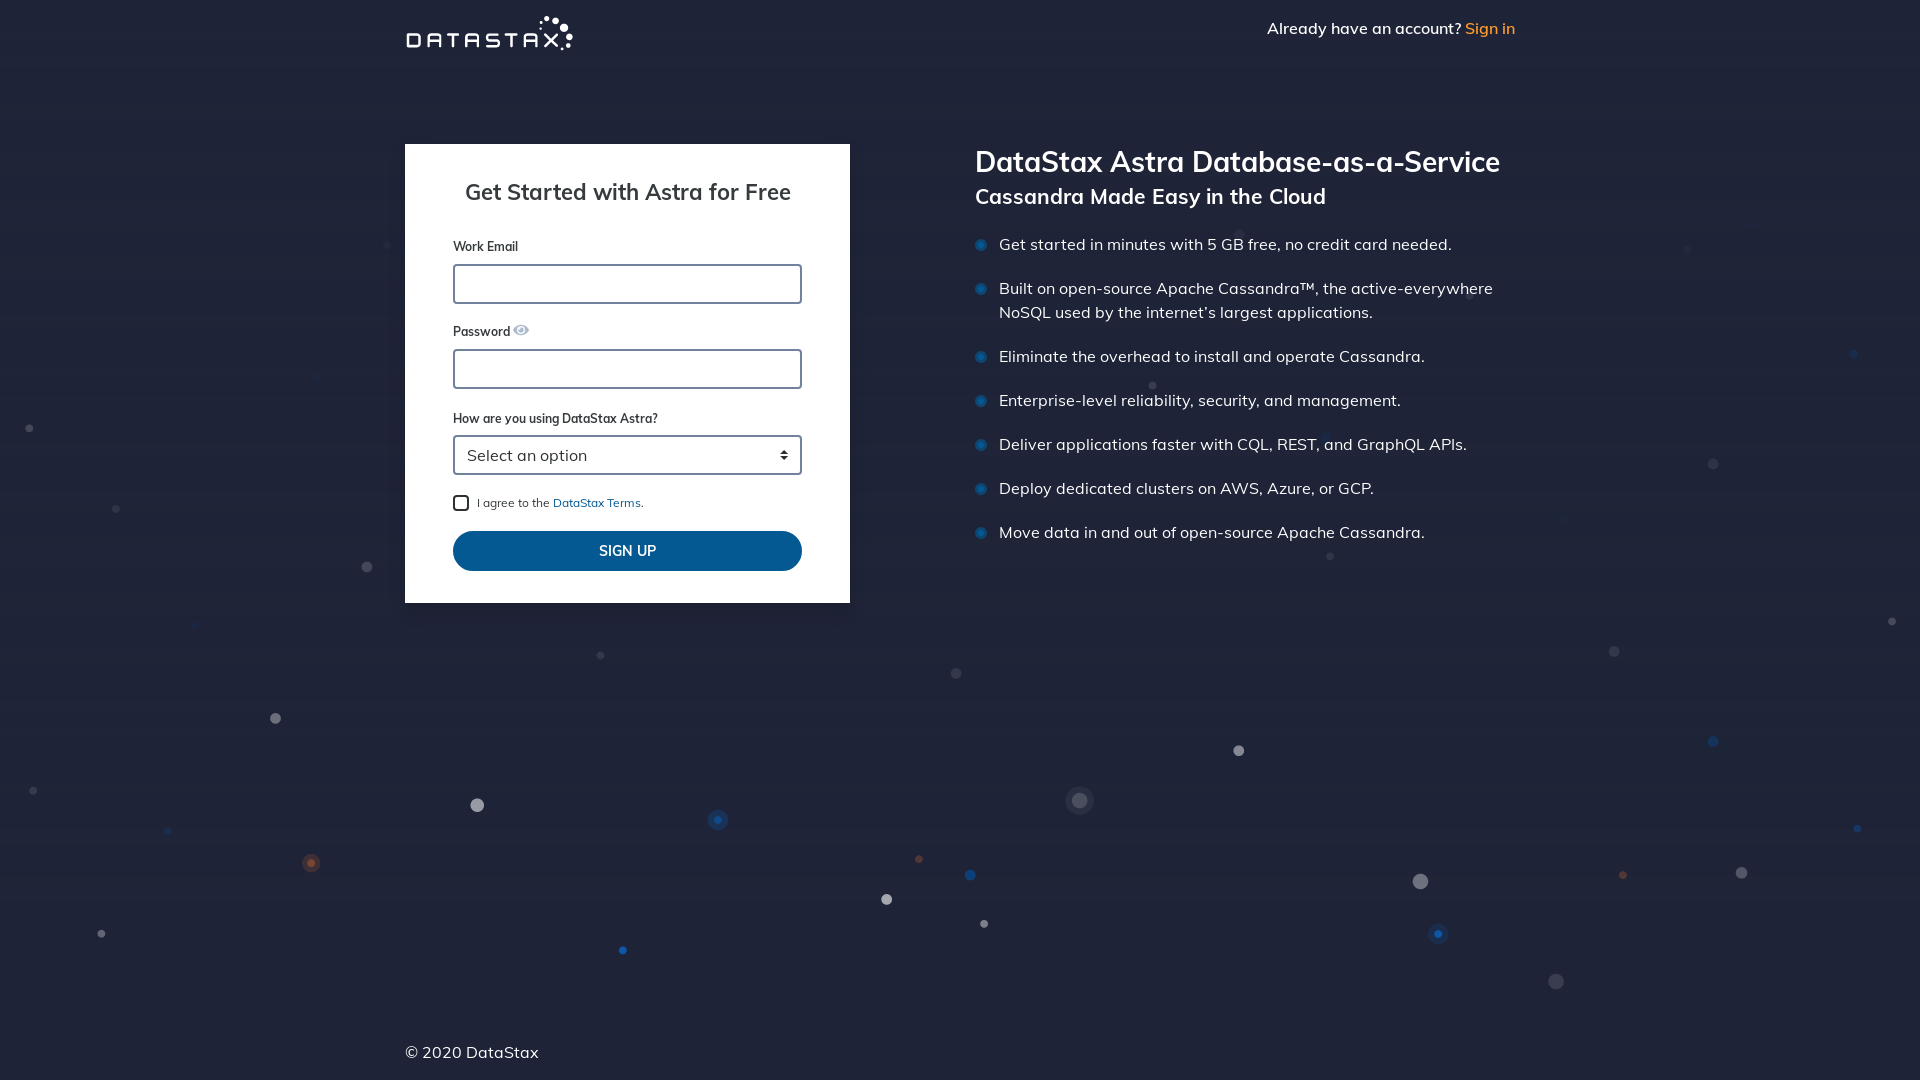
Create a DataStax Astra account if you don't already have one:
-
On the home page. Locate the button
Add Database
-
Pick free plan and a region close to you, click configure.


-
Define a database name, keyspace name and credentials (Take note of the DB Password)

-
Your Astra DB will be ready when the status will change from
PendingtoActive💥💥💥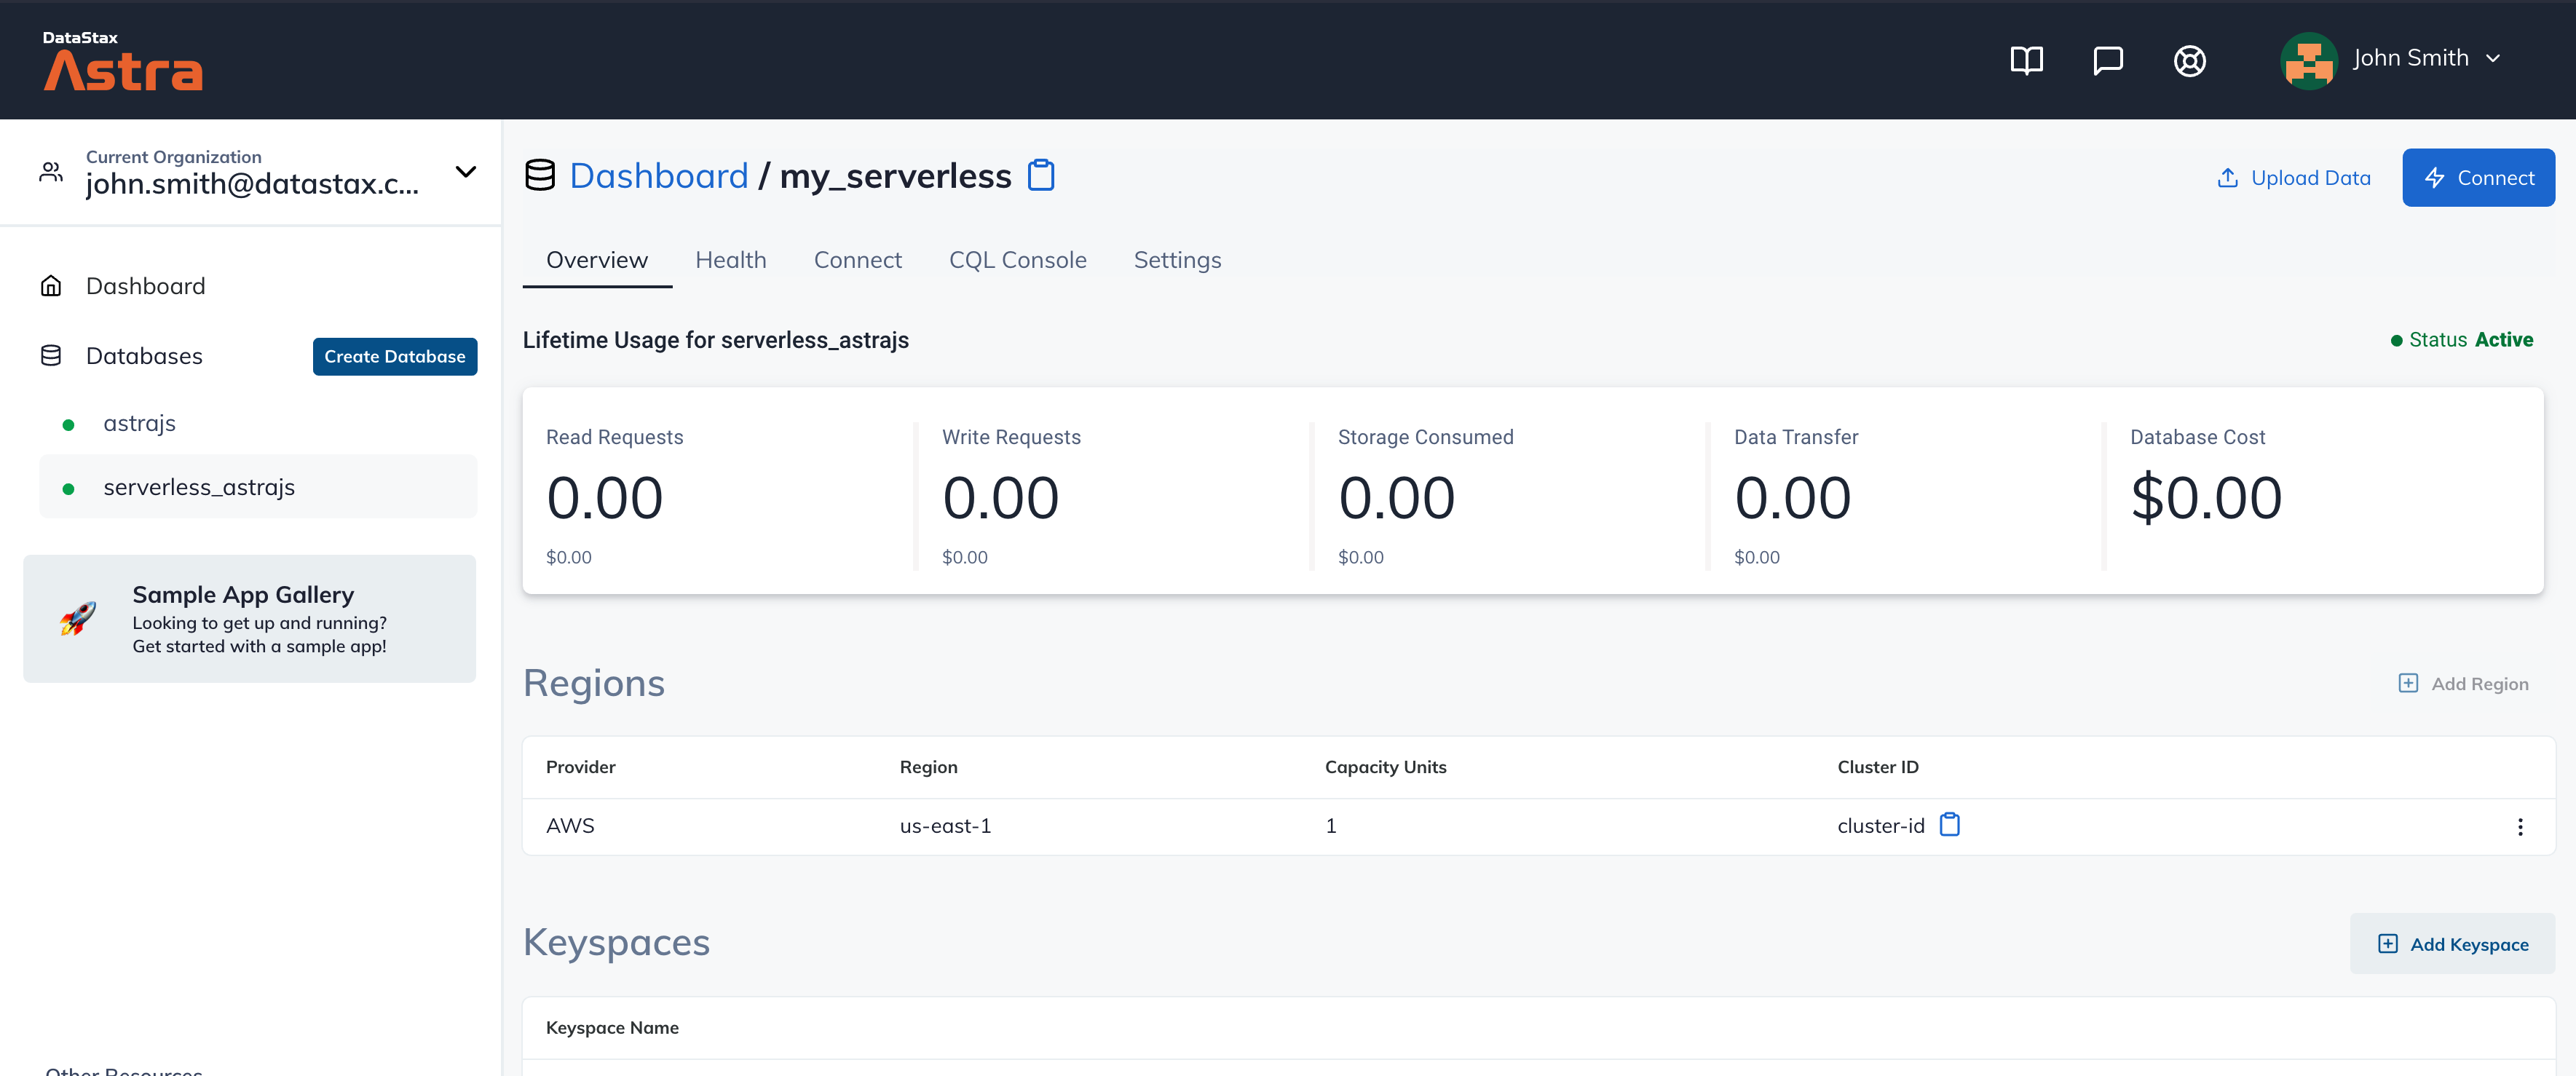
-
Locate the combo
Organization: <Your email>on the top navigation. In the drop down menu, click your current organization.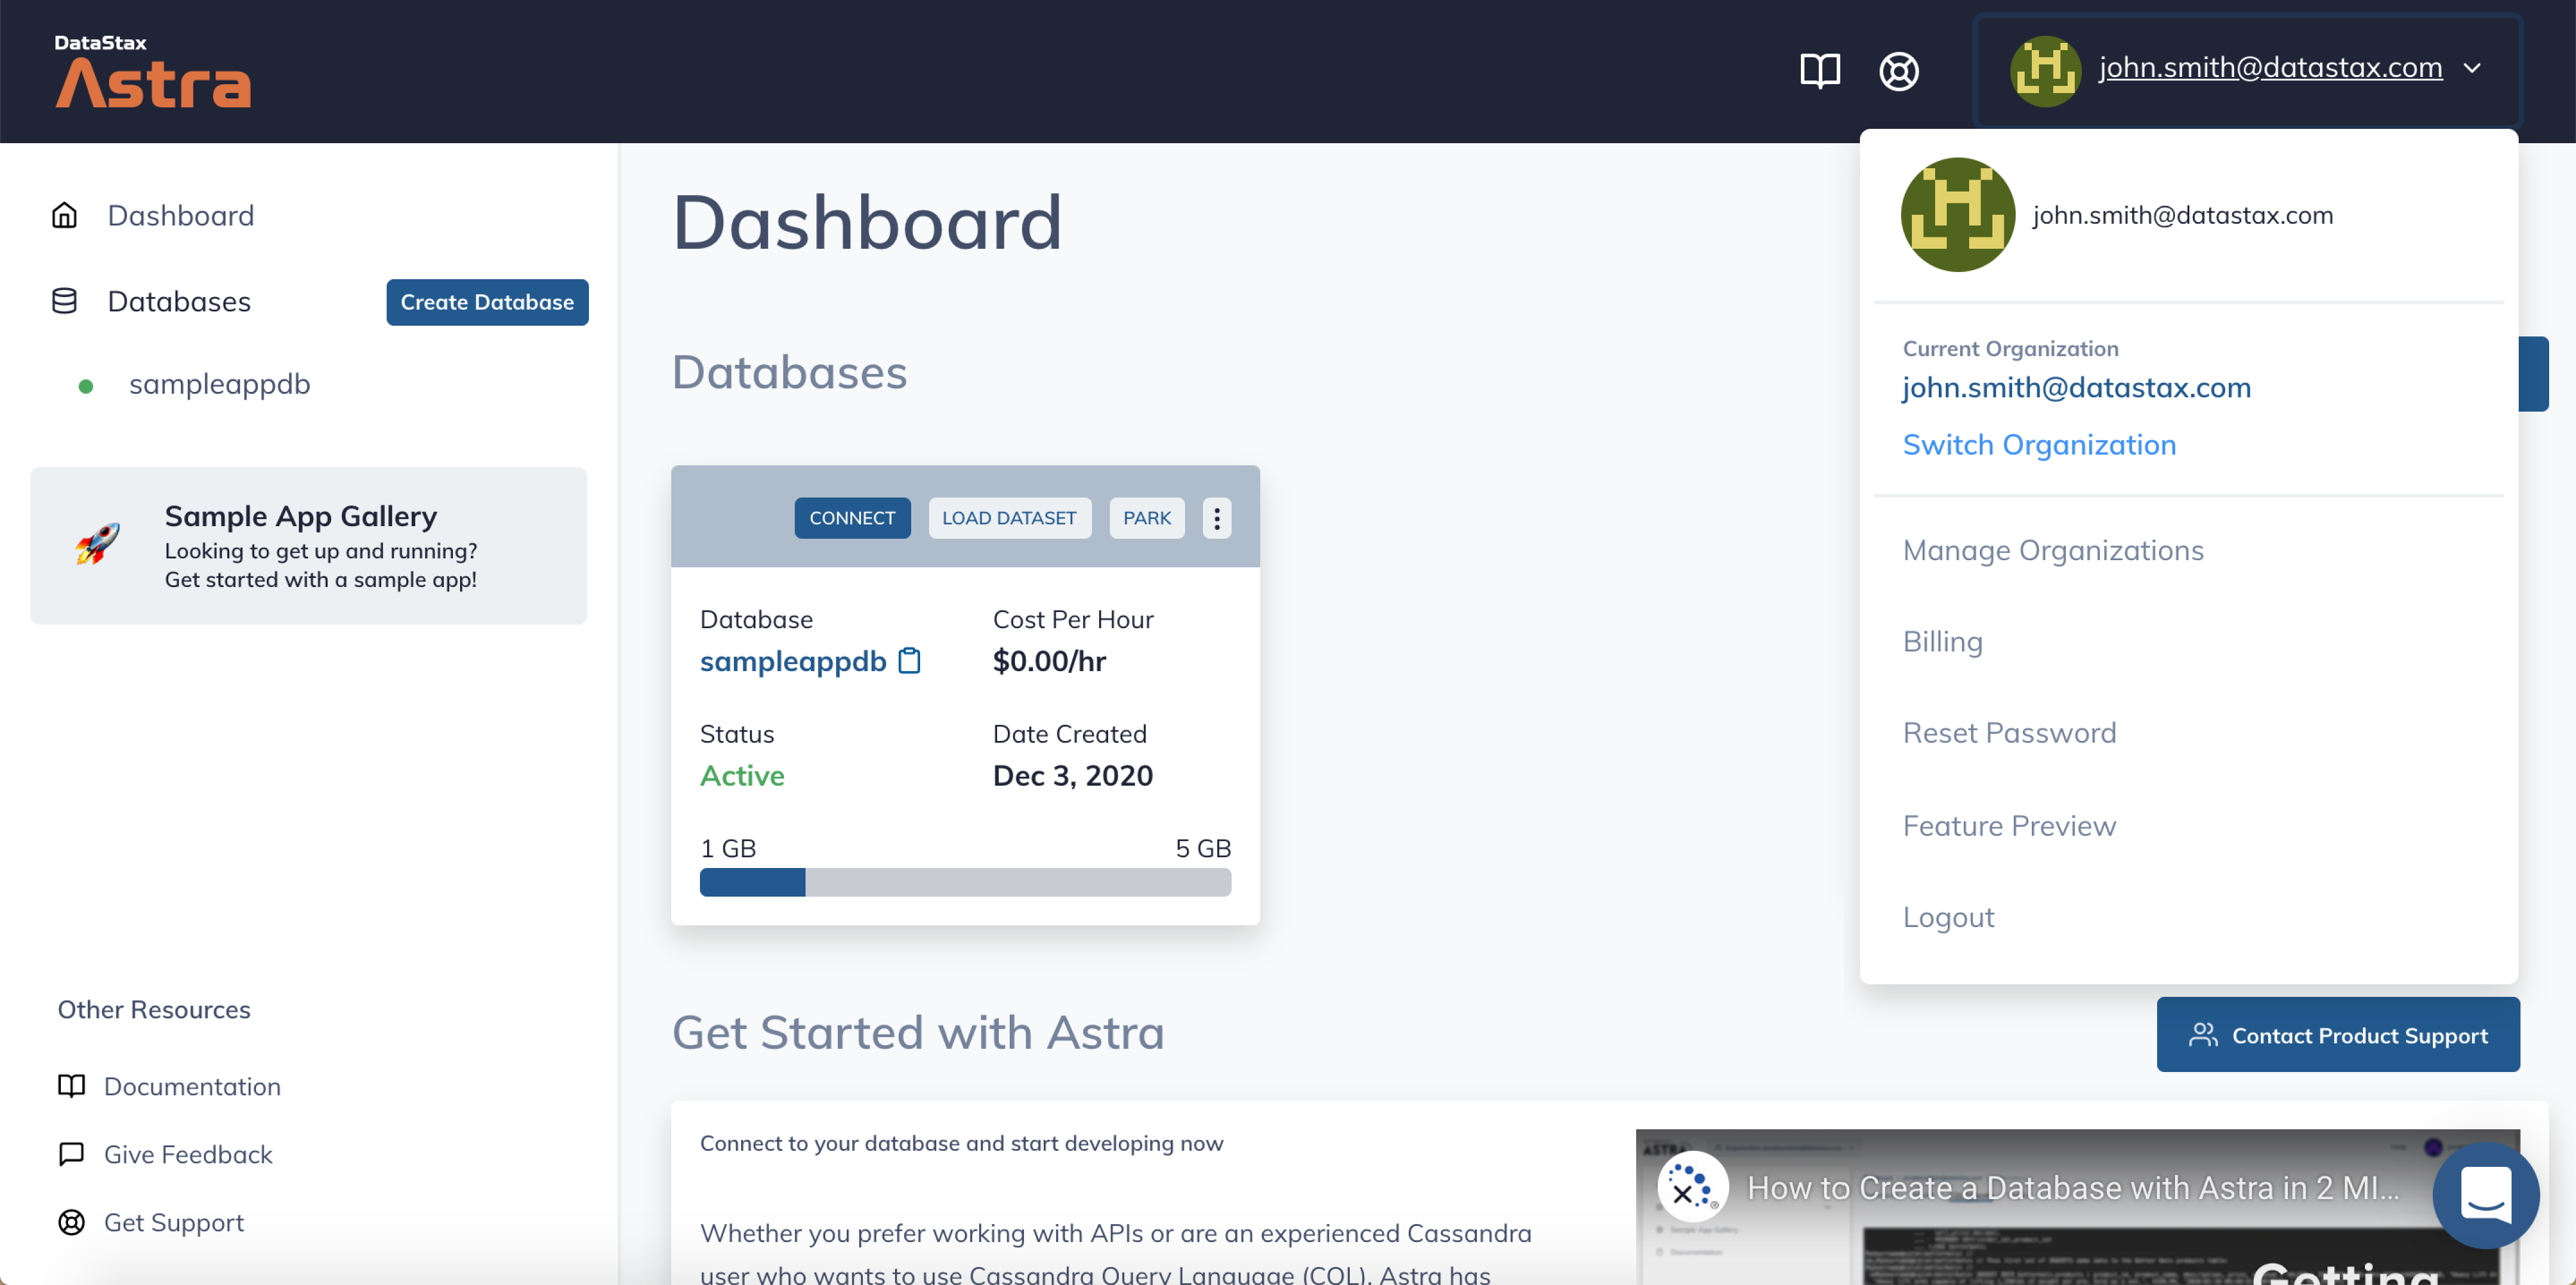
-
Scroll down to the bottom of the page and locate
Service AccountinSecurity Settingsand selectCopy Credentialsas shown below.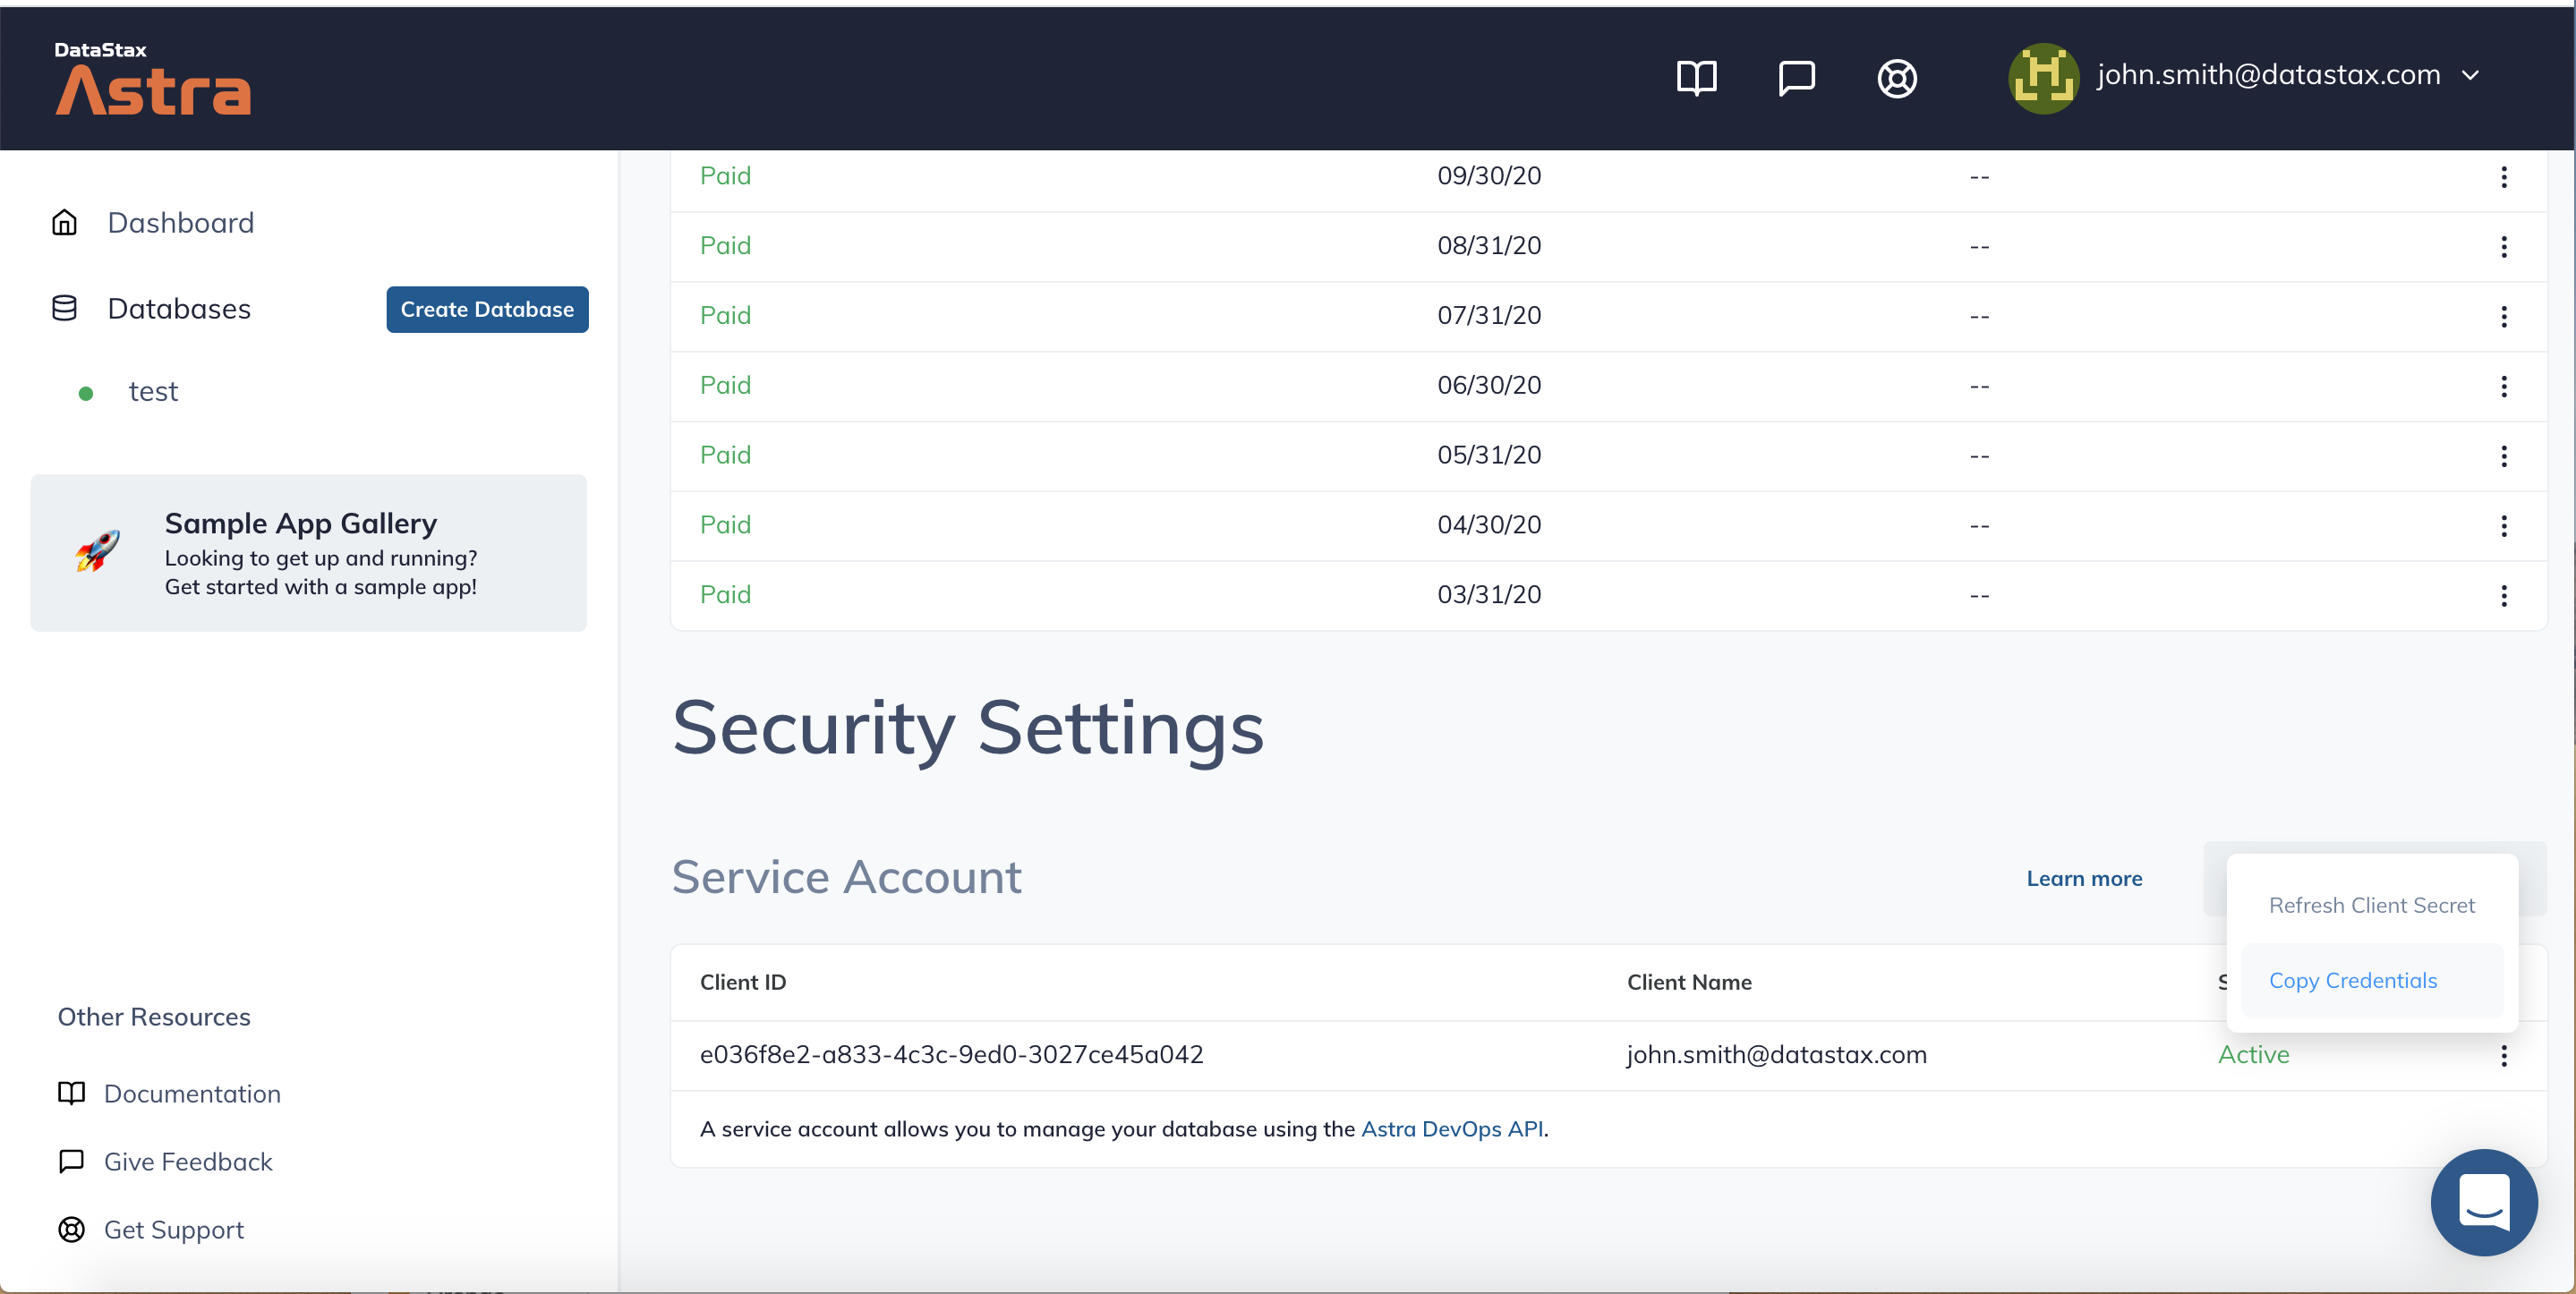
-
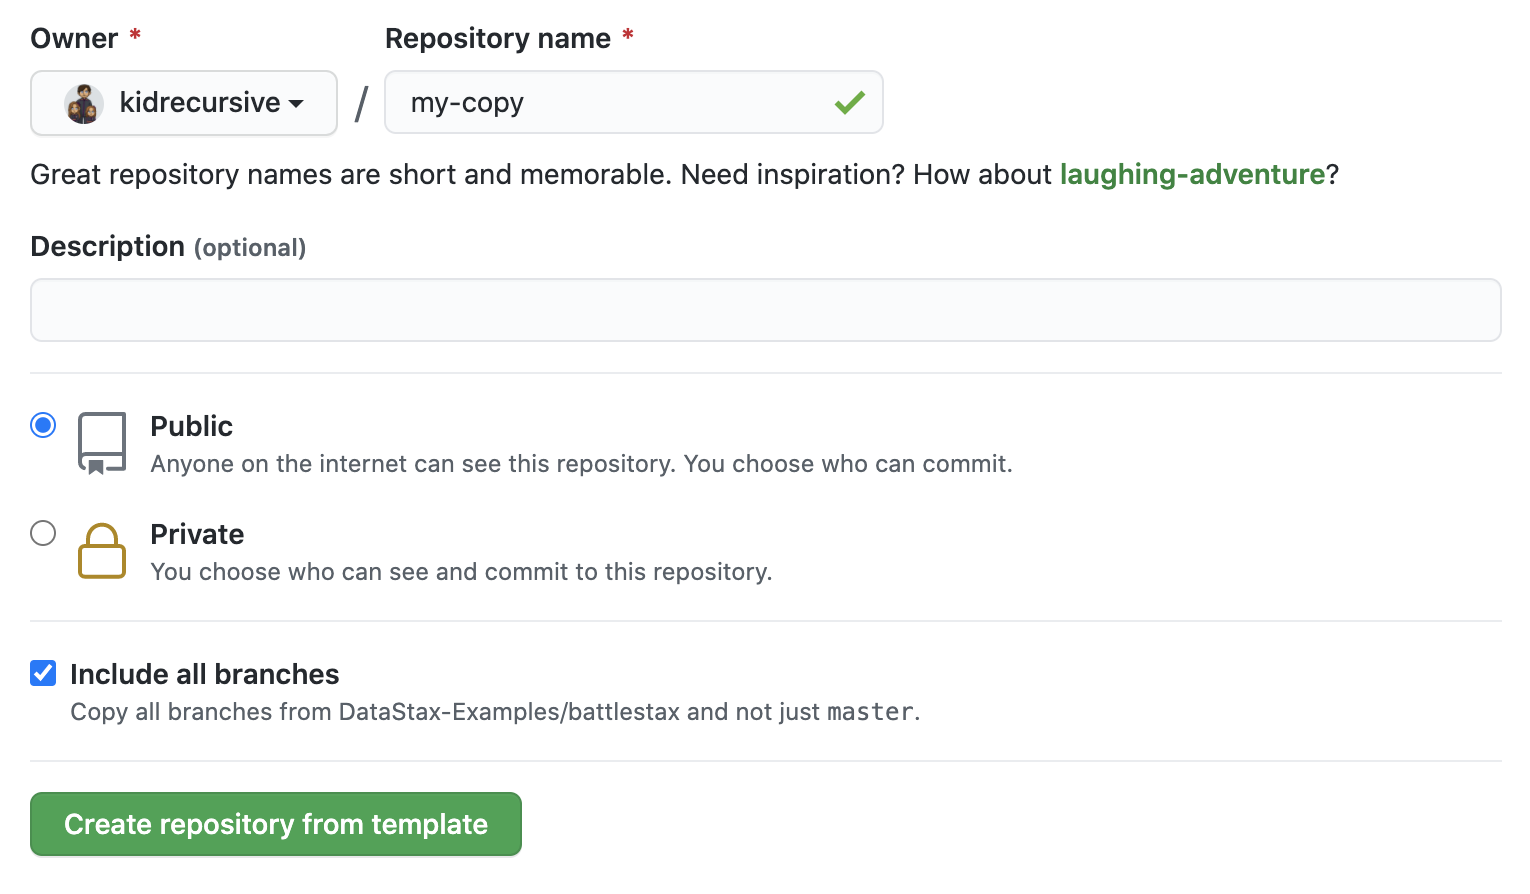
Click
Use this templateat the top of the GitHub Repository:
-
Enter a repository name and click 'Create repository from template':
-
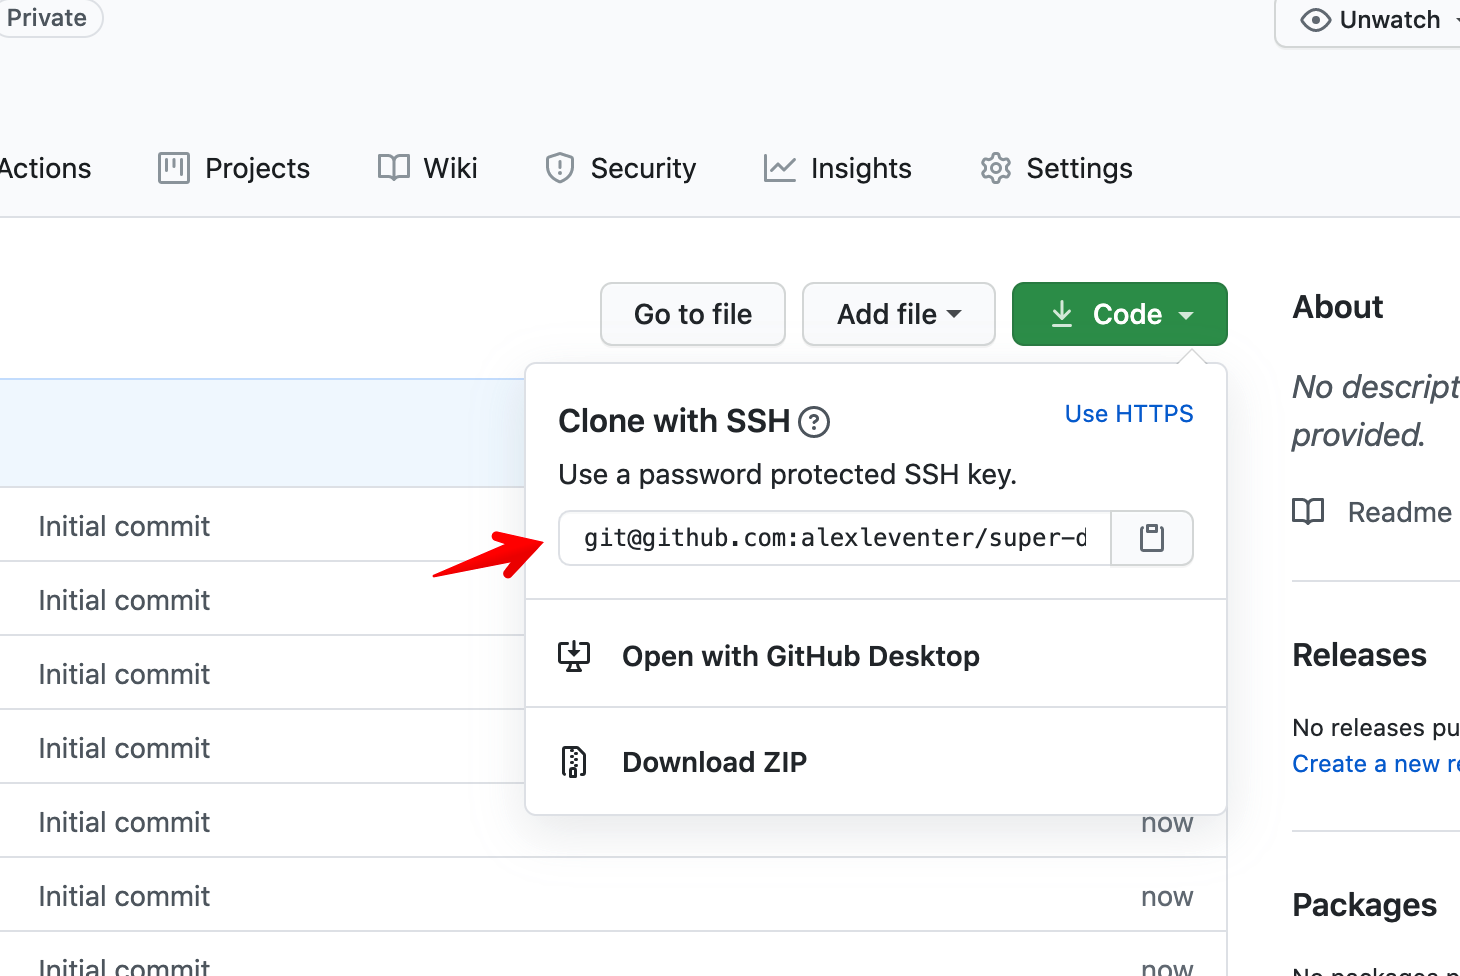
Clone the repository:
Make sure you've completed the prerequisites before starting this step
If you are familiar with Python, then you've likely gotten your hands on Python virtual environments. We'll be leveraging pyenv while setting up this backend, which will serve our Spacecraft frontend that will have you flying through the stars.
If you aren't familiar with Python, hop over to our official documentation for setting that up on your machine, and come back here after you have it installed ( specifically after Step 5 of the Procedure ).
Now that we have that out of the way, we'll use pyenv to install Python 3.6.9
pyenv install 3.6.9Next create a new virtualenv using that Python version we just installed.
pyenv virtualenv 3.6.9 astra-venvAlmost off to the races, go ahead and activate that virtualenv
pyenv activate astra-venvWoot, now 3 quick dependencies ( Flask, Flask CORS, and the DataStax Cassandra Driver )
pip install Flask flask-cors cassandra-driverLast one, clone this repo
git clone https://github.com/DataStax-Examples
/getting-started-with-astra-python.git
If everything above went smoothly, fingers crossed, then we are ready to rock. Go to the directory that you just cloned this repo into
cd getting-started-with-astra-pythonFire up the engines
FLASK_ENV=development FLASK_APP=getting_started_with_astra.py flask runYou should be met with the following output, note that it's running on localhost and port 5000
 * Serving Flask app "getting_started_with_astra.py" (lazy loading)
 * Environment: development
 * Debug mode: on
 * Running on http://127.0.0.1:5000/ (Press CTRL+C to quit)
 * Restarting with stat
 * Debugger is active!
 * Debugger PIN: 204-527-831
Once the backend is running, you can start the Getting Started with Astra UI in order to use a web page that leverages this backend.