Watch the above video to learn more about Mac signing and notarization in detail!
1. Initial Setup
-
Install Xcode and Apple Developer App from the App Store.
-
Open the Apple Developer App and subscribe to the $99 Apple Developer Program, providing accurate details as per your National ID.
-
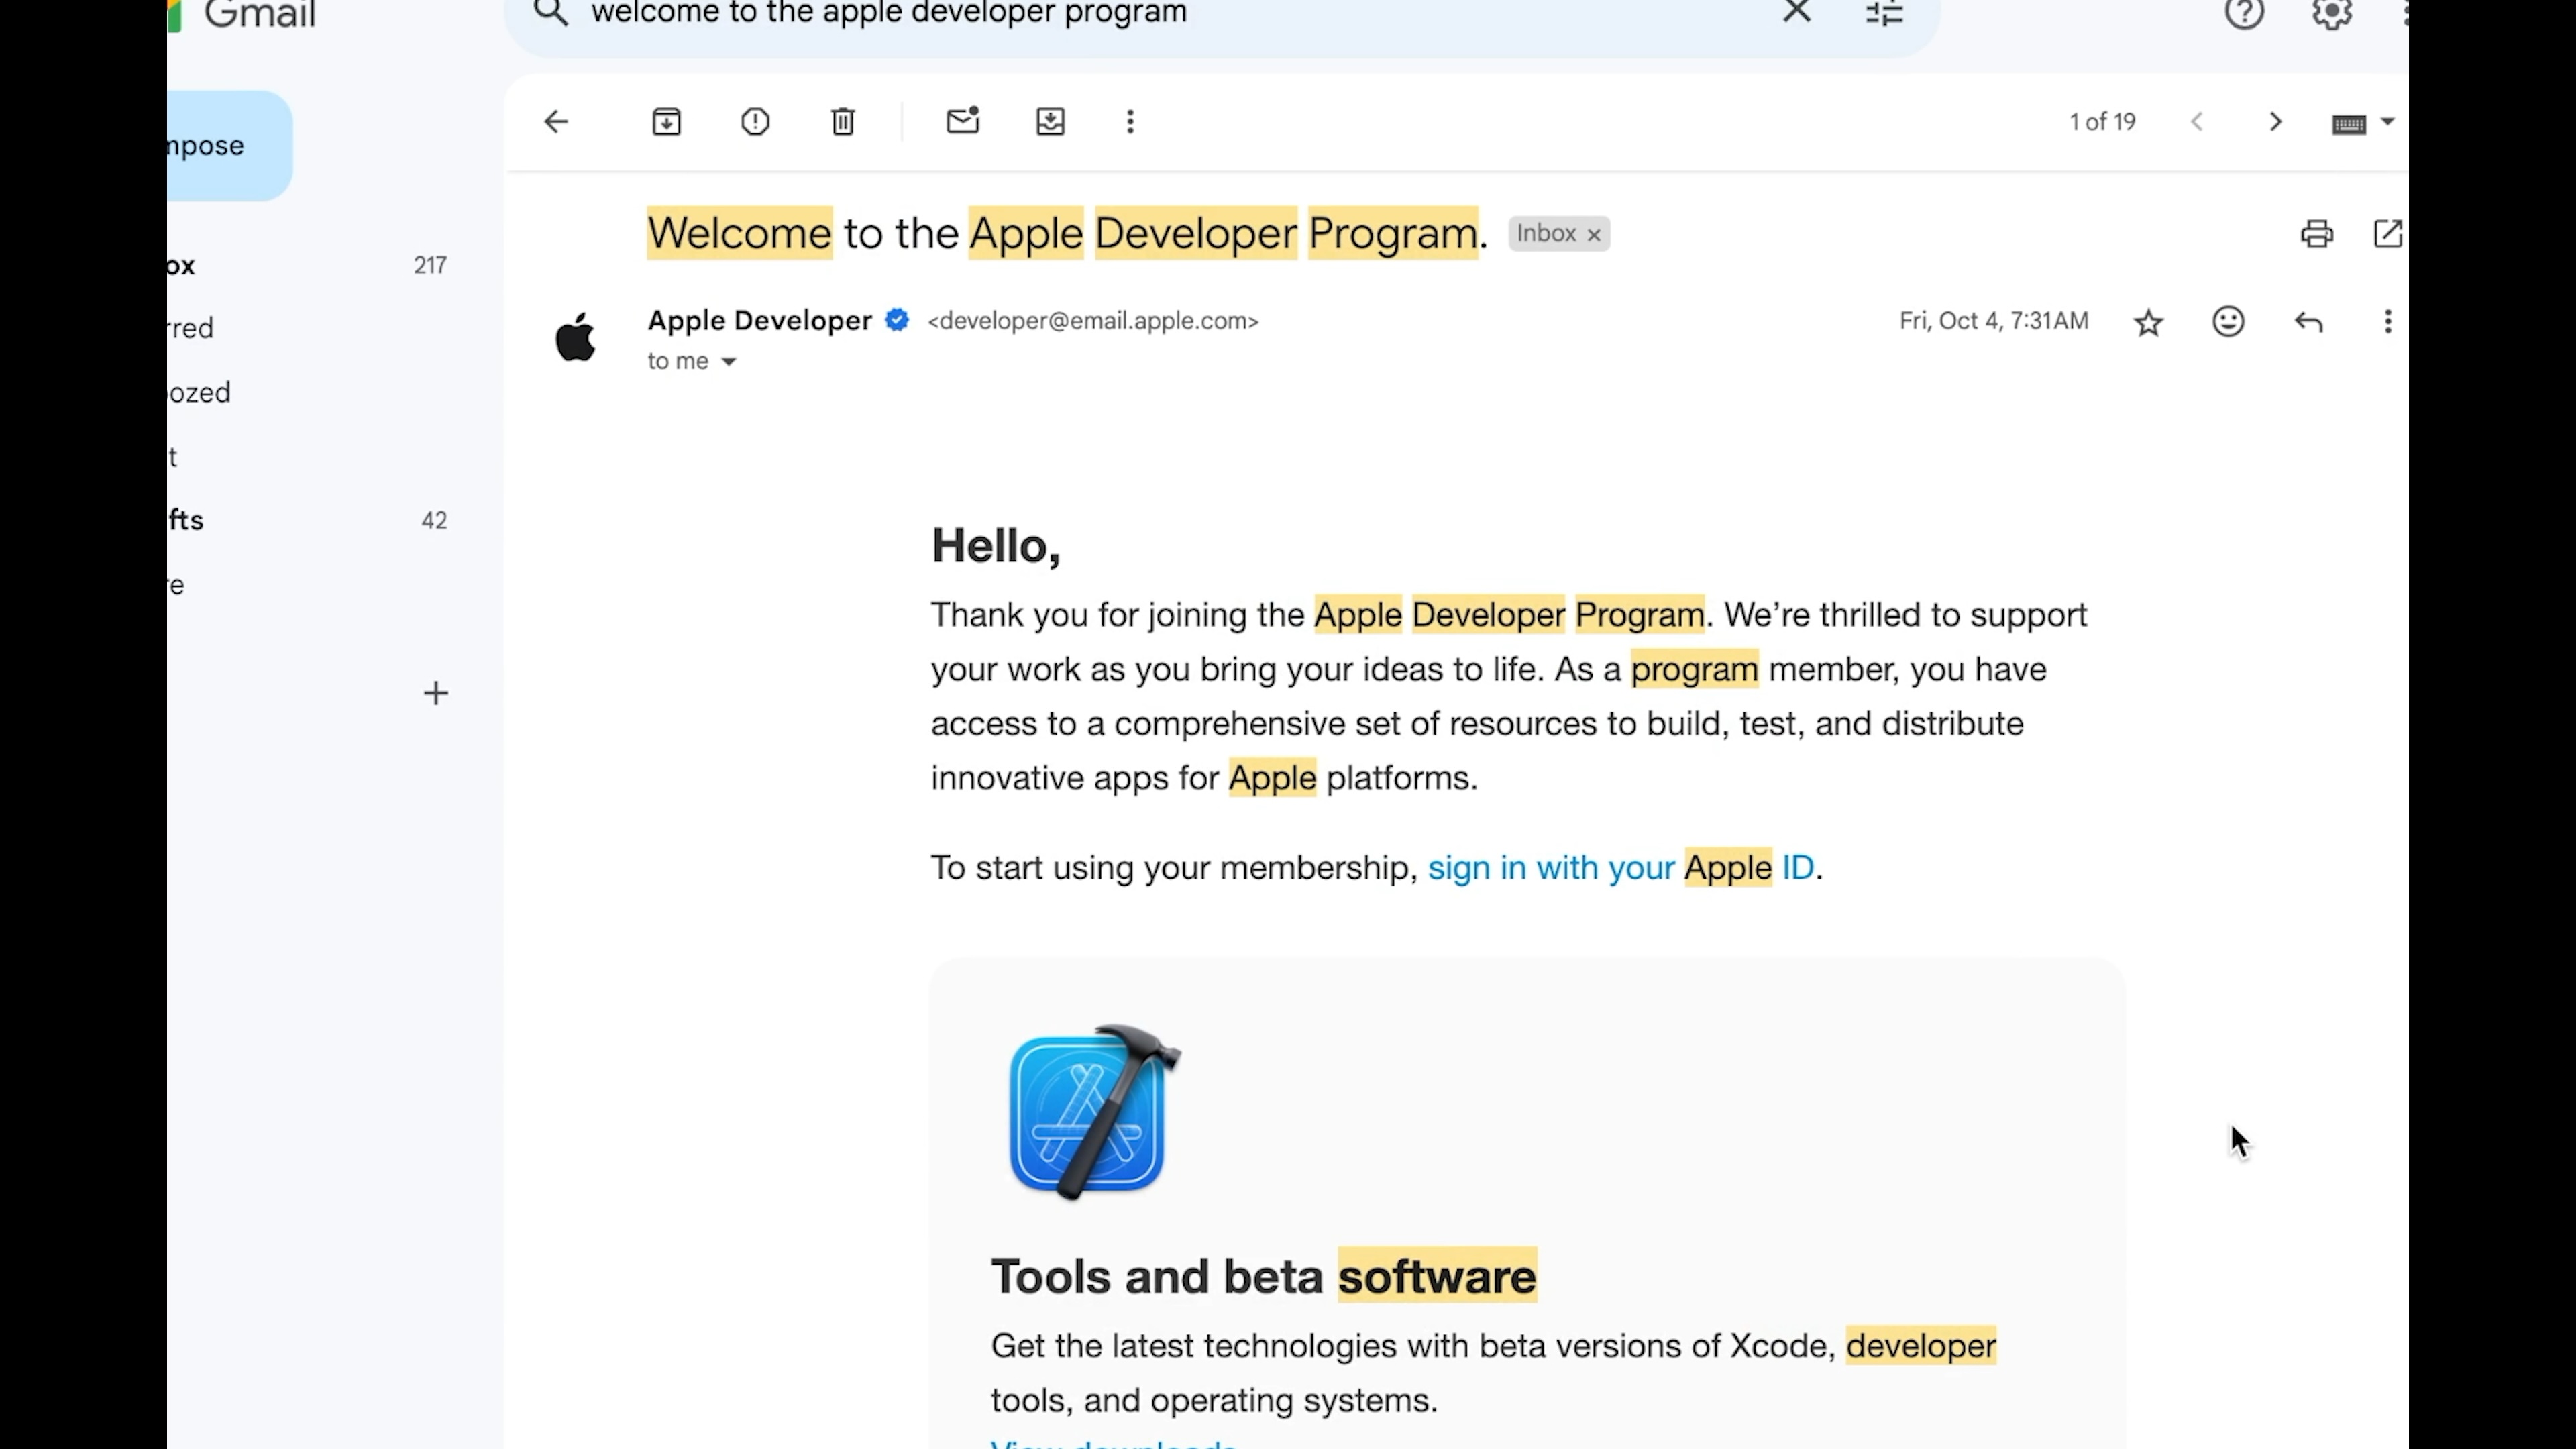
Wait until you receive the Apple Developer Program Welcome Email, which may take up to 48 hours.
2. Get Required Credentials
App Specific Password:
- Visit https://account.apple.com/account/manage.
- Sign in to your Apple Account.
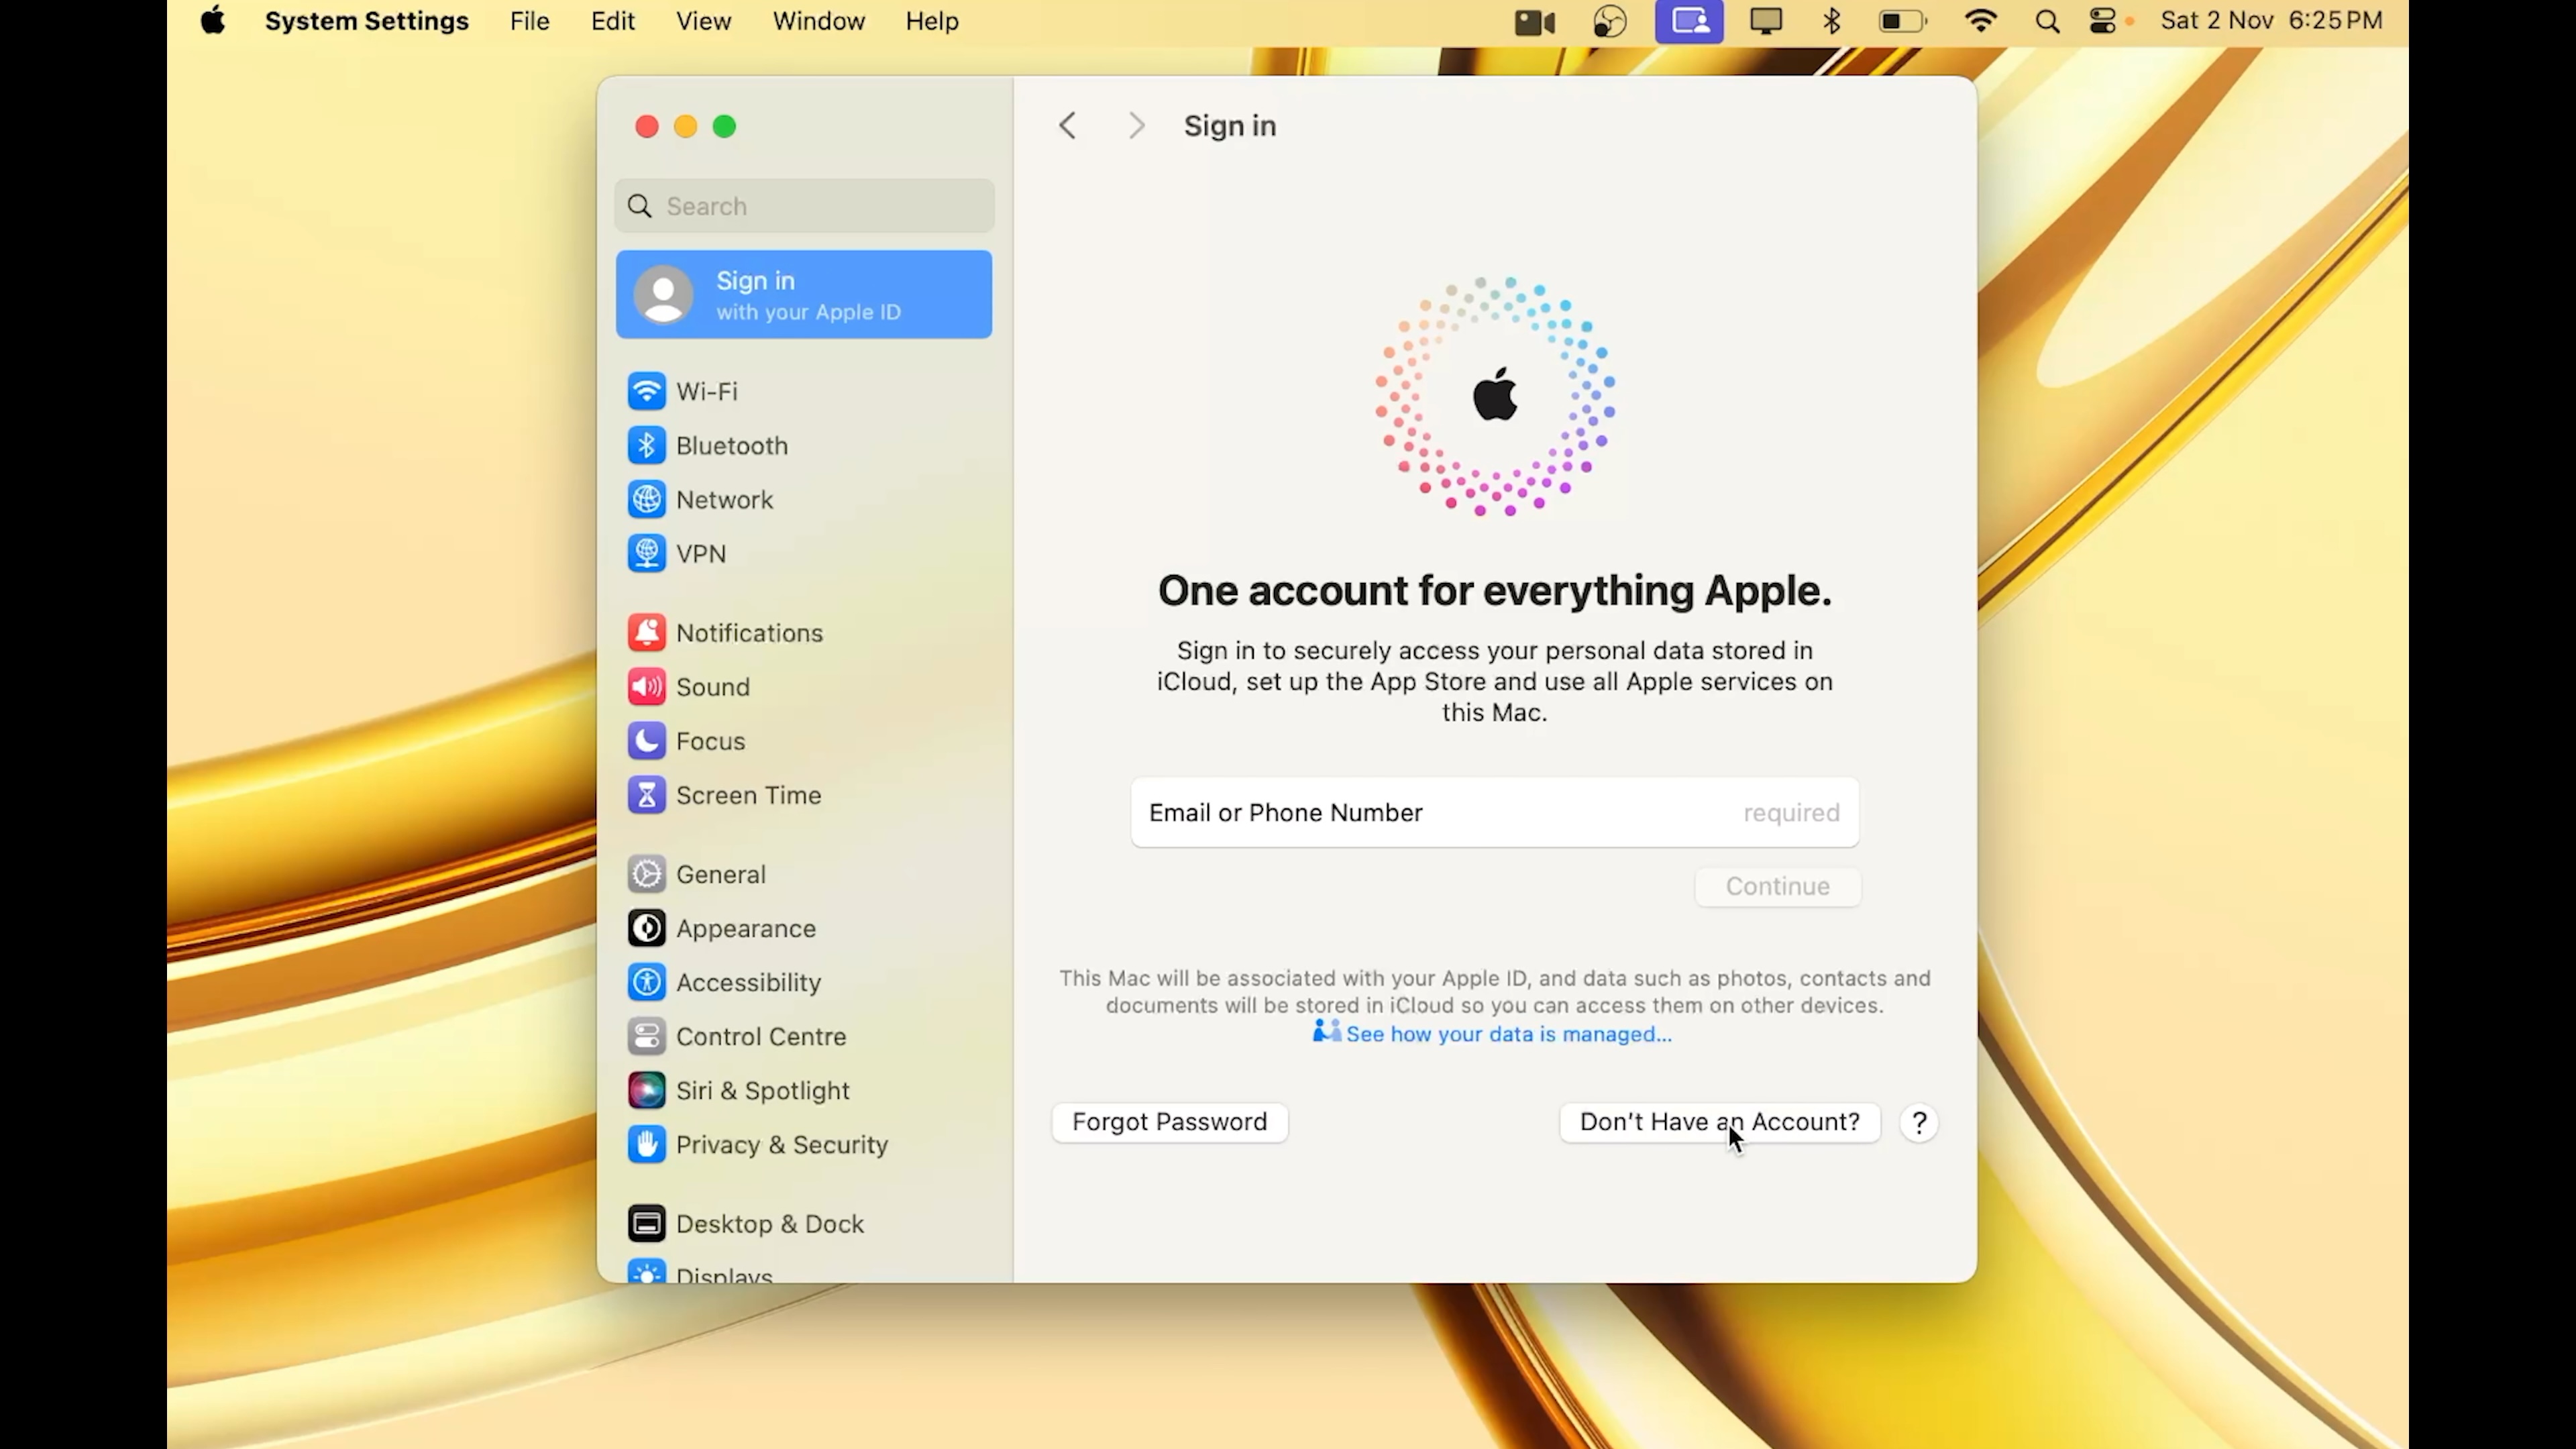
- Create a new App Specific Password and store it securely.
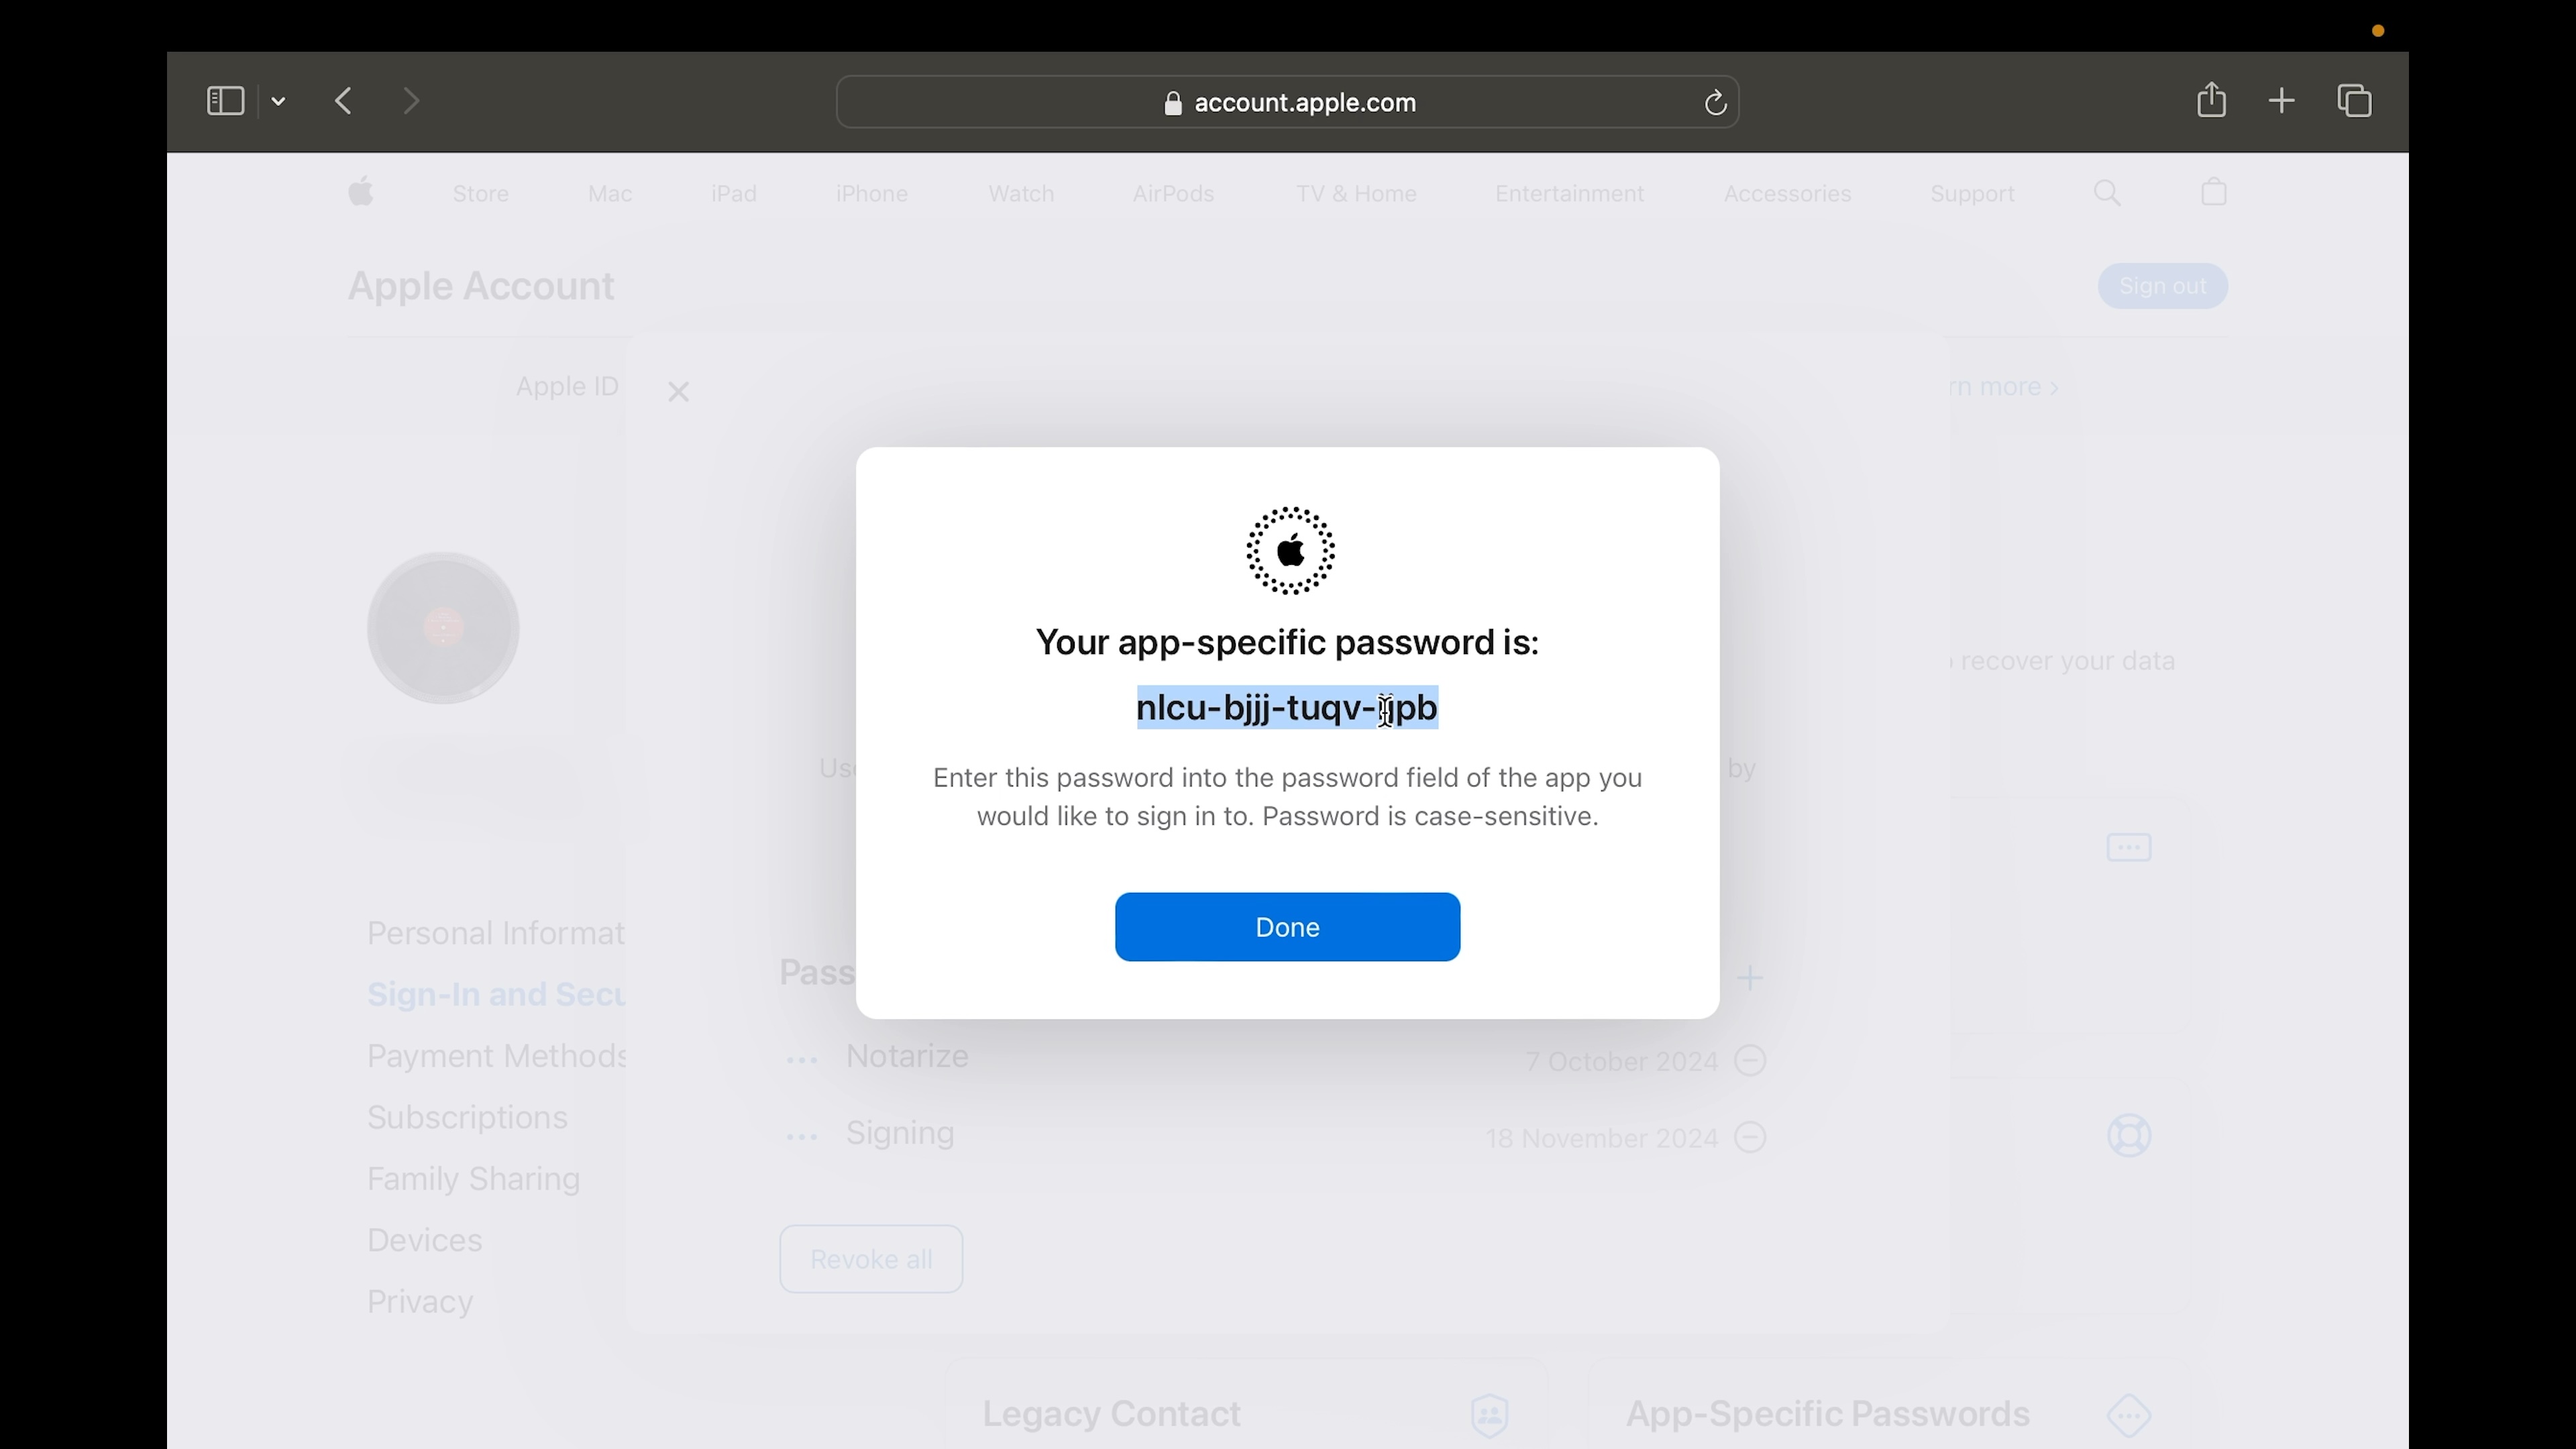 Creating an app-specific password in Apple Account settings
Developer ID Application Certificate:
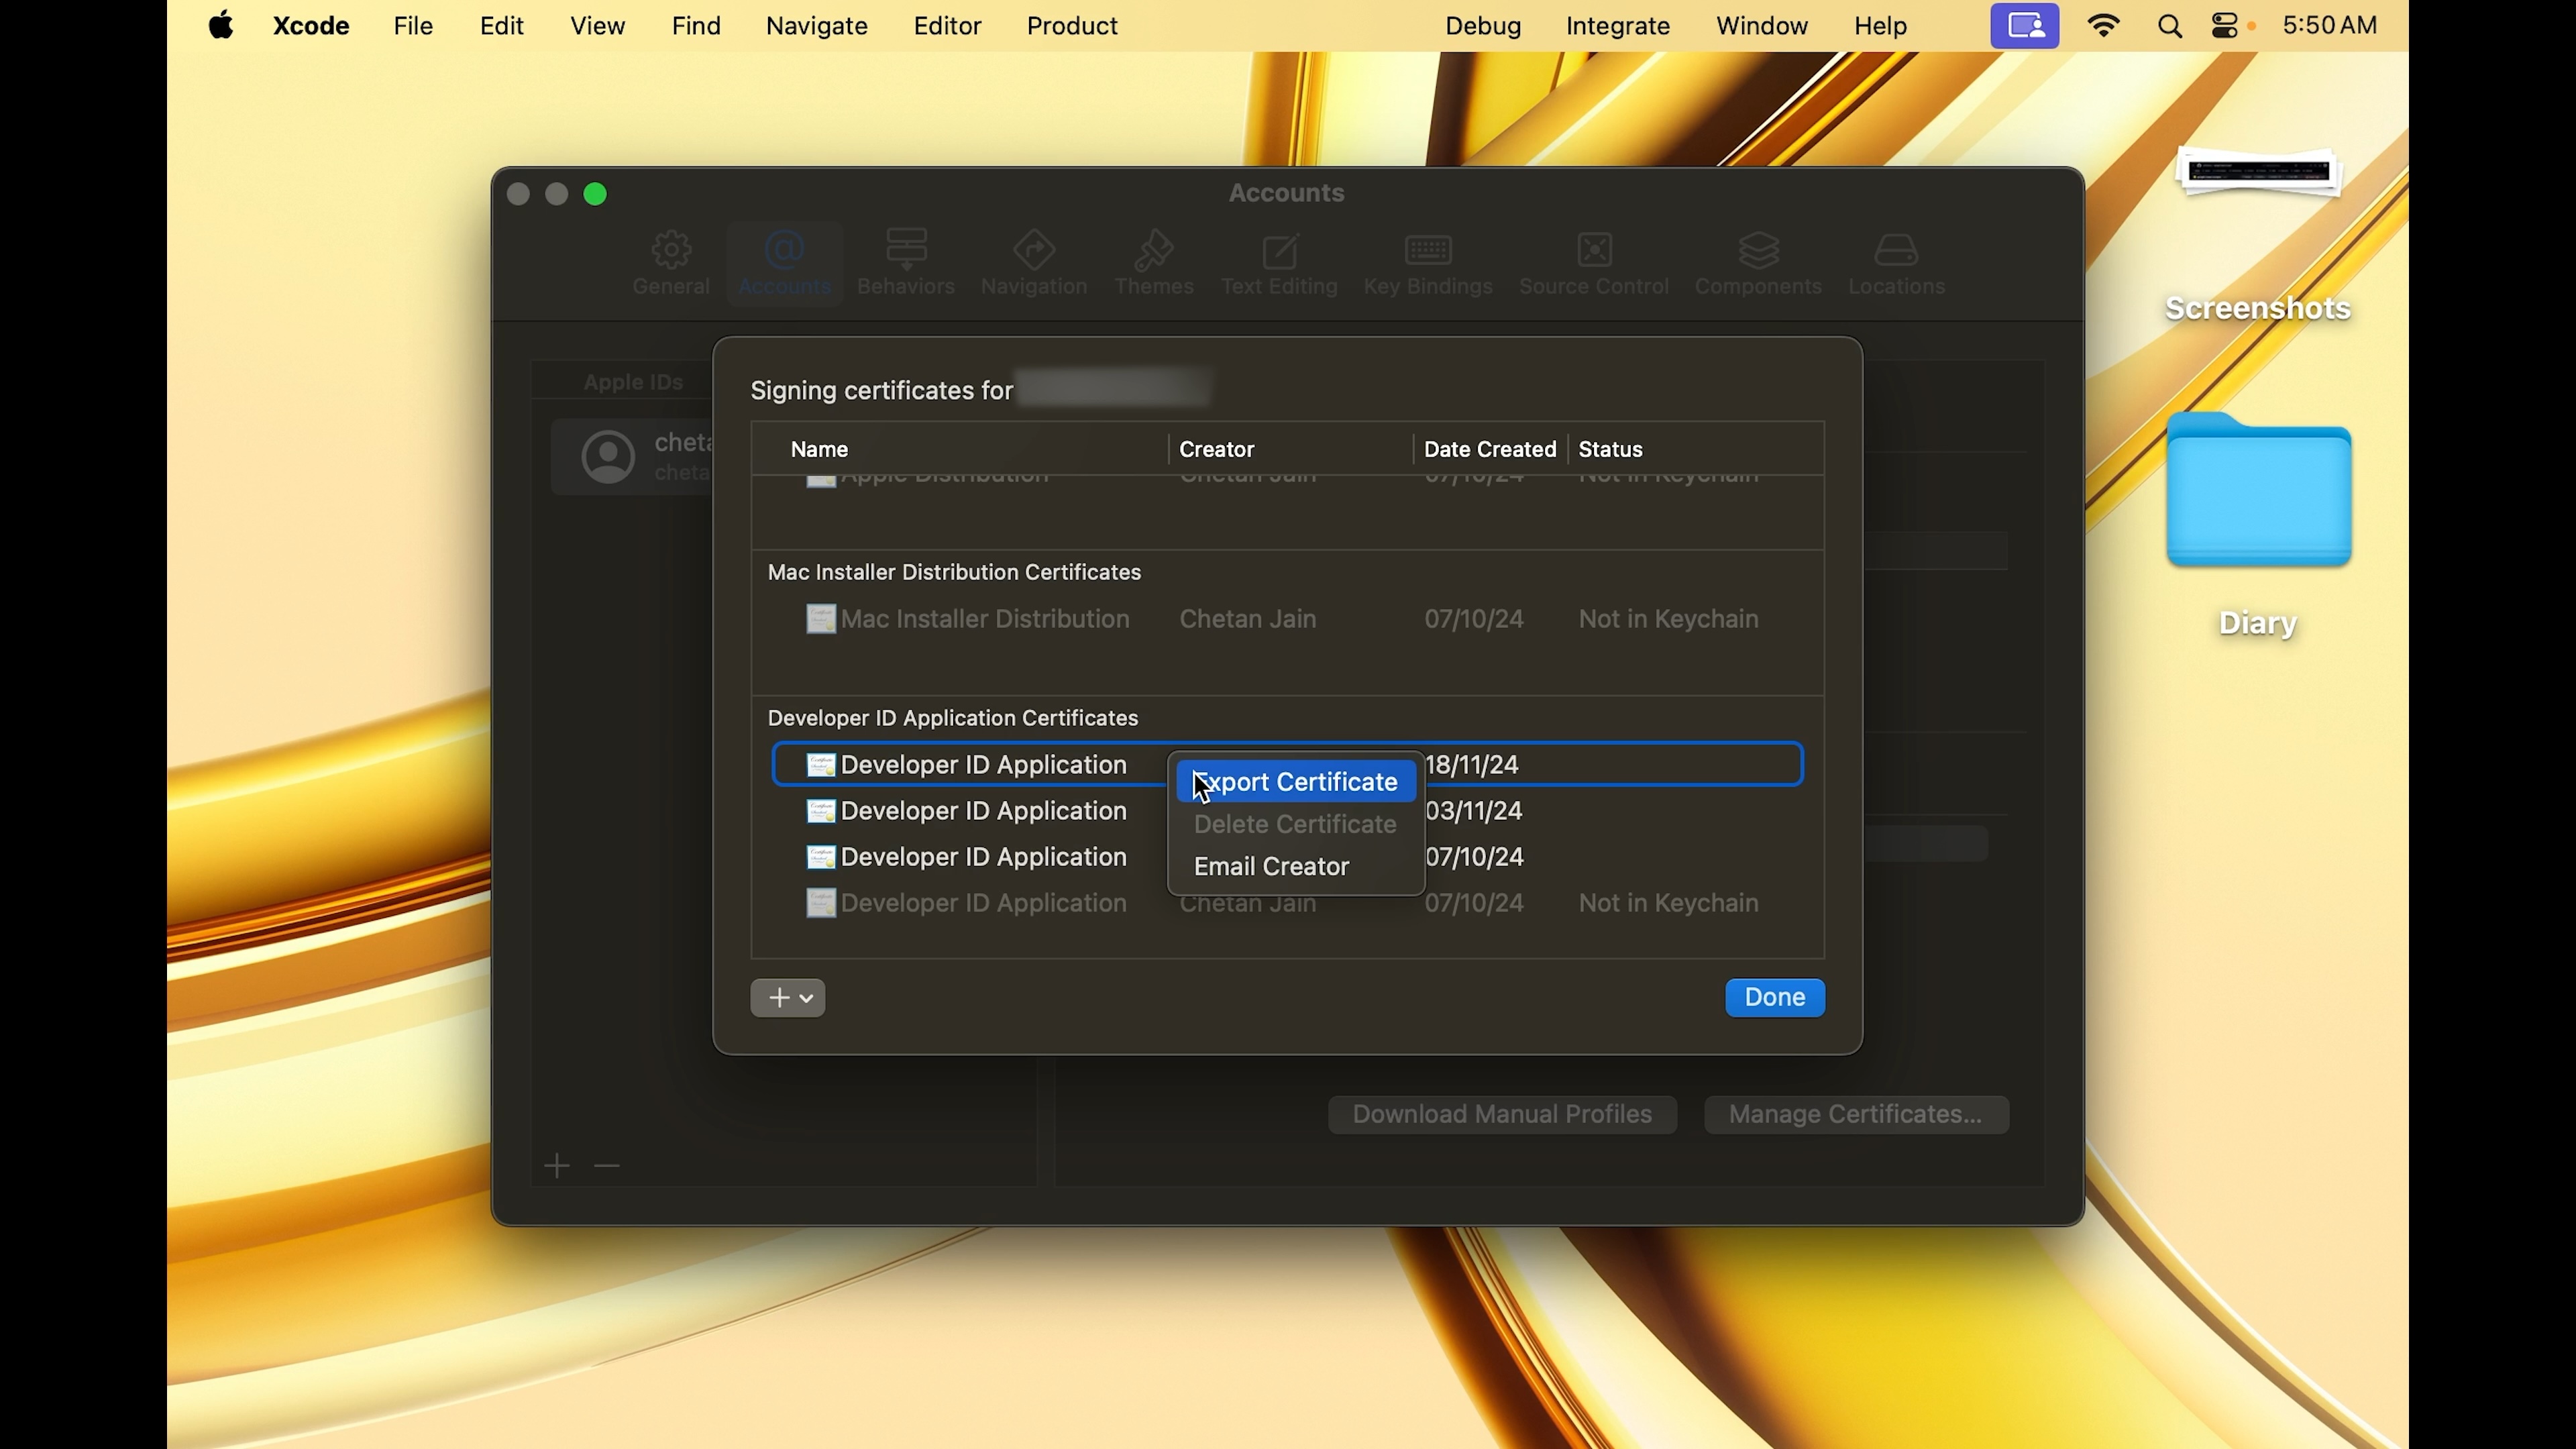
- Open Xcode > Settings > Account > "Manage Certificates".
- Click "+" to create a "Developer ID Application Certificate".
- Generate a random password at https://www.avast.com/en-in/random-password-generator.
- Left-click the Certificate, export it:
- Use the generated password.
- Name the file "certificate".
- Save "certificate.p12" in a secure location.
Team ID:
- Visit https://developer.apple.com/account.
- Scroll to the "Membership details" Card and copy the "Team ID" to a secure place.
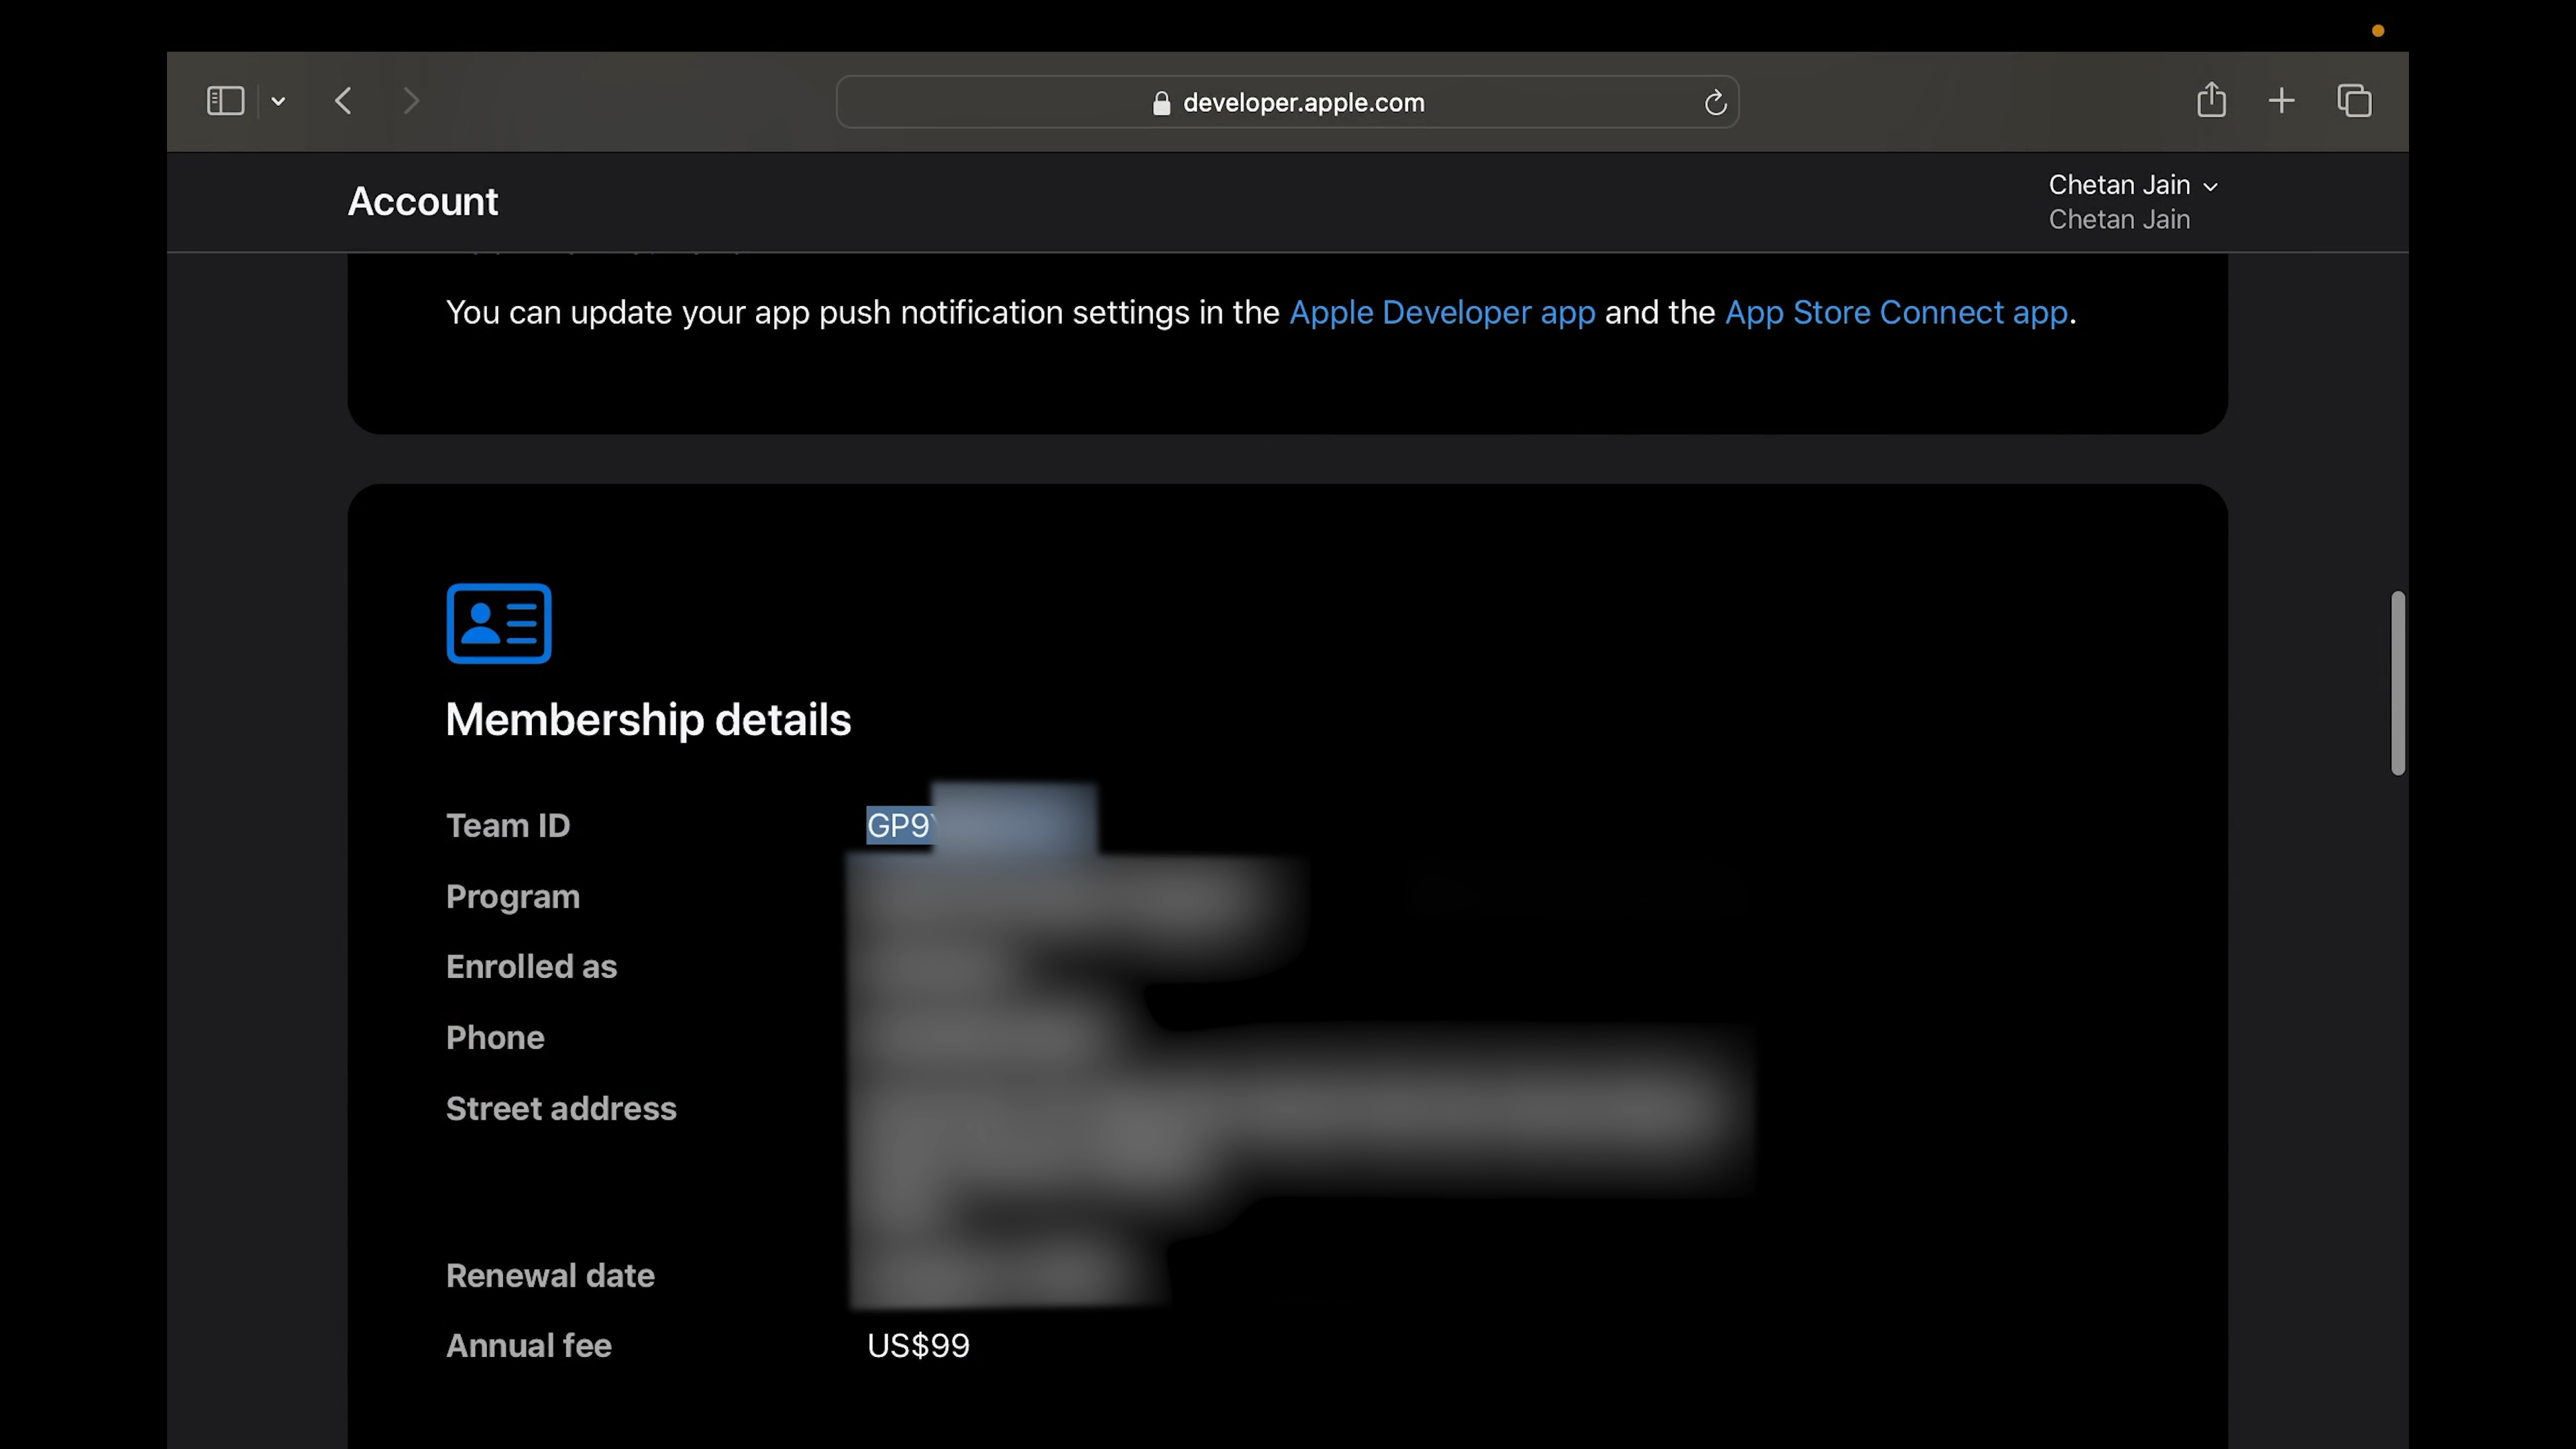 Finding your Team ID in the Apple Developer Portal
3. Sign and Notarize Sample Application
Important Notes:
- Perform this at night, as the first-time notarization can take 8 to 12 hours (subsequent notarizations are done in 10 minutes).
- Sign and notarize the provided sample app to understand the process. You can later follow the steps in the next section to sign and notarize your own application.
Steps:
- Set up the sample app:
git clone https://github.com/omkarcloud/macos-code-signing-example
cd macos-code-signing-example
npm install
- Ensure you have the latest version of Electron Builder and Electron Notarize installed to avoid any errors:
npm install --save-dev electron-builder@latest @electron/notarize@latest
- Place the "certificate.p12" file exported earlier in the root directory.
- Create a "package-mac-signed.sh" file, paste the following content, and then replace placeholders with your credentials:
export APPLE_ID="[email protected]" # Replace with your Apple ID email
export APPLE_APP_SPECIFIC_PASSWORD="MY_APP_SPECIFIC_PASSWORD" # Replace with your App Specific Password, it looks like "dsjg-zqet-rpzp-nfzy"
export APPLE_TEAM_ID="MY_TEAM_ID" # Replace with your Team ID, it looks like "AB8Y7TRS2P"
export CSC_LINK="./certificate.p12" # Keep it as it is
export CSC_KEY_PASSWORD="MY_CERTIFICATE_PASSWORD" # Replace with your Certificate Password
npm run package- Run
bash package-mac-signed.sh. - Once you see the "notarization successful" message in the terminal, you can now distribute the ".dmg" via the internet to your users without facing any security warnings. Hurray! 🎉
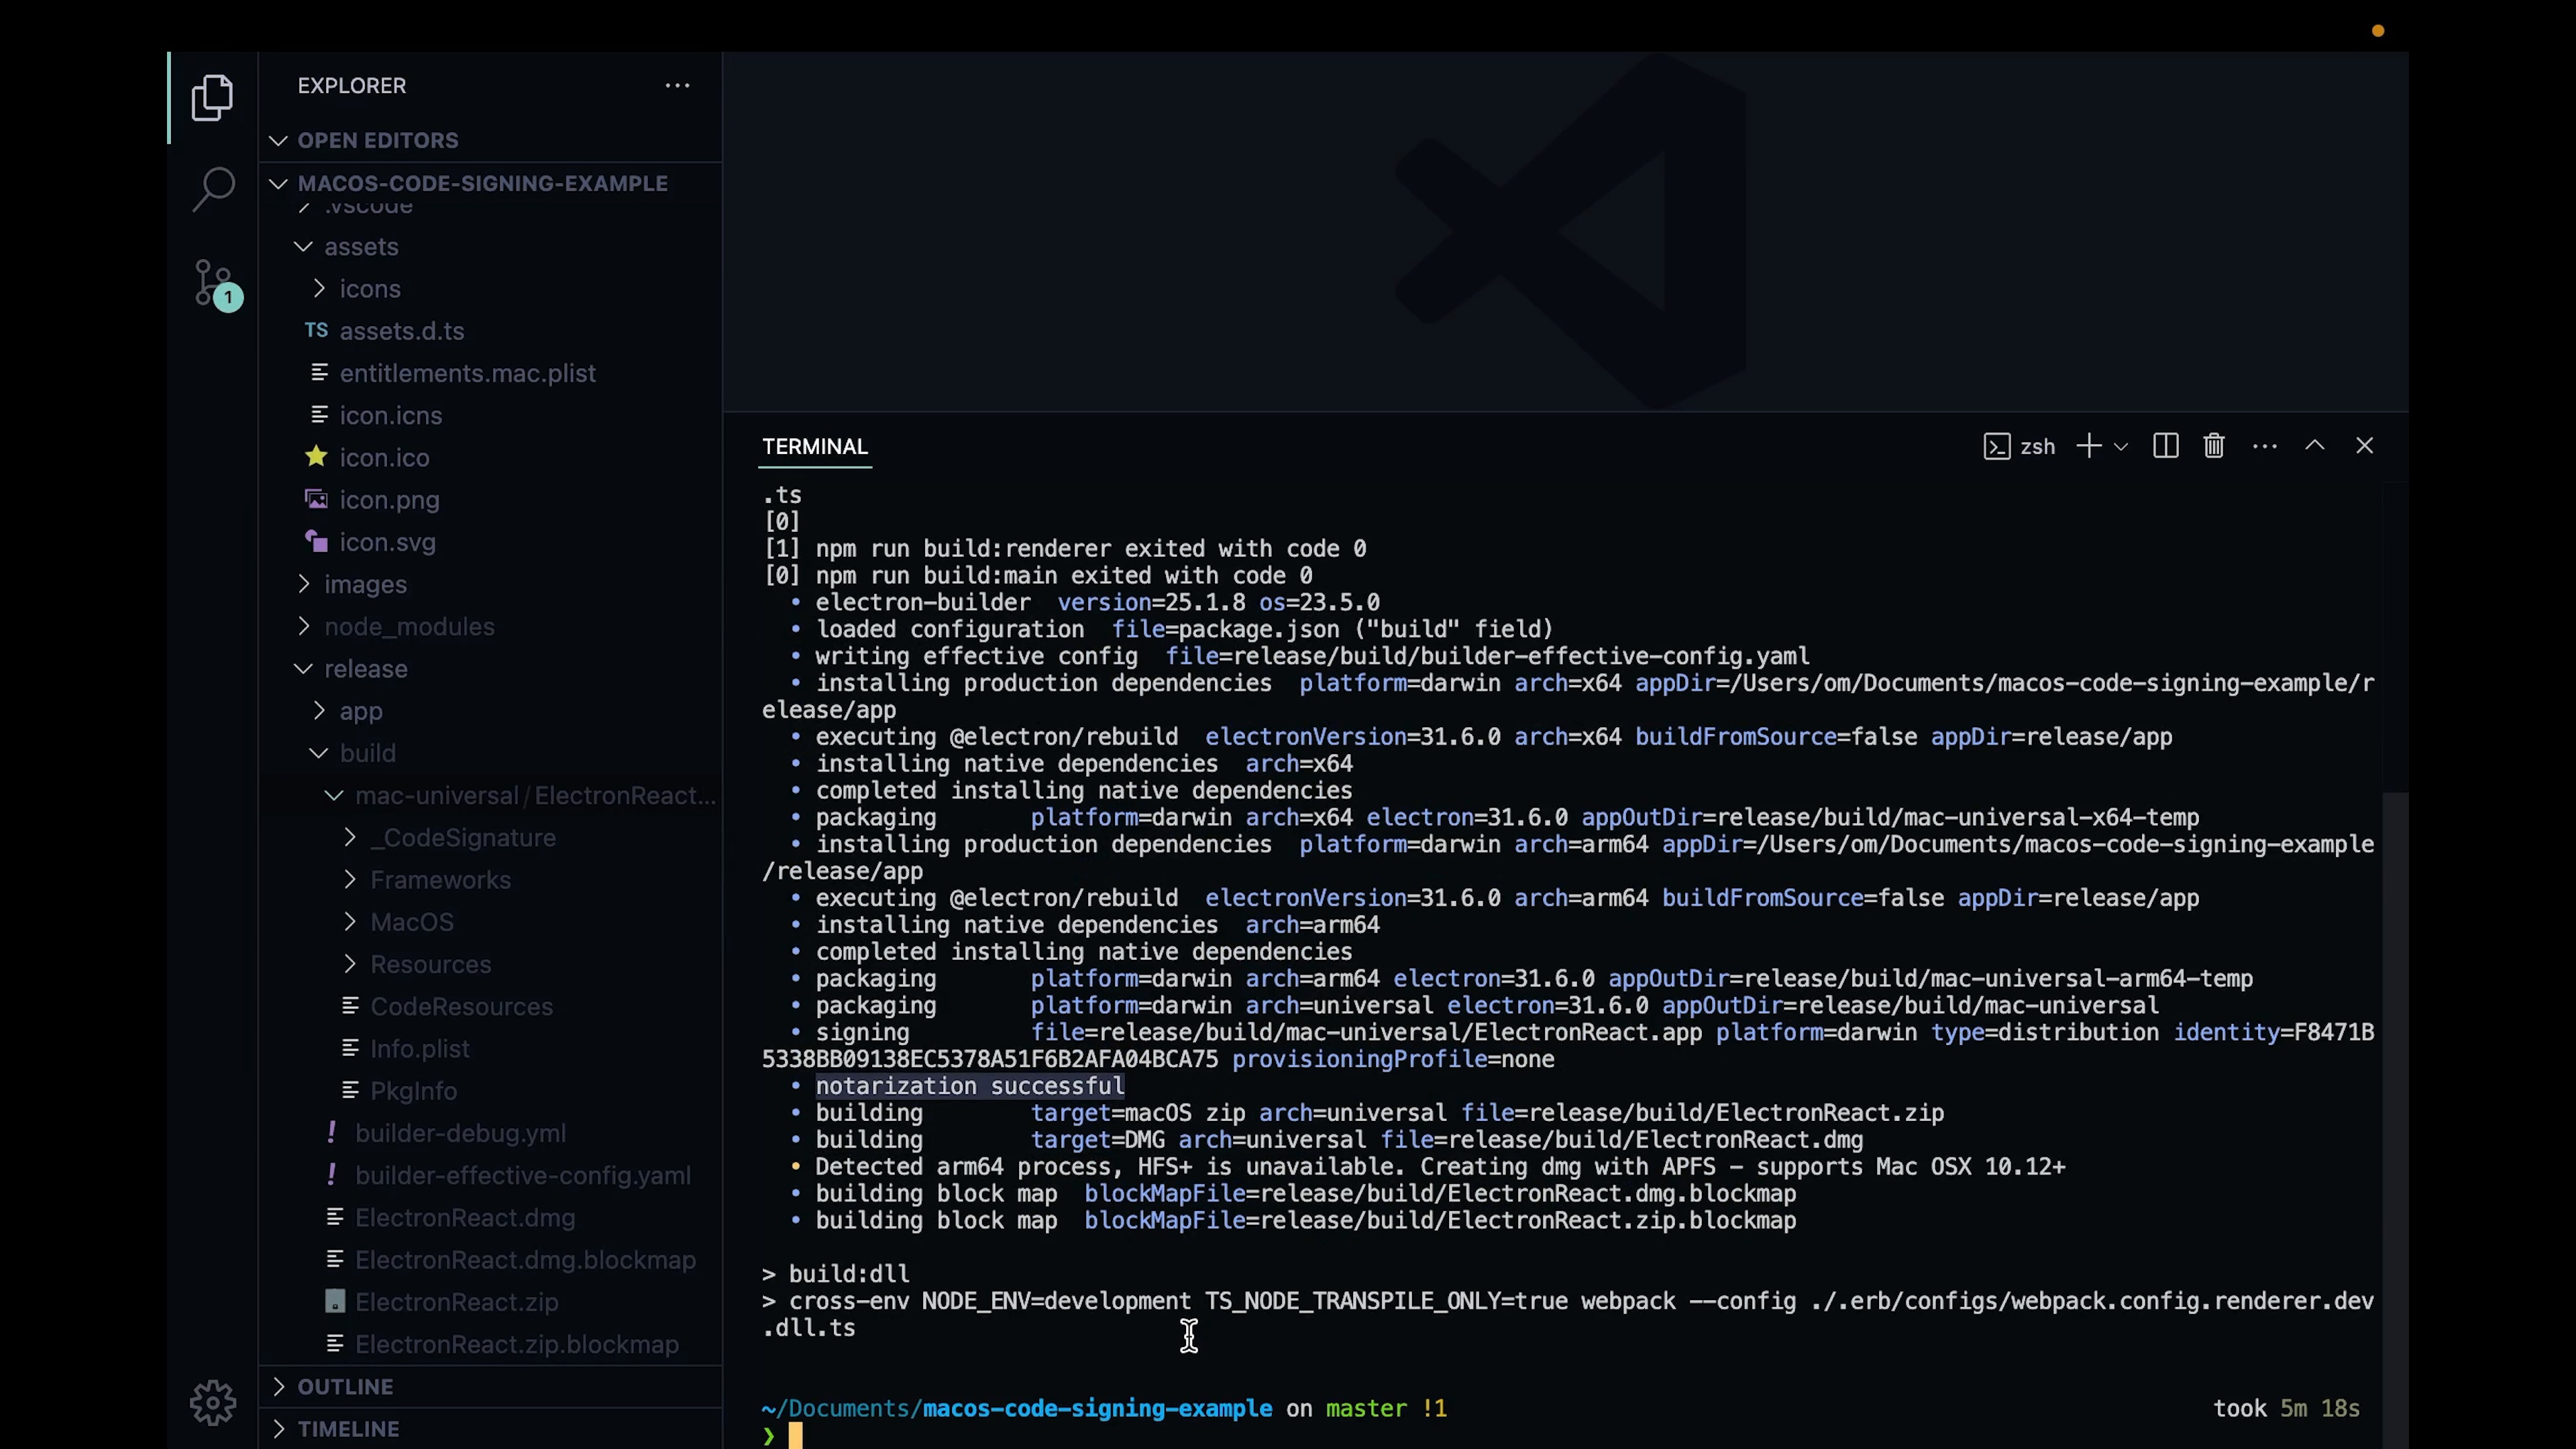 Successful notarization message in terminal
- Now, let's proceed to sign and notarize your own custom application using Electron Builder.
4. Signing Your Own Application
- Ensure you have the latest version of Electron Builder and Electron Notarize installed to avoid any errors:
npm install --save-dev electron-builder@latest @electron/notarize@latest
- Ensure your "entitlements.mac.plist" has the following entitlements for Electron to function:
<key>com.apple.security.cs.allow-jit</key>
<true/>
<key>com.apple.security.cs.allow-unsigned-executable-memory</key>
<true/>- Ensure that in your "package.json", the Electron "build" config's "mac" section looks like the following for creating a universal build. Using a universal build for installation will avoid confusion among Intel and M-series Mac users:
{
  "mac": {
    "category": "public.app-category.developer-tools",
    "target": [
      {
        "target": "default",
        "arch": ["universal"]
      }
    ],
    "artifactName": "${productName}.${ext}",
    "type": "distribution",
    "hardenedRuntime": true,
    "entitlements": "assets/entitlements.mac.plist",
    "entitlementsInherit": "assets/entitlements.mac.plist",
    "gatekeeperAssess": false
  }
}- In your package.json scripts, ensure there is a script to build the Mac DMG:
{
  "scripts": {
   "package": "ANY_PRE_BUILD_STEPS && electron-builder build --publish never && ANY_POST_BUILD_STEPS",
  }
}
Also, add the following script, which will help you create an unsigned build, which is useful for testing:
{
  "scripts": {
  "package:mac-unsigned": "ANY_PRE_BUILD_STEPS && electron-builder build -c.mac.identity=null --publish never && ANY_POST_BUILD_STEPS",
  }
}
Replace ANY_PRE_BUILD_STEPS and ANY_POST_BUILD_STEPS with your pre and post-build steps, if you have any. If you don't have any, remove them. 5. Optionally, in your package.json file, change the following properties, as they are shown in several places on the OS UI to the end user:
namedescriptionbuild.productNameappIdTheappIdis the reverse of your (website name) + (product name in Title Case). For example, if your website is "awesome-app.com" and your product name is "Awesomeness", then yourappIdwill be "com.awesome-app.Awesomeness".
{
    "name": "your-app-name",
    "description": "Your app description",
    "build": {
        "productName": "Your App Name",
        "appId": "com.awesome-app.Awesomeness"
    }
}
If you are using boilerplates like "electron-react-boilerplate", you will also need to change the "release/app/package.json" file with:
name: Same as the main package.jsonversiondescription: Same as the main package.json
{
    "name": "your-app-name",
    "version": "1.0.0",
    "description": "Your app description"
}
Here's an example Electron Builder configuration that follows best practices for creating an Electron app on macOS, Windows, and Linux:
{
  "build": {
    "productName": "Awesomeness",
    "appId": "com.awesome-app.Awesomeness",

    "mac": {
      "category": "public.app-category.developer-tools",
      "target": [
        {
          "target": "default",
          "arch": [
            "universal"
          ]
        }
      ],
      "artifactName": "${productName}.${ext}",
      "type": "distribution",
      "hardenedRuntime": true,
      "entitlements": "assets/entitlements.mac.plist",
      "entitlementsInherit": "assets/entitlements.mac.plist",
      "gatekeeperAssess": false
    },
    "dmg": {
      "contents": [
        {
          "x": 130,
          "y": 220
        },
        {
          "x": 410,
          "y": 220,
          "type": "link",
          "path": "/Applications"
        }
      ]
    },
    "win": {
      "target": [
        "nsis"
      ],
      "artifactName": "${productName}.${ext}"
    },
    "linux": {
      "artifactName": "${productName}-${arch}.${ext}",
      "target": [
        {
          "target": "deb",
          "arch": [
            "arm64",
            "x64"
          ]
        },
        {
          "target": "rpm",
          "arch": [
            "arm64",
            "x64"
          ]
        }
      ],
      "category": "Development"
    }
    // Rest of Electron Builder config
  }
}- Create a "package-mac-signed.sh" file, paste the following content, and then replace placeholders with your credentials:
export APPLE_ID="[email protected]" # Replace with your Apple ID email
export APPLE_APP_SPECIFIC_PASSWORD="MY_APP_SPECIFIC_PASSWORD" # Replace with your App Specific Password, it looks like "dsjg-zqet-rpzp-nfzy"
export APPLE_TEAM_ID="MY_TEAM_ID" # Replace with your Team ID, it looks like "AB8Y7TRS2P"
export CSC_LINK="./certificate.p12" # Keep it as it is
export CSC_KEY_PASSWORD="MY_CERTIFICATE_PASSWORD" # Replace with your Certificate Password
npm run package- Place the "certificate.p12" file exported earlier in the root directory.
- Add the "certificate.p12" and "package-mac-signed.sh" to the .gitignore file, as these contain sensitive information that should not be shared in your GitHub repository.
package-mac-signed.sh
certificate.p12
- Run
bash package-mac-signed.sh. - Wait until you see the "notarization successful" message in the terminal - your app is ready for the world to see! Congratulations! 🎉
 Your signed app is now ready for distribution
1. GitHub Repository Setup
- Create a new repository.
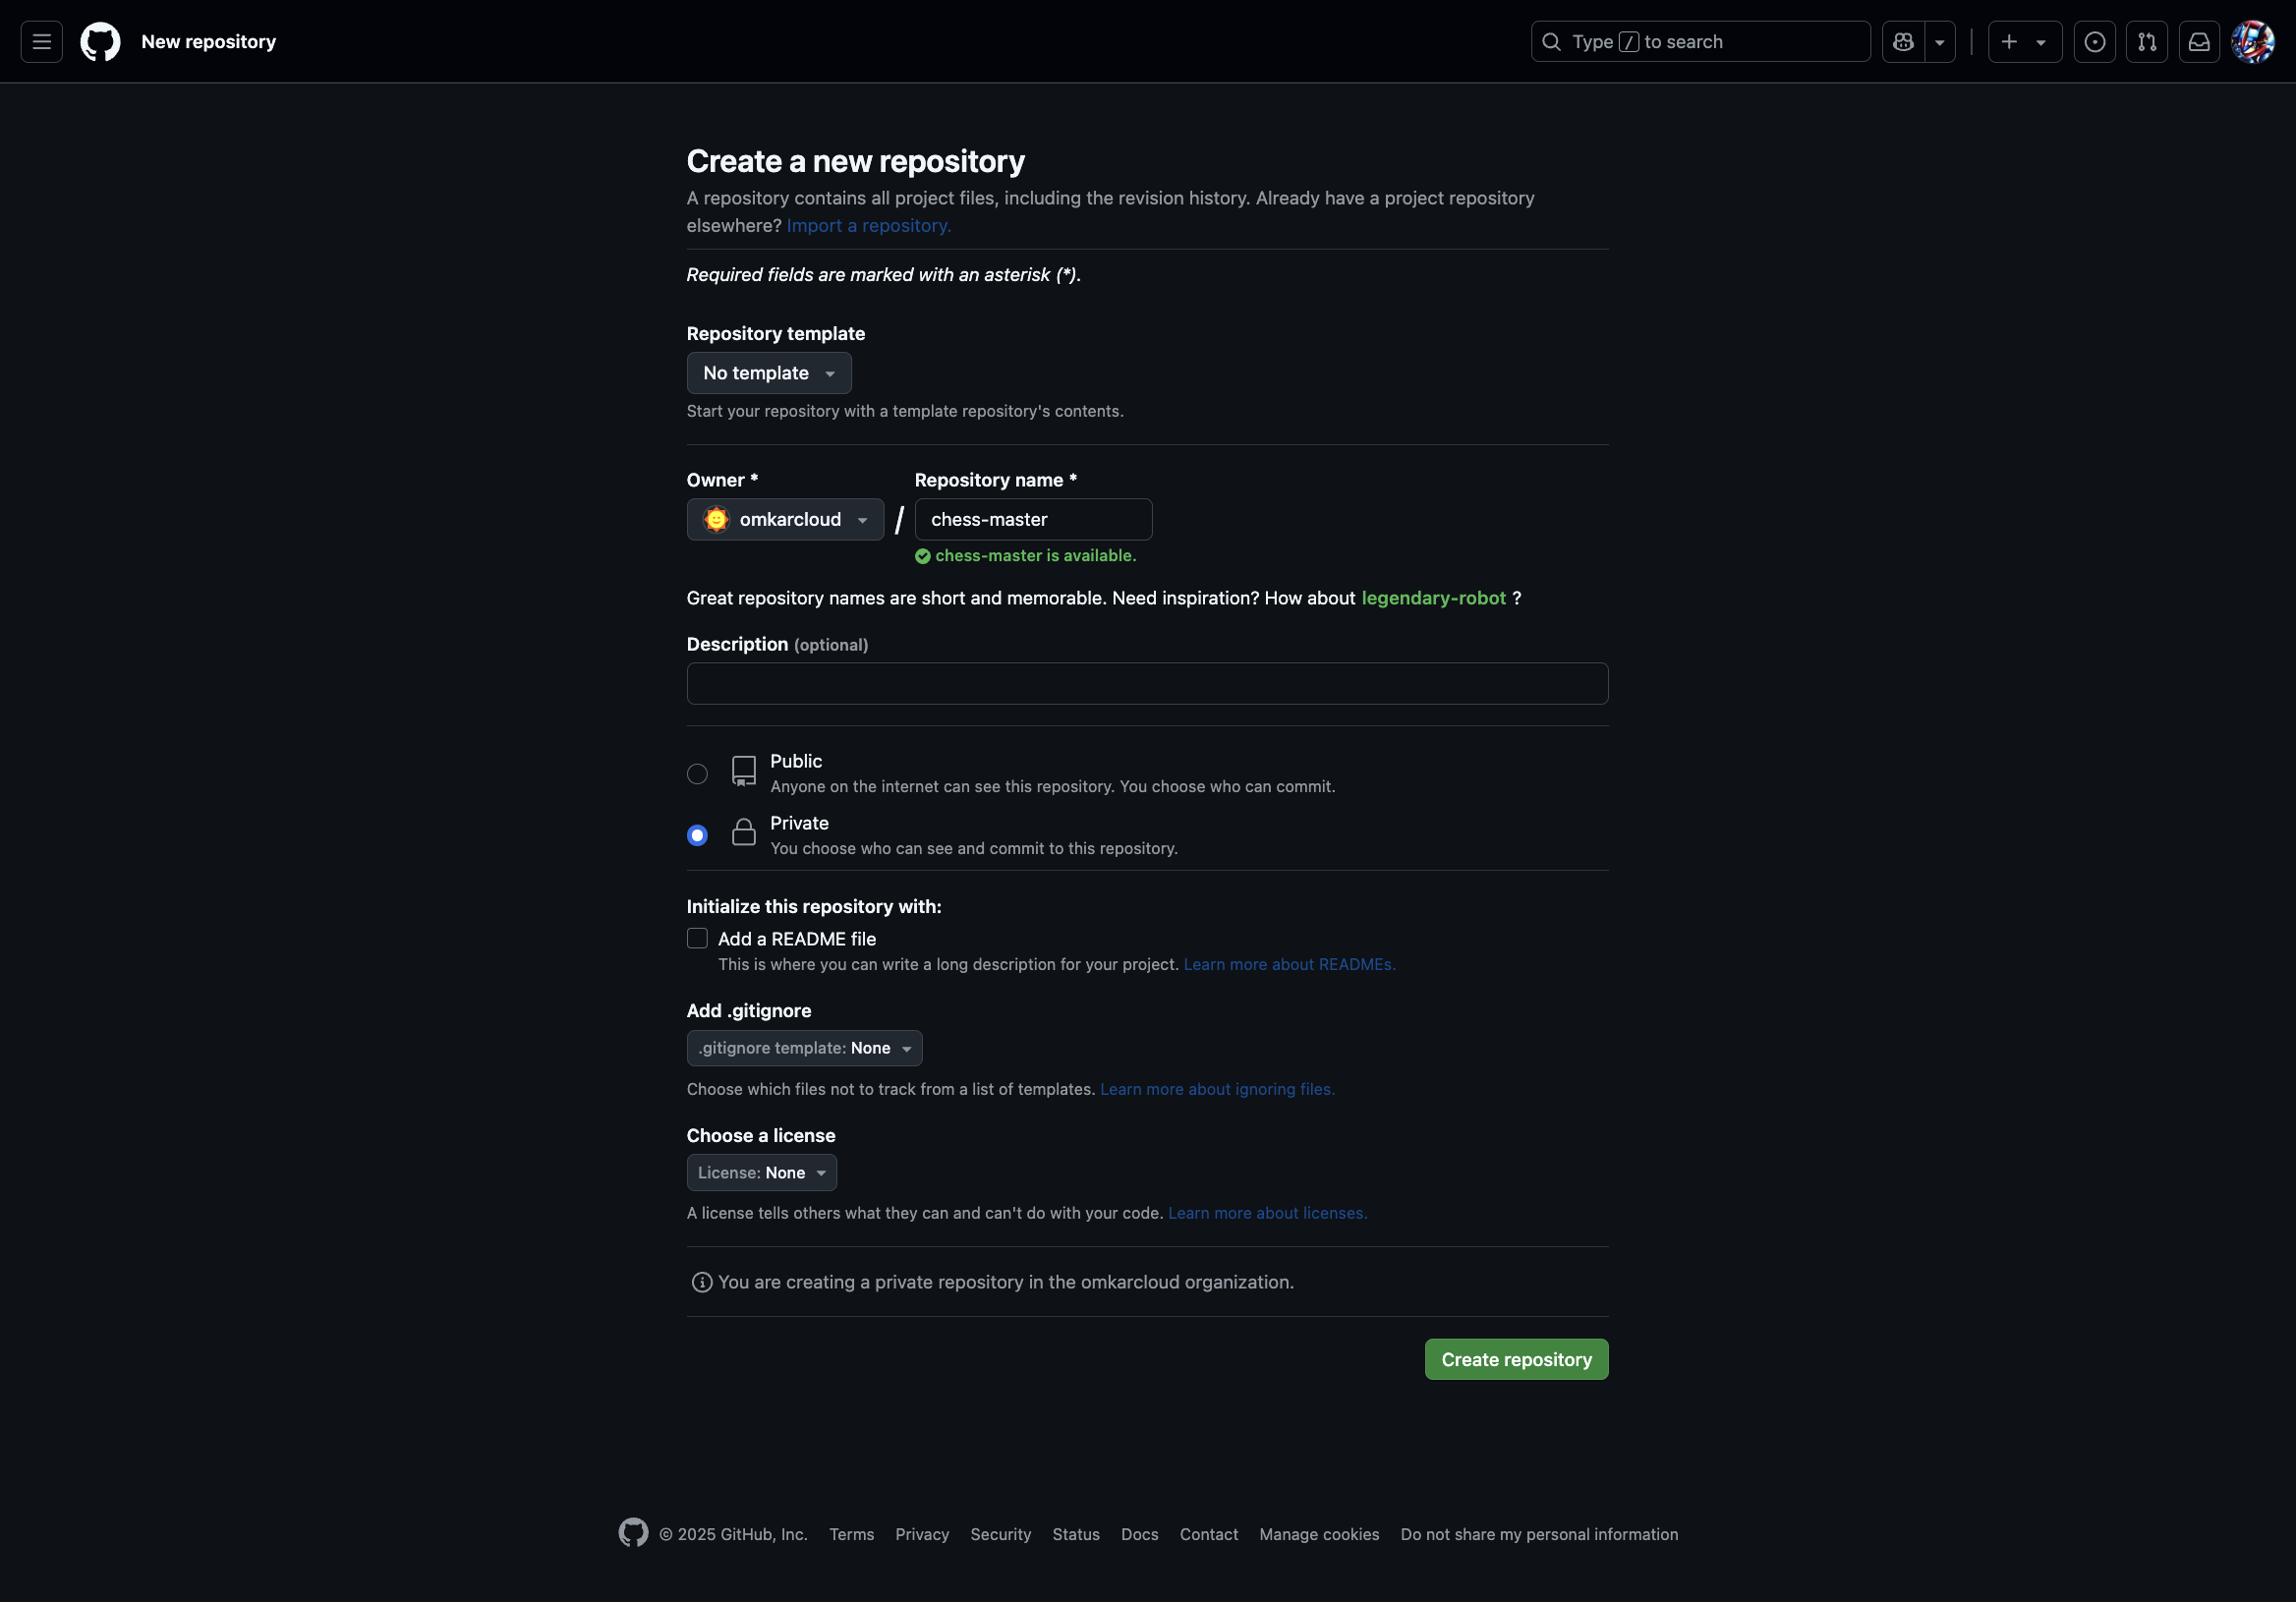
- Push your code.
- Encode the certificate and save the output in a secure place:
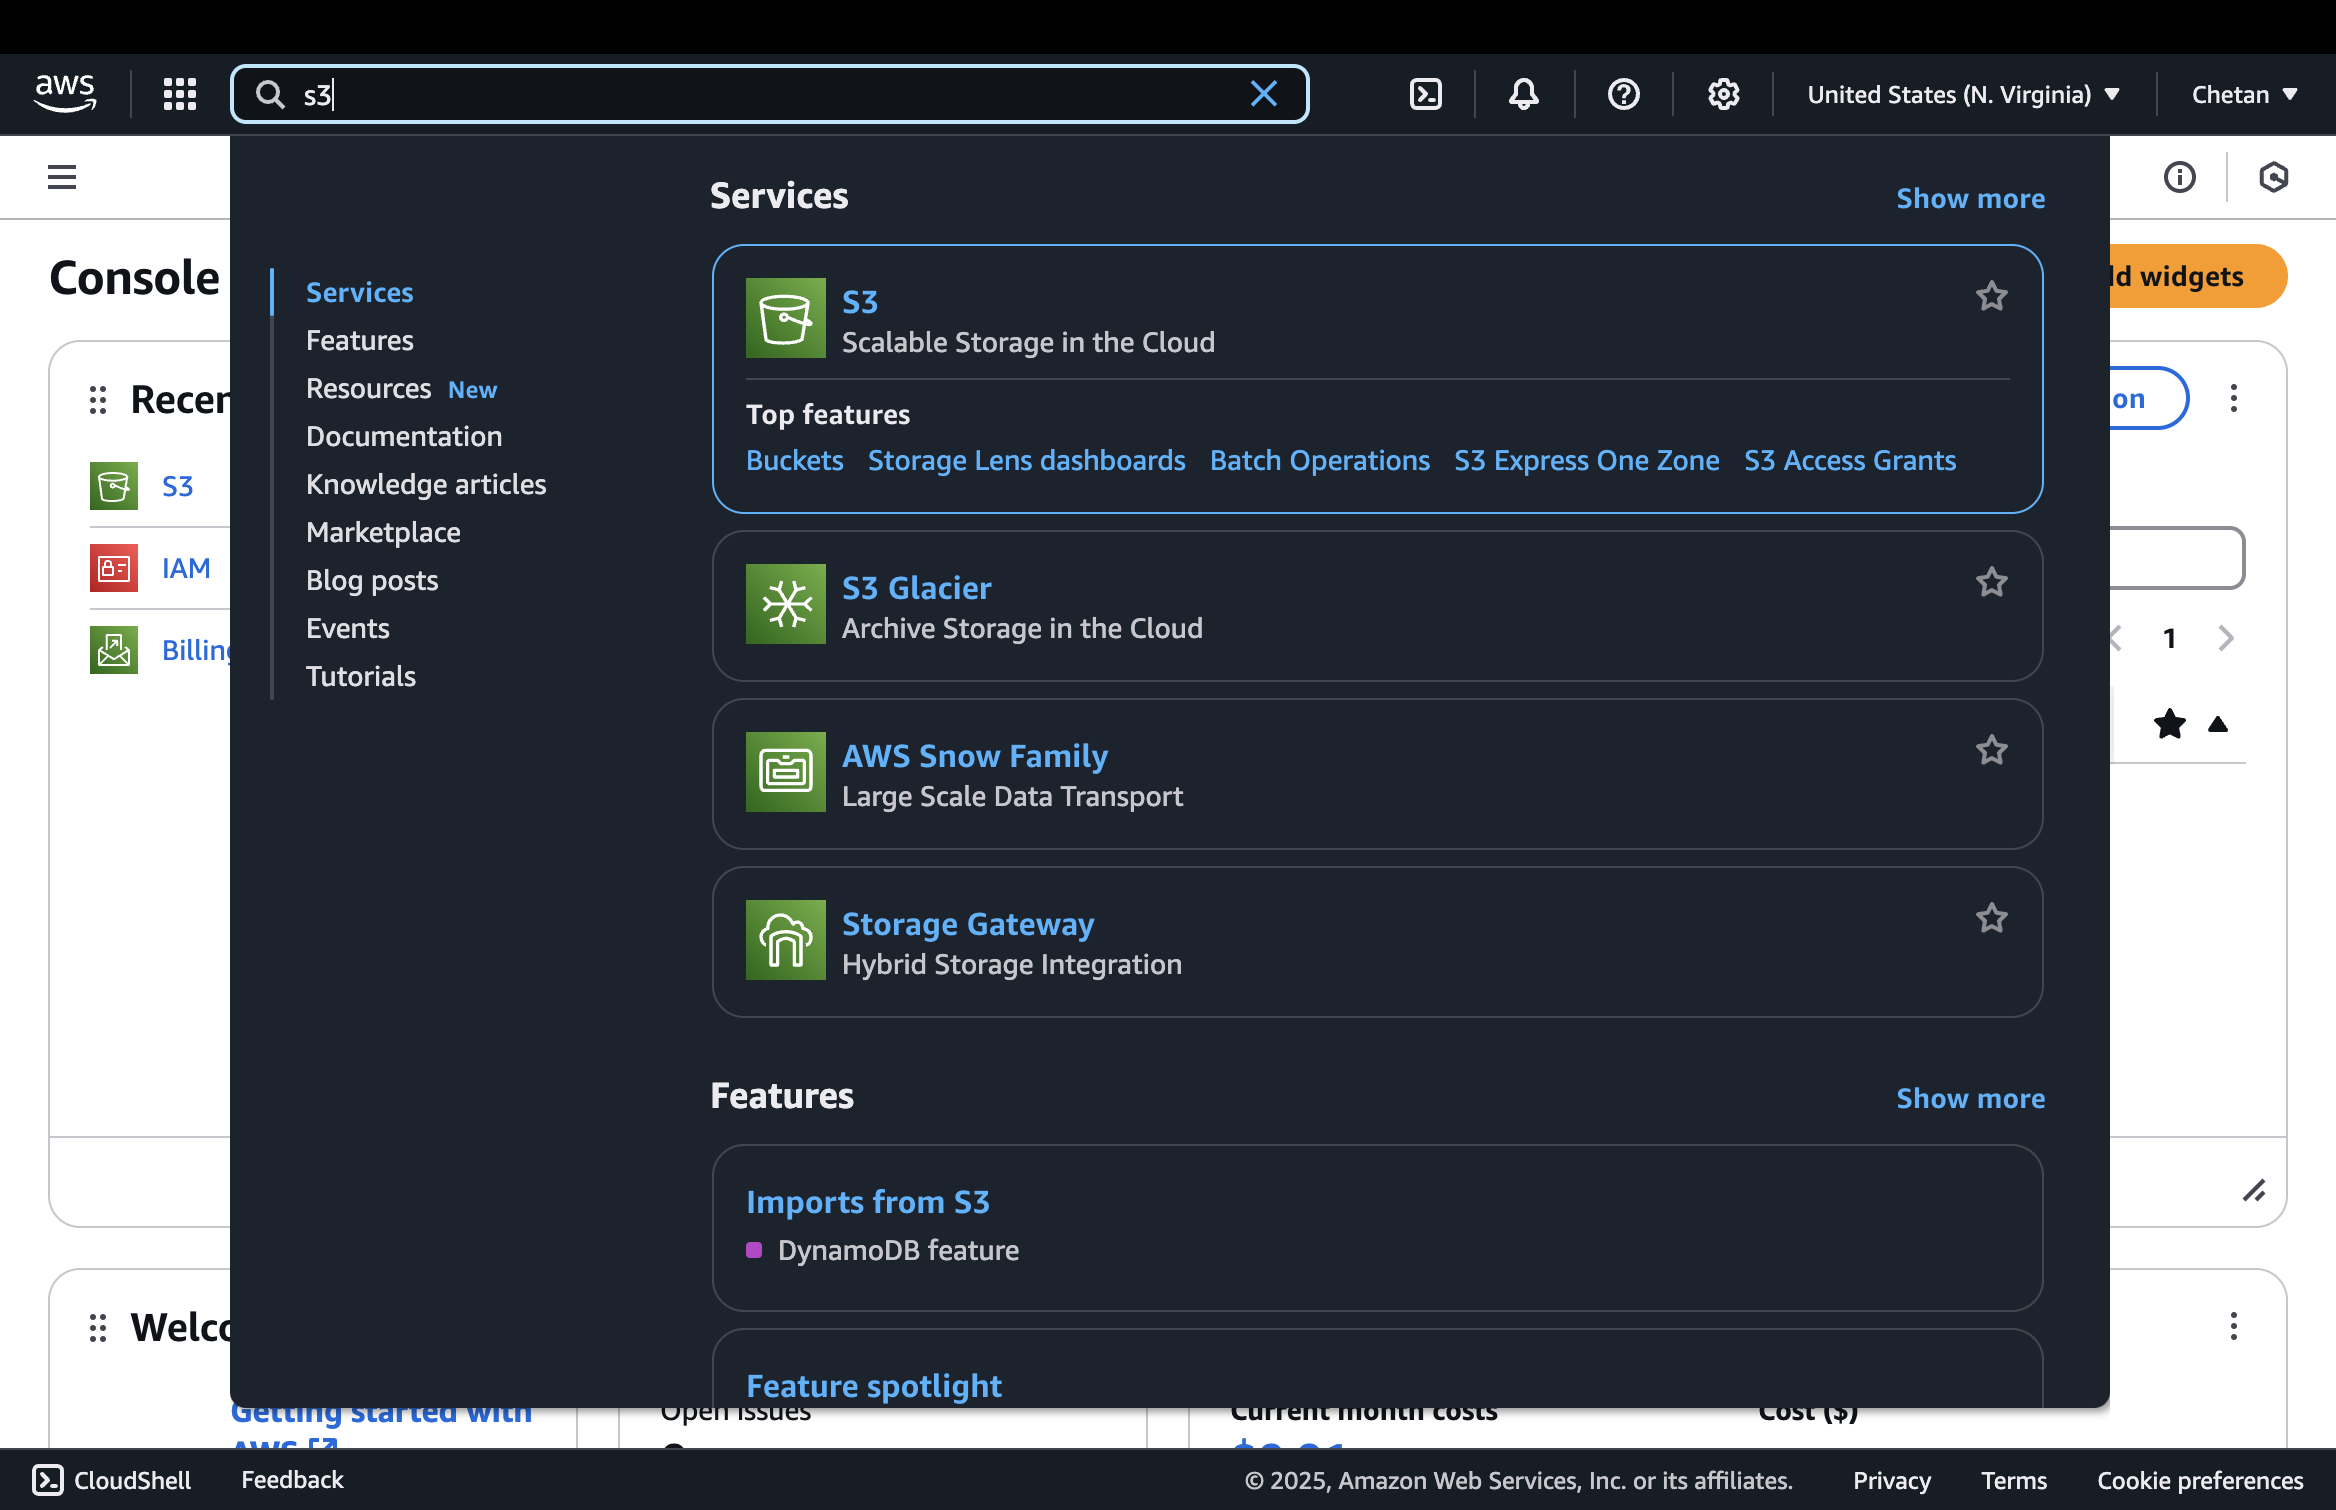
base64 -i certificate.p122. Create an S3 Bucket
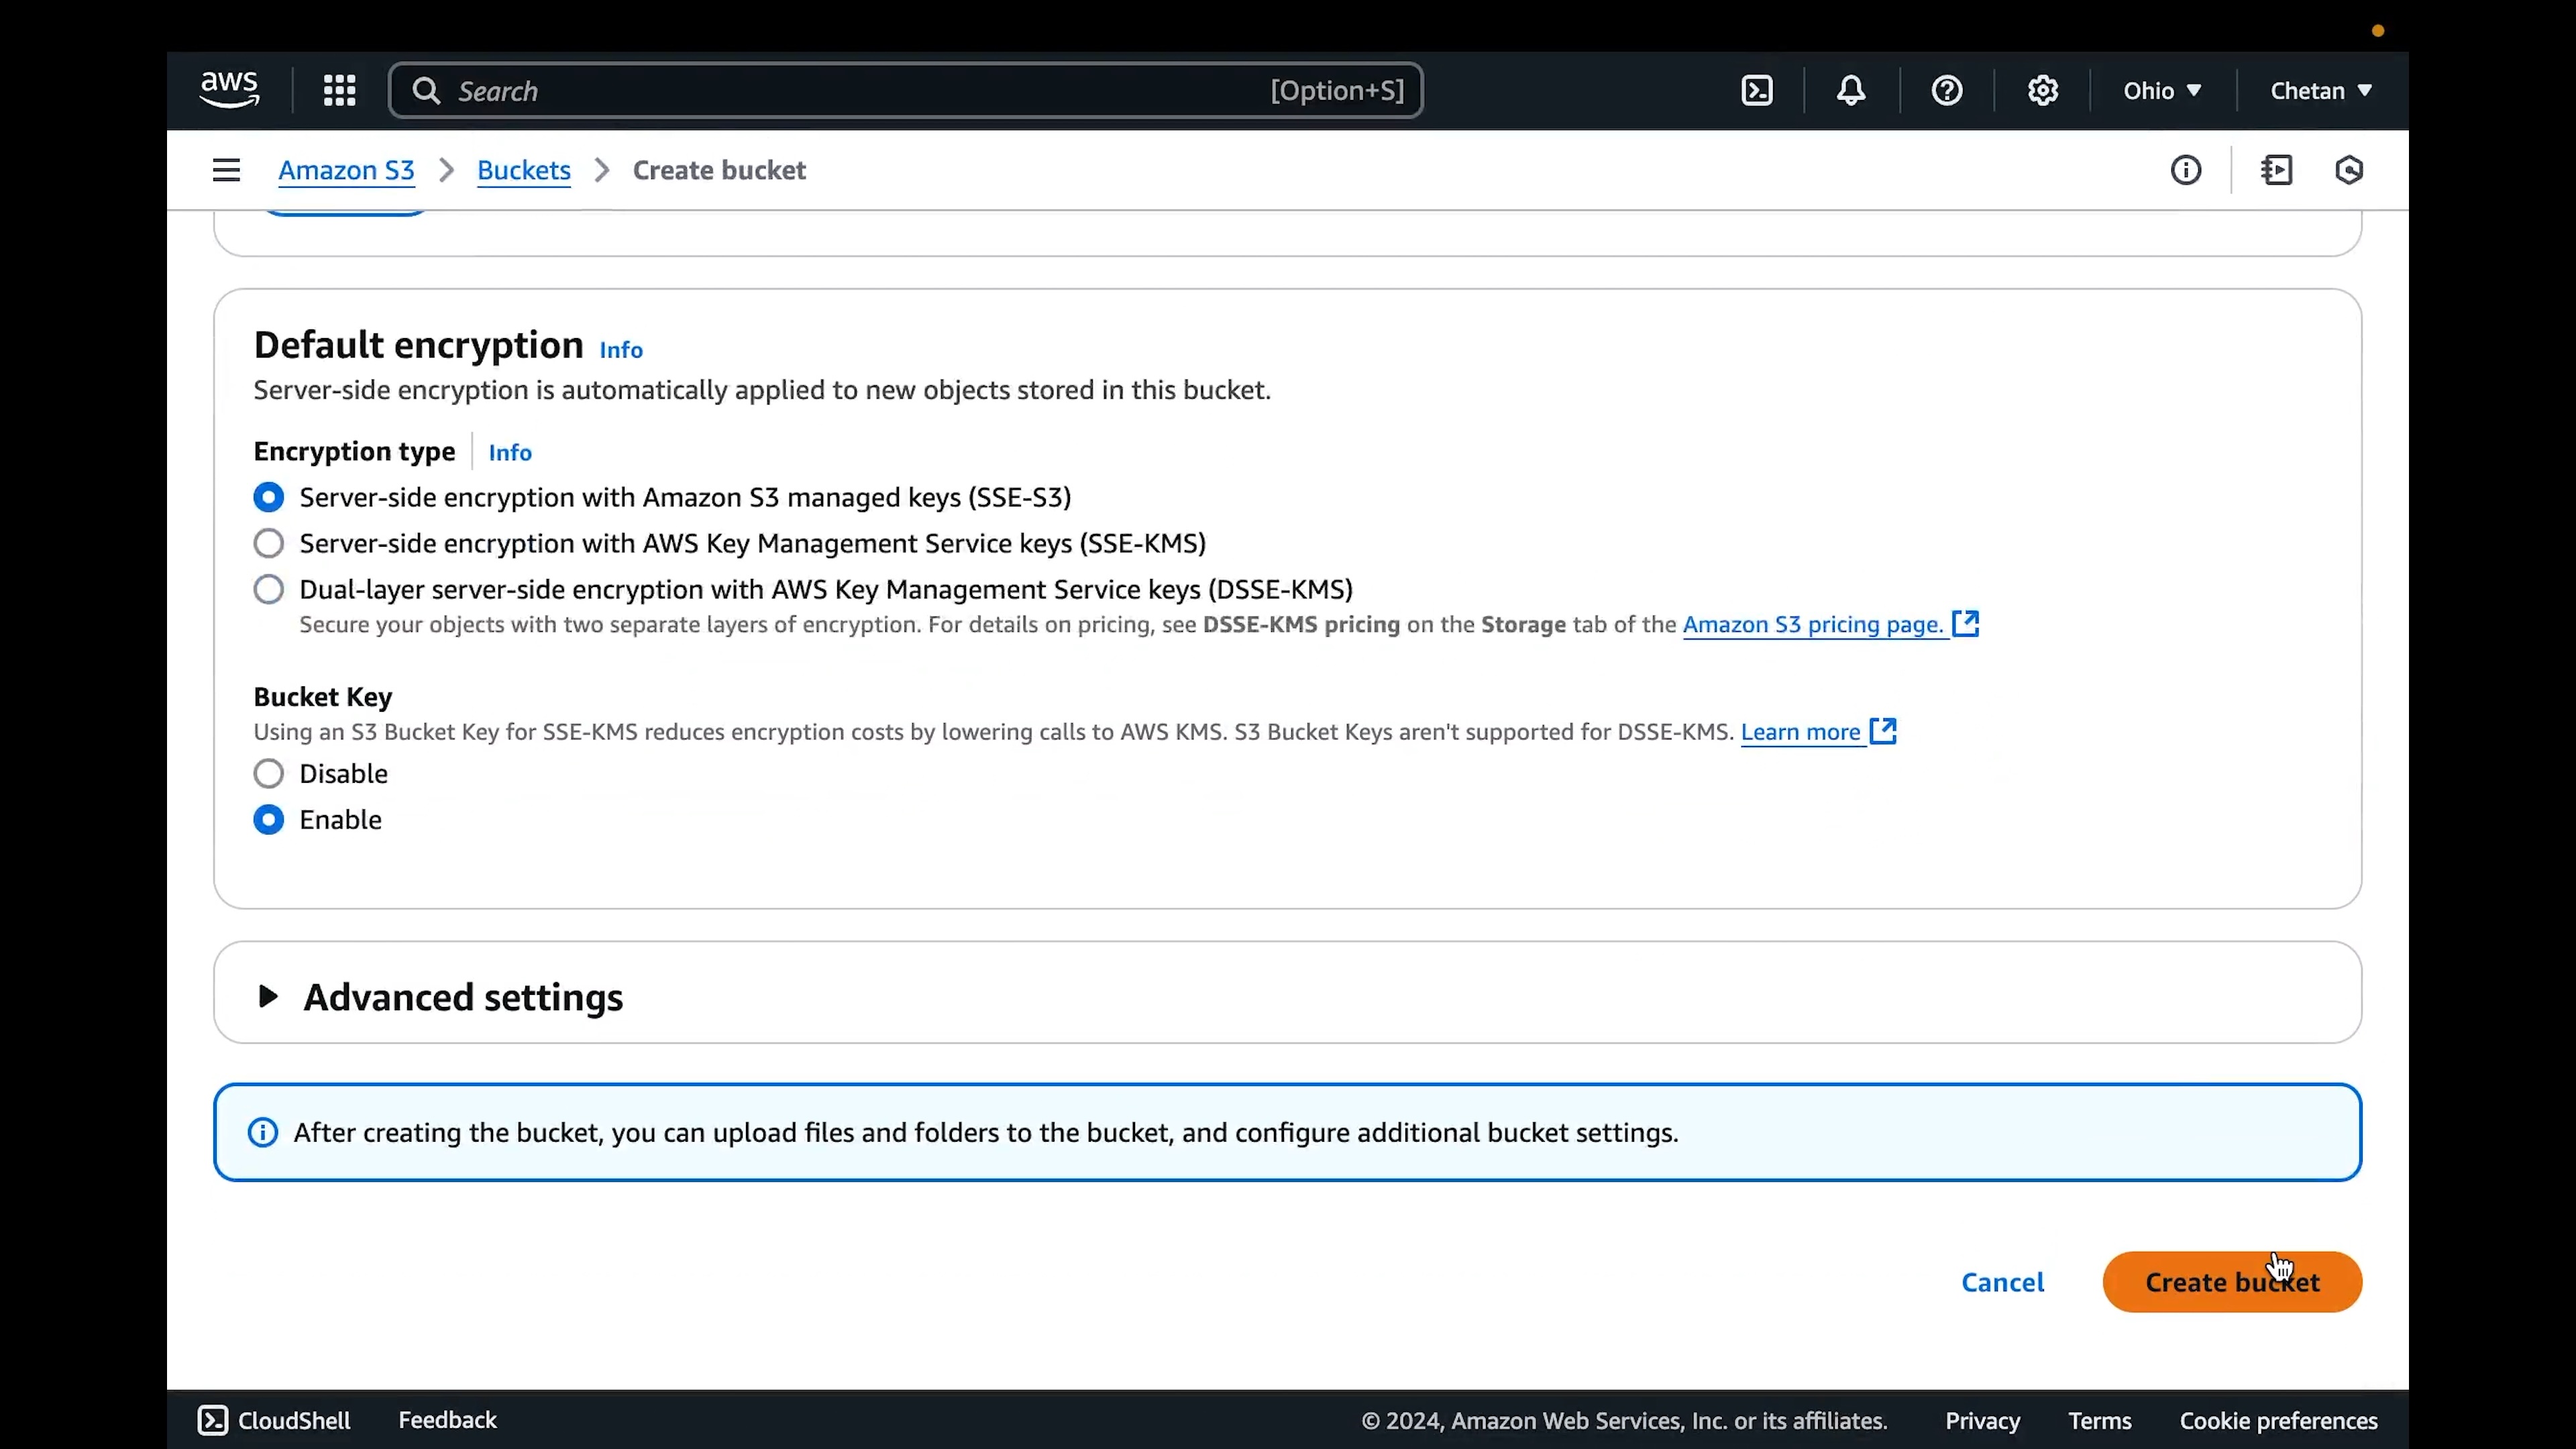
Bucket name: Enter a unique bucket name. Conventionally, this name matches your product's name in kebab case. For example, if your product's name is "Chess Master," your bucket name will be `chess-master`.
Object Ownership: Select ACLs enabled
Block Public Access settings for this bucket: Uncheck "Block all public access"
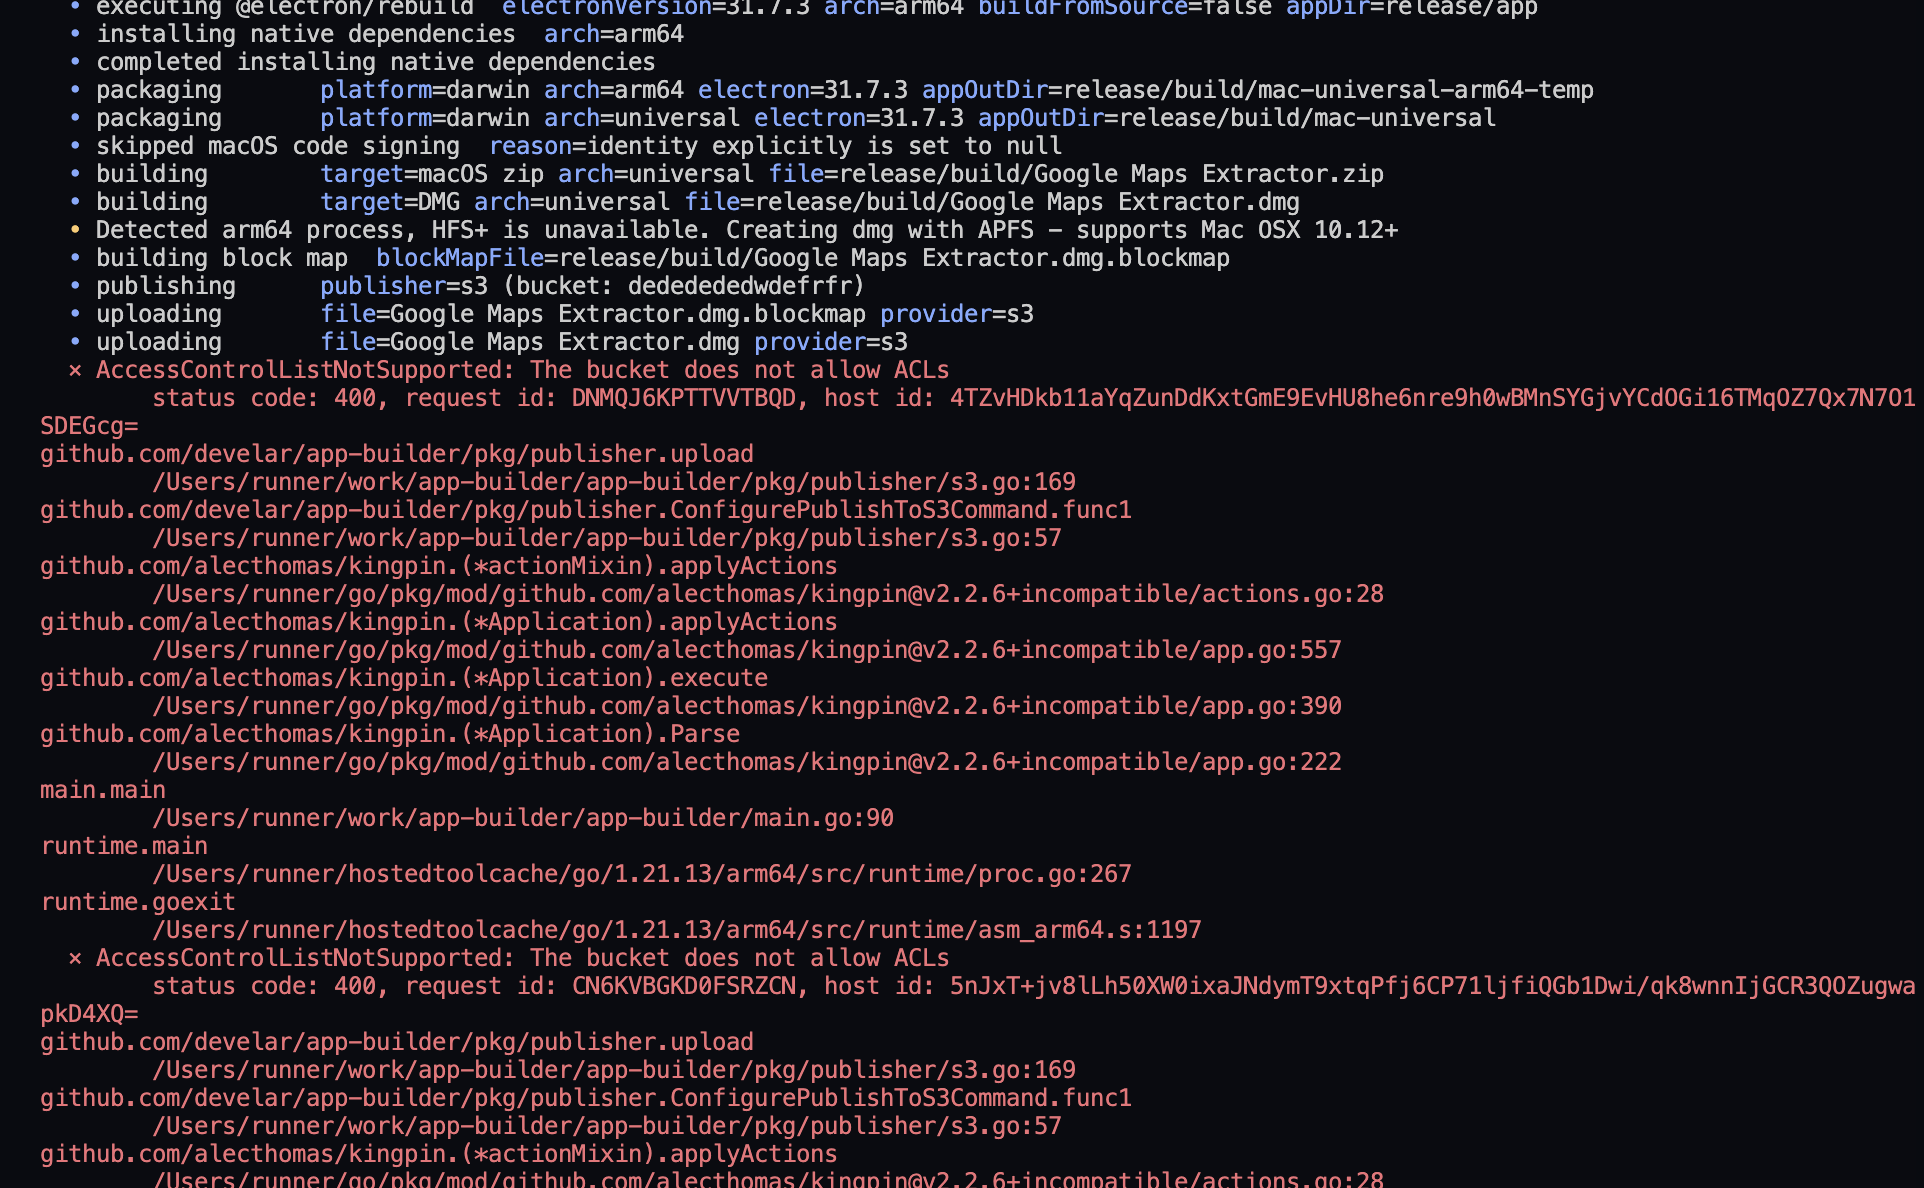
Important Note: Ensure that Object Ownership is set to "ACLs enabled" because Electron Builder requires this setting to successfully upload files. Without it, you will encounter the following error:
"The Bucket does not allow ACLs."
-
If you don't have an AWS access key and secret key, create them through the IAM service as described in AWS documentation here.
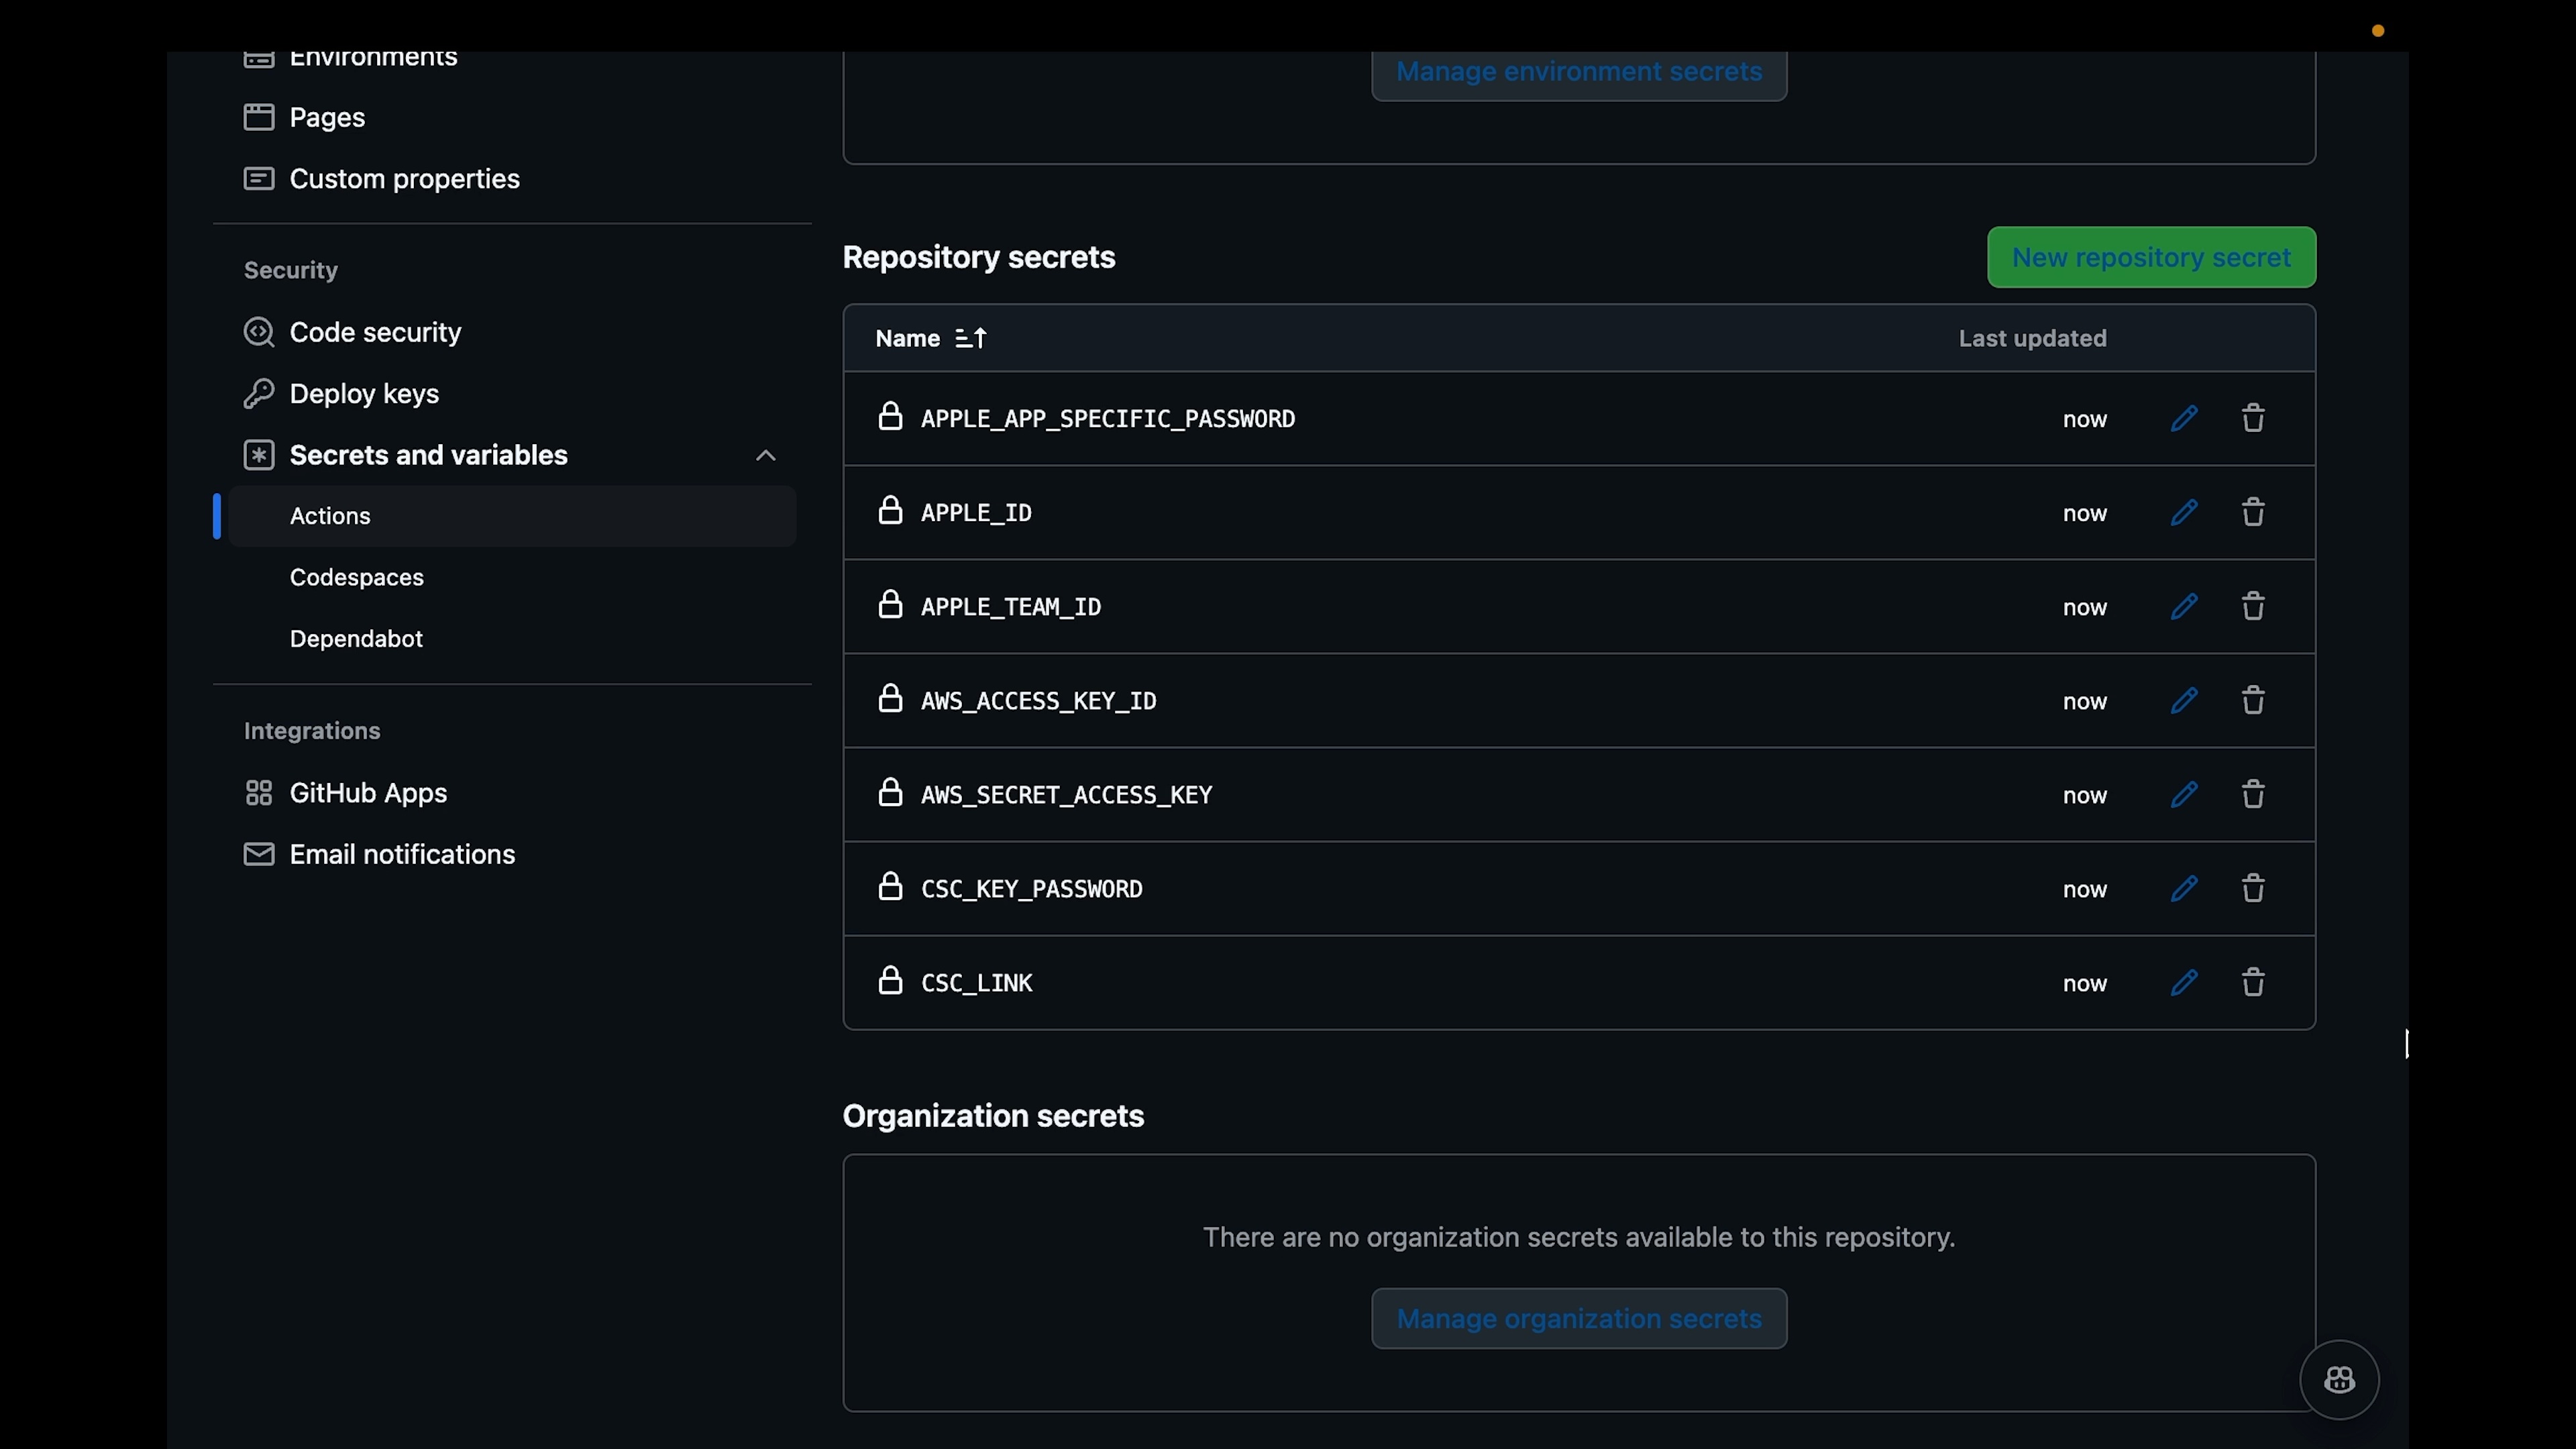
3. Configure GitHub Secrets In your GitHub Repository, navigate to Settings > Secrets and variables > Actions > Repository secrets and add the following secrets:
APPLE_ID                     # Your Apple ID email
APPLE_APP_SPECIFIC_PASSWORD  # App Specific password
APPLE_TEAM_ID                # Your Team ID
CSC_LINK                     # Your Base64 encoded certificate created earlier
CSC_KEY_PASSWORD             # Certificate password
AWS_ACCESS_KEY_ID            # AWS access key
AWS_SECRET_ACCESS_KEY        # AWS secret key
4. Configure Electron Builder
- In your "package.json" file, add the following to the Electron "build" configuration:
"build": {
  "publish": {
    "provider": "s3",
    "bucket": "YOUR_S3_BUCKET_NAME"
  }
}
Replace "YOUR_S3_BUCKET_NAME" with the name of your S3 bucket.
- Add a new script called "package:publish" to the "scripts" section of your "package.json" file:
{
  "scripts": {
    "package:publish": "ANY_PRE_BUILD_STEPS && electron-builder build --publish always && ANY_POST_BUILD_STEPS"
  }
}
Replace ANY_PRE_BUILD_STEPS and ANY_POST_BUILD_STEPS with your pre and post-build steps, if you have any. If you don't have any, remove them.
5. Set up GitHub Actions
Create a .github/workflows/package.yaml file with the following contents:
name: Package

on: [push, pull_request]

jobs:
  package-mac:
    # Notarization is taking too long, exit
    timeout-minutes: 30
    runs-on: macos-latest
    steps:
      - name: Check out Git repository
        uses: actions/checkout@v3

      - name: Install Node.js and NPM
        uses: actions/setup-node@v3
        with:
          node-version: 20
          cache: npm

      - name: npm install
        run: |
          npm install

      - name: Package and Upload to S3
        env:
          APPLE_ID: ${{ secrets.APPLE_ID }}
          APPLE_APP_SPECIFIC_PASSWORD: ${{ secrets.APPLE_APP_SPECIFIC_PASSWORD }}
          APPLE_TEAM_ID: ${{ secrets.APPLE_TEAM_ID }}
          CSC_LINK: ${{ secrets.CSC_LINK }}
          CSC_KEY_PASSWORD: ${{ secrets.CSC_KEY_PASSWORD }}
          AWS_ACCESS_KEY_ID: ${{ secrets.AWS_ACCESS_KEY_ID }}
          AWS_SECRET_ACCESS_KEY: ${{ secrets.AWS_SECRET_ACCESS_KEY }}
        run: |
          npm run package:publish


  package-windows:
    timeout-minutes: 30
    runs-on: windows-latest

    steps:
      - name: Check out Git repository
        uses: actions/checkout@v3

      - name: Install Node.js and NPM
        uses: actions/setup-node@v3
        with:
          node-version: 20
          cache: npm

      - name: npm install
        run: |
          npm install

      - name: Package and Upload to S3
        run: |
          npm run package:publish
        env:
          AWS_ACCESS_KEY_ID: ${{ secrets.AWS_ACCESS_KEY_ID }}
          AWS_SECRET_ACCESS_KEY: ${{ secrets.AWS_SECRET_ACCESS_KEY }}

  package-linux:
    timeout-minutes: 30
    runs-on: ubuntu-latest

    steps:
      - name: Check out Git repository
        uses: actions/checkout@v3

      - name: Install Node.js and NPM
        uses: actions/setup-node@v3
        with:
          node-version: 20
          cache: npm

      - name: npm install
        run: |
          npm install

      - name: Package and Upload to S3
        run: |
          npm run package:publish
        env:
          AWS_ACCESS_KEY_ID: ${{ secrets.AWS_ACCESS_KEY_ID }}
          AWS_SECRET_ACCESS_KEY: ${{ secrets.AWS_SECRET_ACCESS_KEY }}
6. Deploy
- Push the code to your GitHub repository.
- Go to the repository's "Actions" tab to see the build process in action.
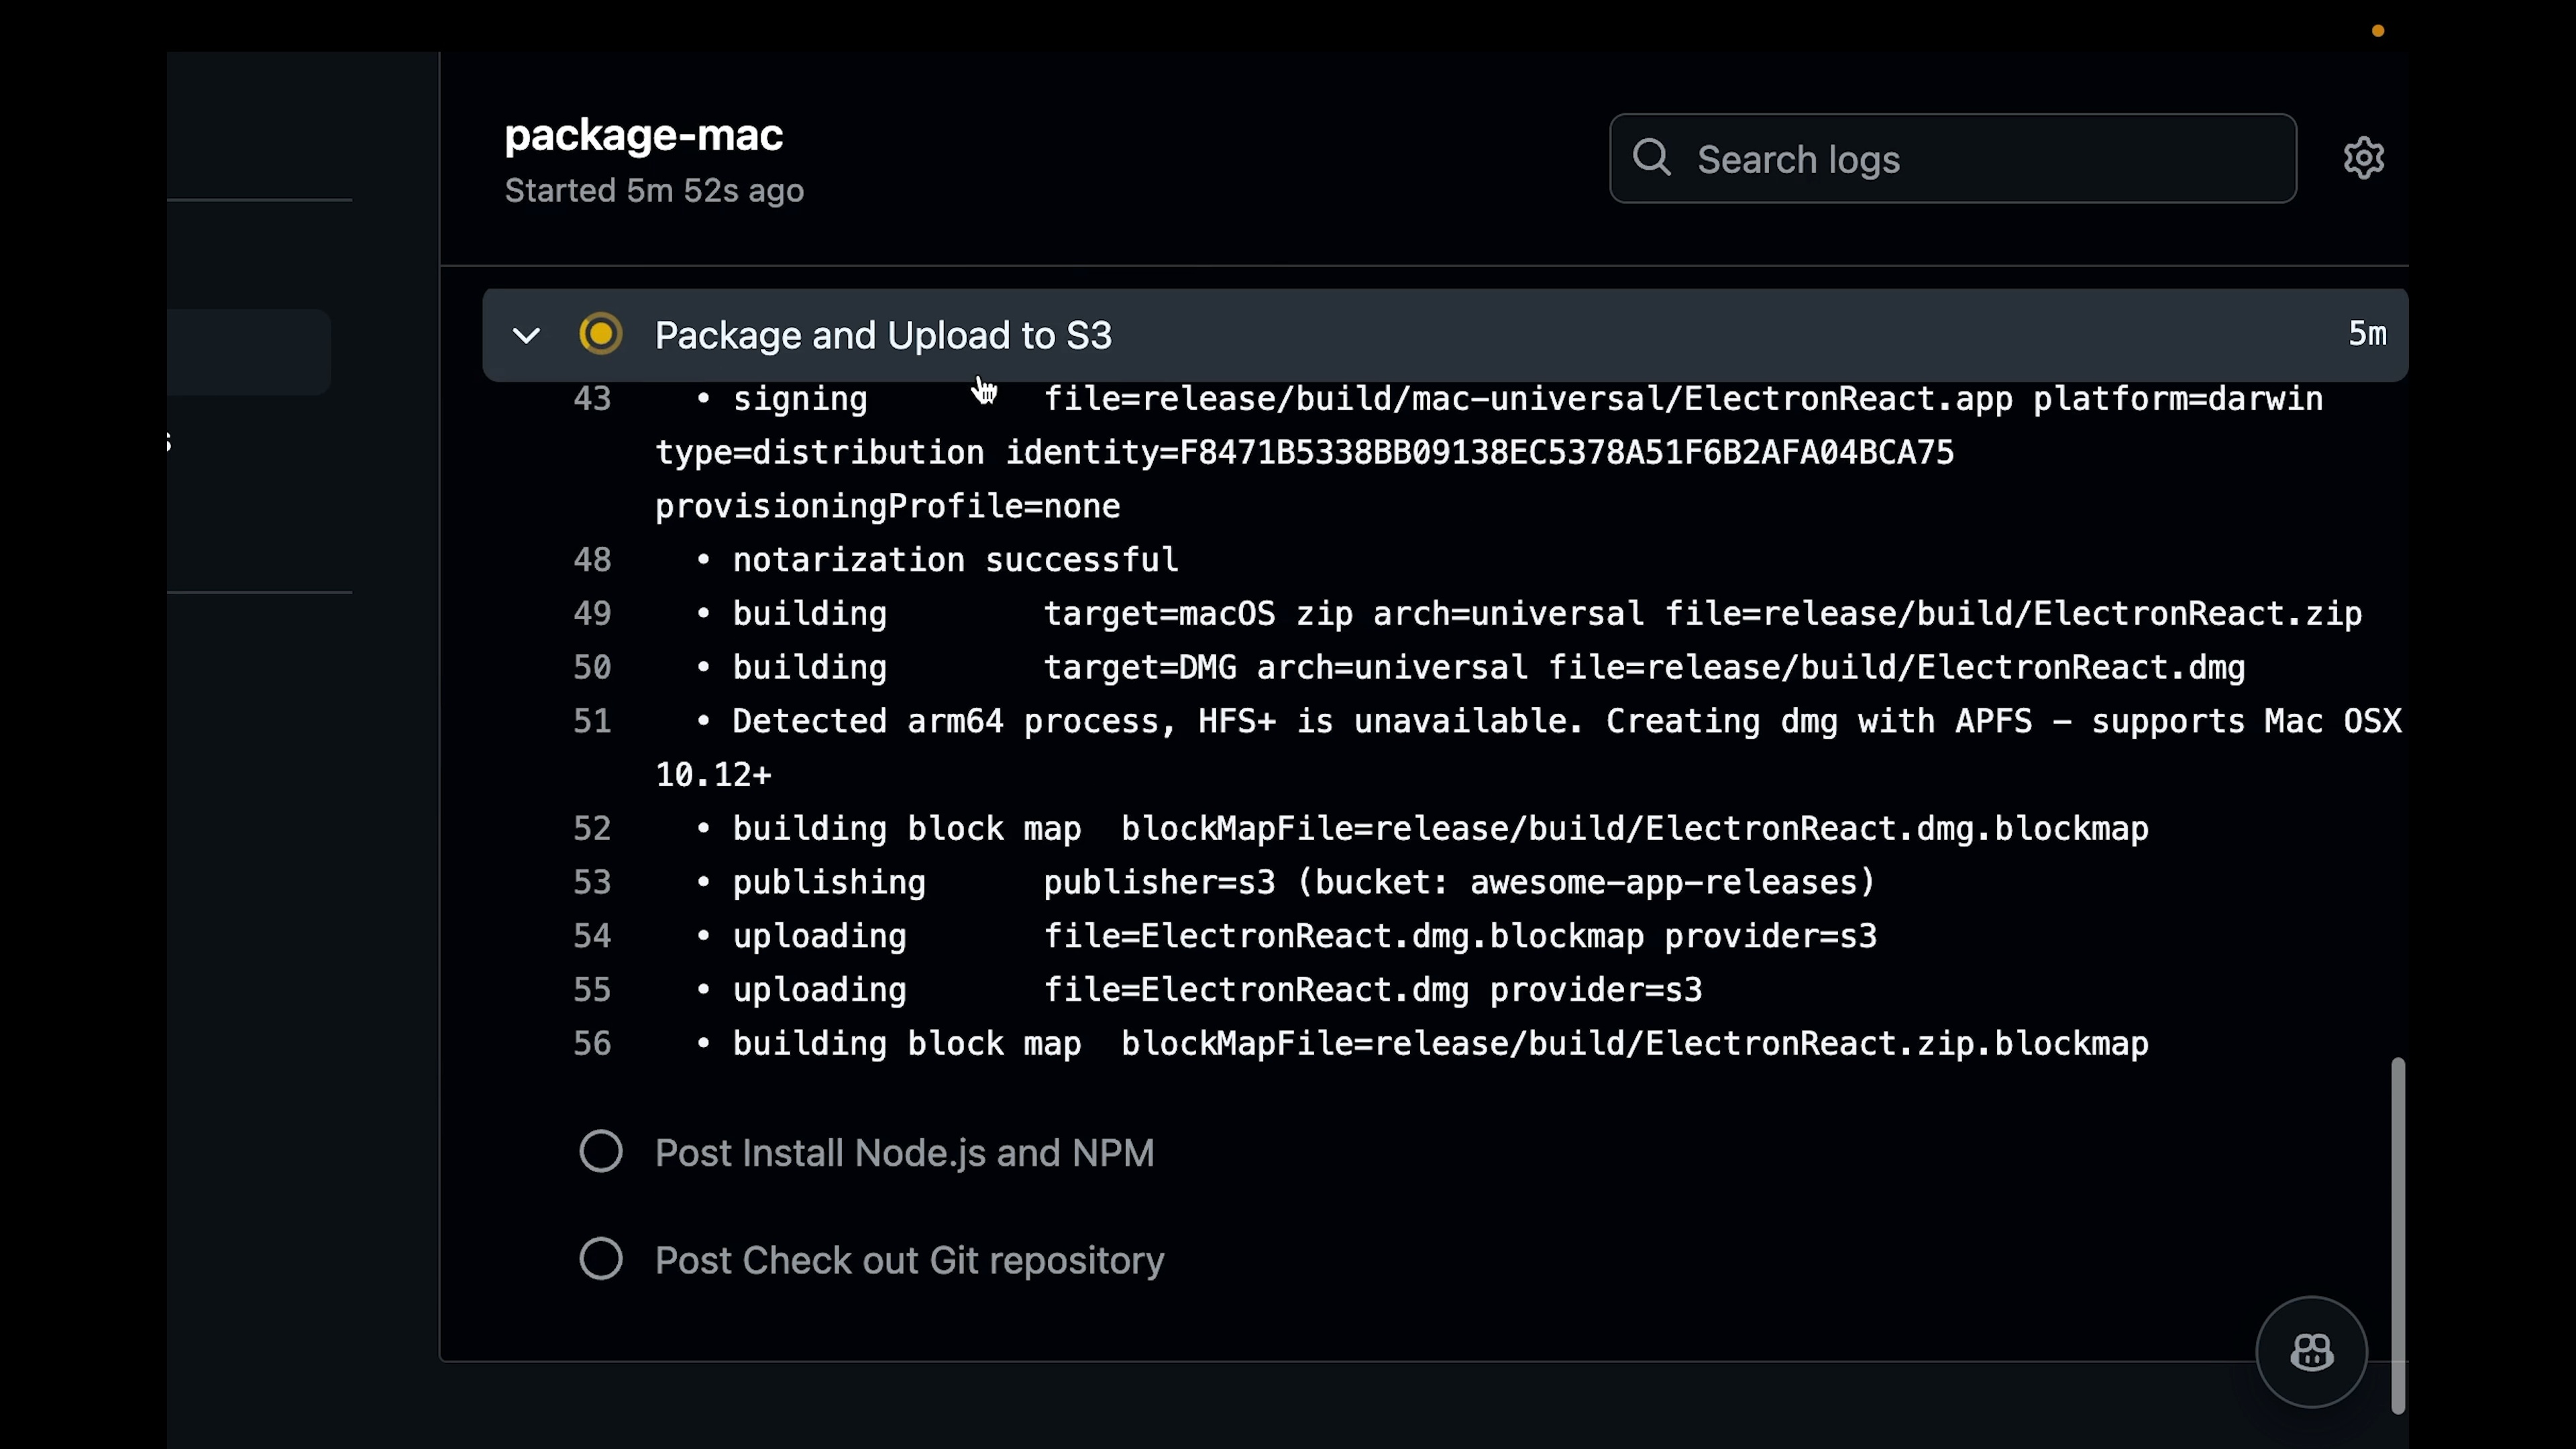
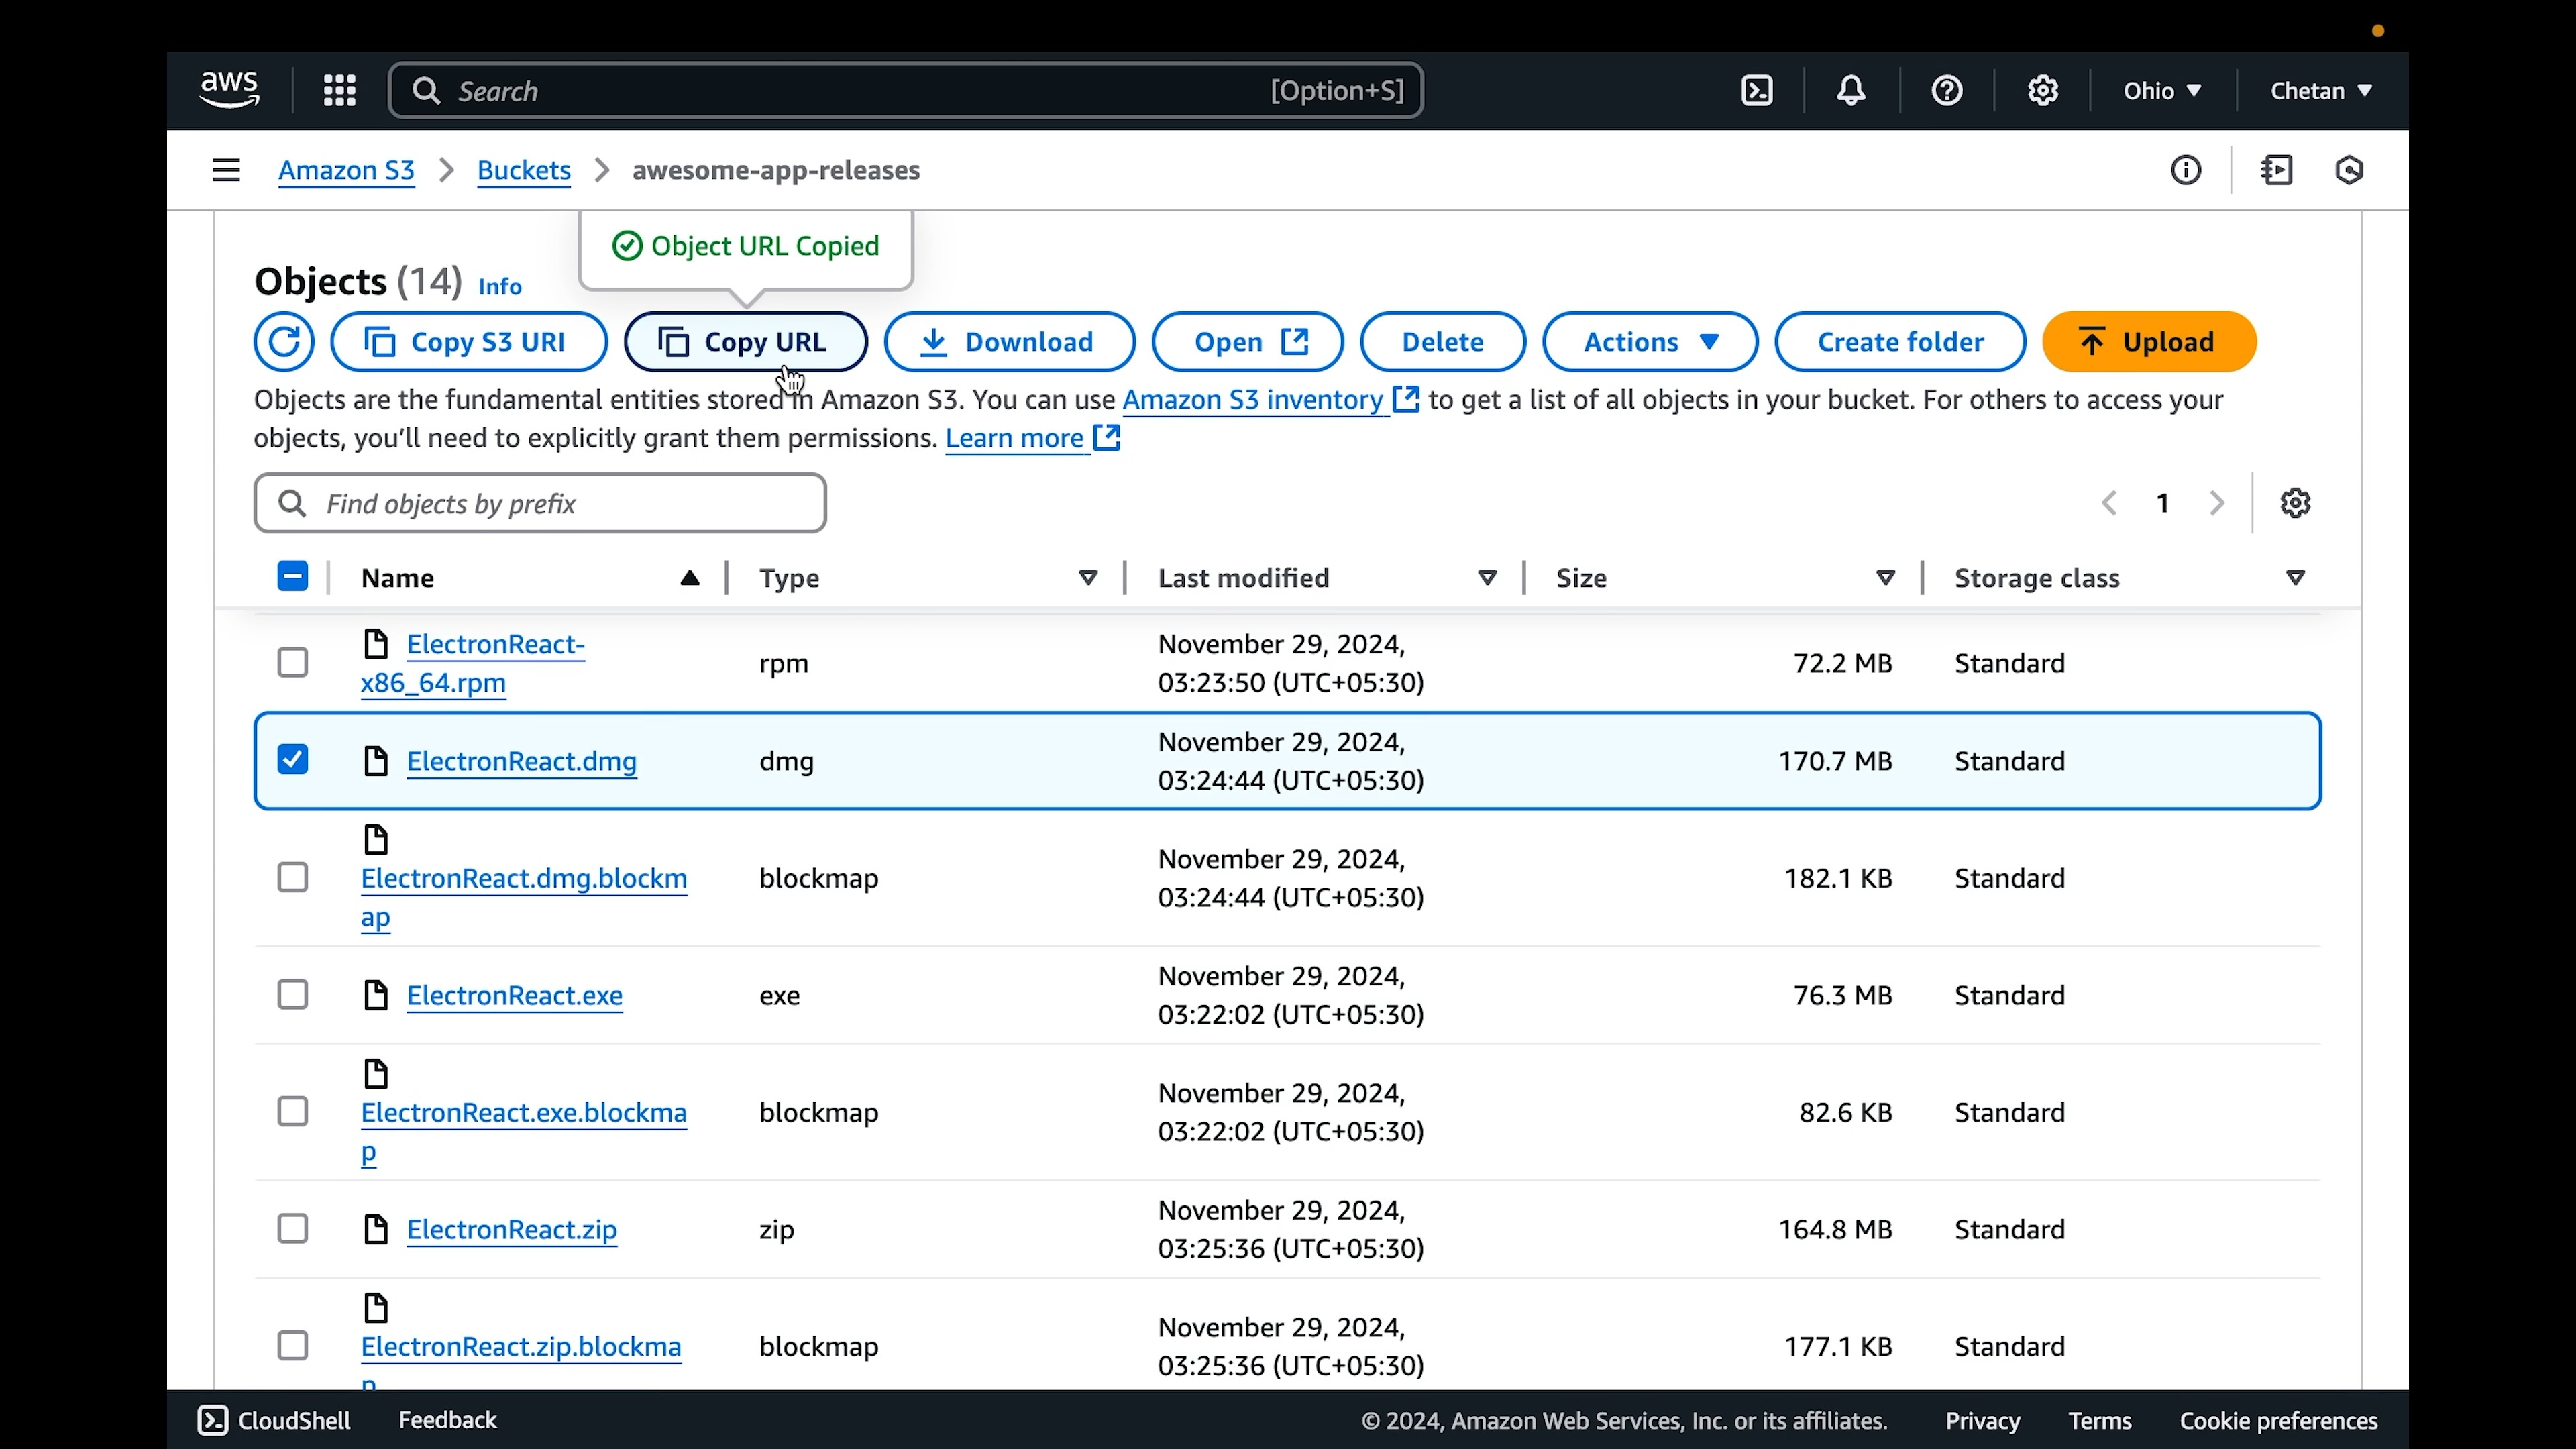
- After a successful build, the installer files will be found in your S3 bucket. These files will be publicly accessible in the following format:
https://<your-bucket-name>.s3.amazonaws.com/<your-product-name>.dmg
Examples:
- https://chess-master.s3.amazonaws.com/Chess+Master.dmg
- https://chess-master.s3.amazonaws.com/Chess+Master.exe
- https://chess-master.s3.amazonaws.com/Chess+Master.deb
- https://chess-master.s3.amazonaws.com/Chess+Master.rpm
- Share the URL with your users to download the signed and notarized executable. Hurray! 🎉
Electron Builder's auto-update feature makes life much easier for your users by allowing you to push updates without requiring them to manually download and install the new version.
It's a must-have feature for any Electron app.
Here's how to set it up:
Prerequisites:
- You need to have a workflow in place for pushing your app's installer files to an S3 bucket. If you've followed the earlier FAQ, this should already be set up.
Step-by-Step Guide:
- Ensure you have the latest version of Electron Updater:
npm install --save-dev electron-updater@latest
- In
src/main/main.ts, add the following code to check for updates:
import { autoUpdater } from 'electron-updater';

class AppUpdater {
  constructor() {
    // Disable automatic downloading of updates
    autoUpdater.autoDownload = false;
    // Enable automatic installation of updates on the next computer restart
    autoUpdater.autoInstallOnAppQuit = true;

    try {
      // Start listening for update events
      this.listenEvents();
      // Check for available updates
      autoUpdater.checkForUpdates();
    } catch (error) {
      console.error(error);
    }
  }

  async listenEvents() {
    // Event listener for when the app is checking for updates
    autoUpdater.on('checking-for-update', () => {
      console.log('Checking for updates...');
    });

    // Event listener for when an update is available
    autoUpdater.on('update-available', (info) => {
      console.log('Update available:', info);
      // Download the latest version of the update
      autoUpdater.downloadUpdate();
    });

    // Event listener for when no update is available
    autoUpdater.on('update-not-available', (info) => {
      console.log('Update not available:', info);
    });

    // Event listener for when an error occurs during the update process
    autoUpdater.on('error', (err) => {
      console.log('Error in auto-updater:', err);
    });

    // Event listener for when an update has been downloaded
    autoUpdater.on('update-downloaded', (info) => {
      console.log('Update downloaded:', info);
    });
  }
}- For the best app performance, call the
AppUpdaterconstructor after all initializations are done, the main window is created, and your app is ready:
new AppUpdater();- Now, Update your app version in the
release/app/package.jsonfile:
{
  "name": "my-awesome-app",
  "version": "1.1.0" // Update this to your new version
}-
Push your changes to the repository.
-
That's it! Now, whenever you push a new version:
- The GitHub Workflow will automatically build and push the new version to your S3 bucket.
- Your app will automatically check for updates and download them in the background.
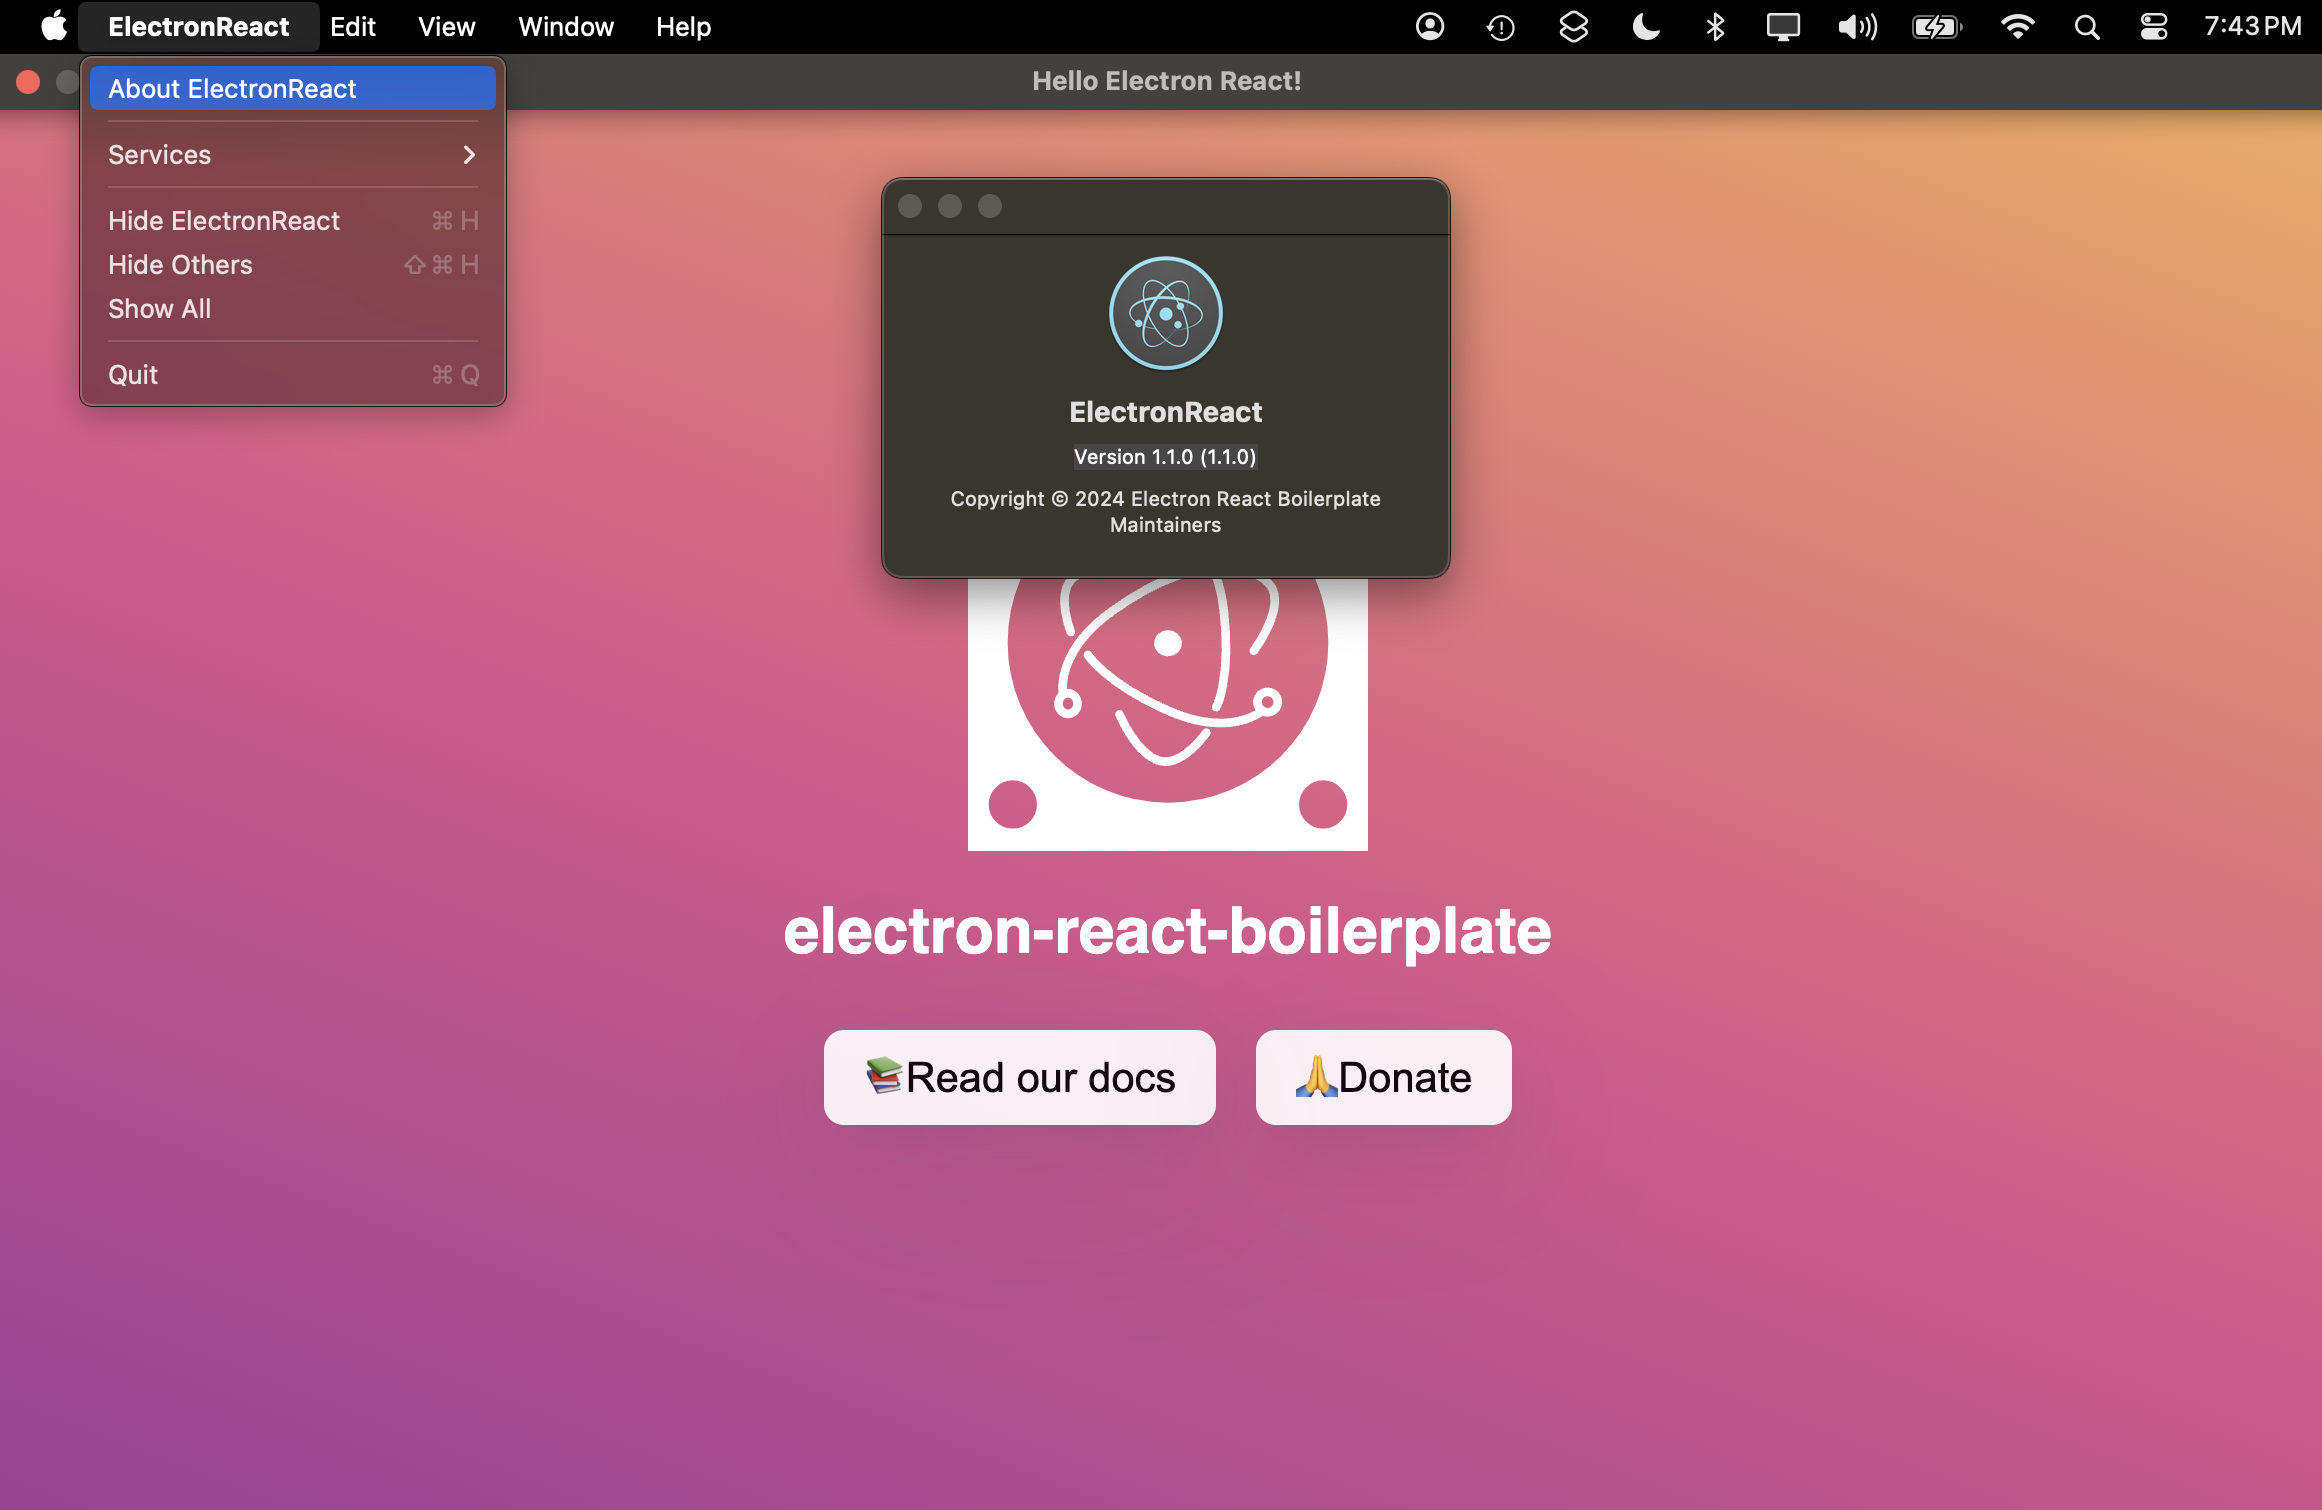
- When the user restarts their system, the new version will be automatically installed.
