The image is automatically rebuilt when the base image php is pushed.
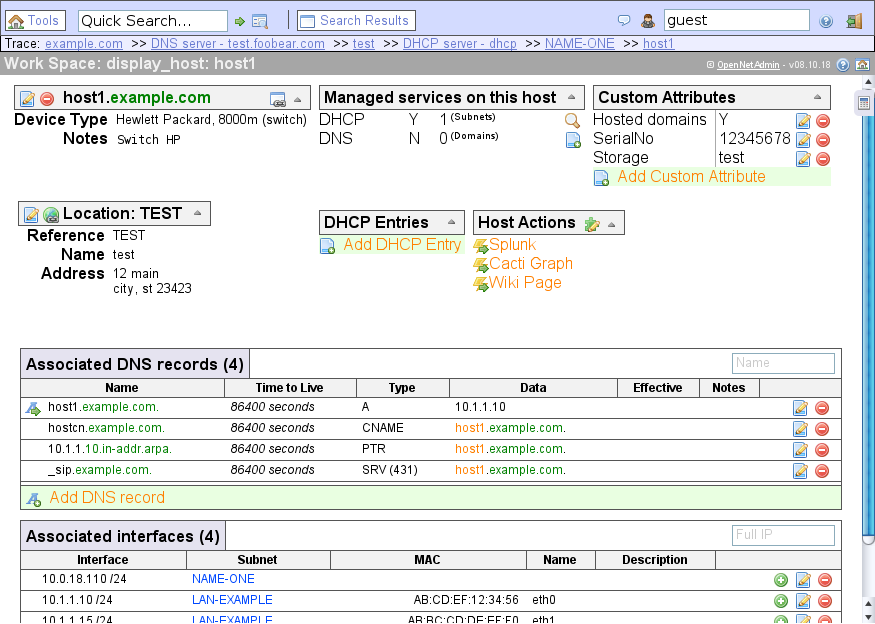
OpenNetAdmin provides a database managed inventory of your IP network. Each subnet, host, and IP can be tracked via a centralized AJAX enabled web interface that can help reduce tracking errors. A full CLI interface is available as well to use for scripting and bulk work. We hope to provide a useful Network Management application for managing your IP subnets, hosts and much more. Stop using spreadsheets to manage your network! Start doing proper IP address management!
- Full CLI interface for batch and scripting
- Plugin system to extend functionality
- Audit managed subnets and discover new IPs
- Manage DNS and DHCP server configs, archive host configs
- And much more …
| 🖧ONA | 🏷docker-tag | 🕸️php 🏷docker-tag | 📀image info | 📋Notes |
|---|---|---|---|---|
| v17.12.22 | v17.12.22 |
v17.12.22-php5 |
 |
|
| v18.1.1 | v18.1.1 |
v18.1.1-php5 |
 |
 |
v18.1.1-php7.0 |
 |
|||
| git-master | master-php5 |
 |
current master seems to be incompatible with php5 | |
master |
master-php7.0 |
 |
 |
|
master-php7.1 |
 |
|||
master-php7.2 |
 |
|||
| git-develop | develop-php5 |
 |
current develop seems to be incompatible with php5 | |
develop-php7.0 |
 |
|||
develop |
develop-php7.1 |
 |
||
develop-php7.2 |
 |
Pull the image or build it manually.
Pull from Dockerhub. The tag latest can be replaced by any of the „Supported tags“ section:
docker pull raabf/ona:latest
Checkout or download the repository and run in the subdirectory ona/:
docker build --tag=myona --build-arg PHP_VERSION='7.1' --build-arg ONA_VERSION="master" .
PHP_VERSION='7.1'can be any version available at php (all*-apachetags are valid; examples:5,7,5.6,7.1.22,7.3.0RC1)ONA_VERSION="master"can be any branch, git-tag, or commit-hash from ONA
Execute the following
docker run --detach --publish 0.0.0.0:8666:80 -v /etc/ona/local/:/opt/ona/www/local -v /etc/timezone:/etc/timezone:ro -v /etc/localtime:/etc/localtime:ro raabf/ona:latest
--publish 0.0.0.0:8666:80ONA is reachable at the interface0.0.0.0(=any) and the port8666. Adapt to your needs.-v /etc/ona/local/:/opt/ona/www/local(Optional)/etc/ona/local/is the configuration directory of your ONA instance and the path must already exist. It must be a permanent storage. If omitted docker will create an own directory (usedocker inspectto find out this directory).-v /etc/timezone:/etc/timezone:ro-v /etc/localtime:/etc/localtime:rotimezone information required by PHPraabf/ona:latestThe image pulled earlier.
Then you have to find out the container name and copy it:
docker ps
Moreover we have to initialize the config directory and timezone of your server. This has to be done only once after creating a new container. Execute the following (existing files in the config directory will not be overwritten):
docker exec --interactive --tty PASTE_CONTAINER_NAME_HERE ./init_conf.sh
Now restart your container to apply changes:
docker restart PASTE_CONTAINER_NAME_HERE
ONA is now reachable at http://localhost:8666/ona
Note that this image is shipped without a database. Use either an MySQL/MariaDB instance running at your host or use an MariaDB Docker image.
Now follow the normal ONA Web Installation guide to complete your setup.
If you plan to proxy your container trough another webserver such at your host, please note that the same base-subdirectory has to be used. This docker image is configured to use ona/ as subdirectory. To modify this default, edit ona/apache2.conf and build the image on your own.
A suitable proxy directive for your host-apache2 instance could look like this:
<Location /ona>
    RequestHeader unset Accept-Encoding
    ProxyPreserveHost on

    AddOutputFilterByType SUBSTITUTE text/html
    Substitute "s|http://example.org/ona|https://example.org/ona|ni"

    ProxyPassReverse /
</Location>

ProxyPass /ona http://127.0.0.1:8666/ona
ProxyPassReverse /ona http://127.0.0.1:8666/ona
ProxyRequests Off
It assumes that your host webserver is accessible via example.org and that you have the required modules loaded: mod_proxy, mod_filter, mod_substitude.
It is also possible to omit --publish 0.0.0.0:8666:80 when the container is created and then directly point to the container IP with port 80 (for example http://172.17.0.1:80 instead of http://localhost:8666/). But remember to assign a static IP address to the container.
If something is missing or not working, then I’m happy for any contribution. You can find the repository and issues board at GitLab.


