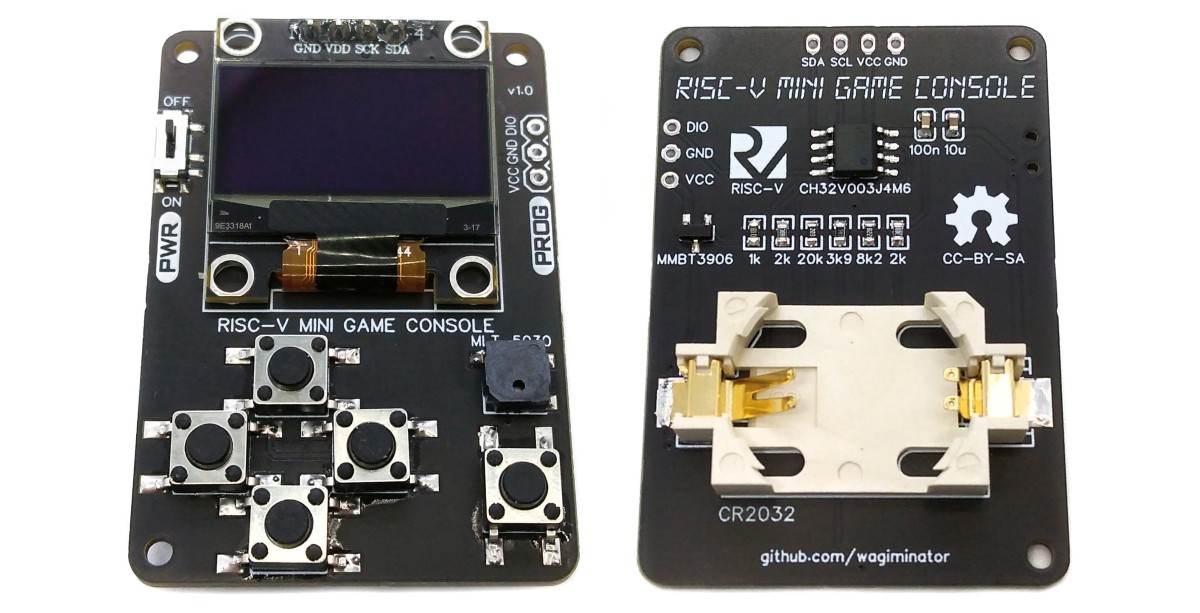
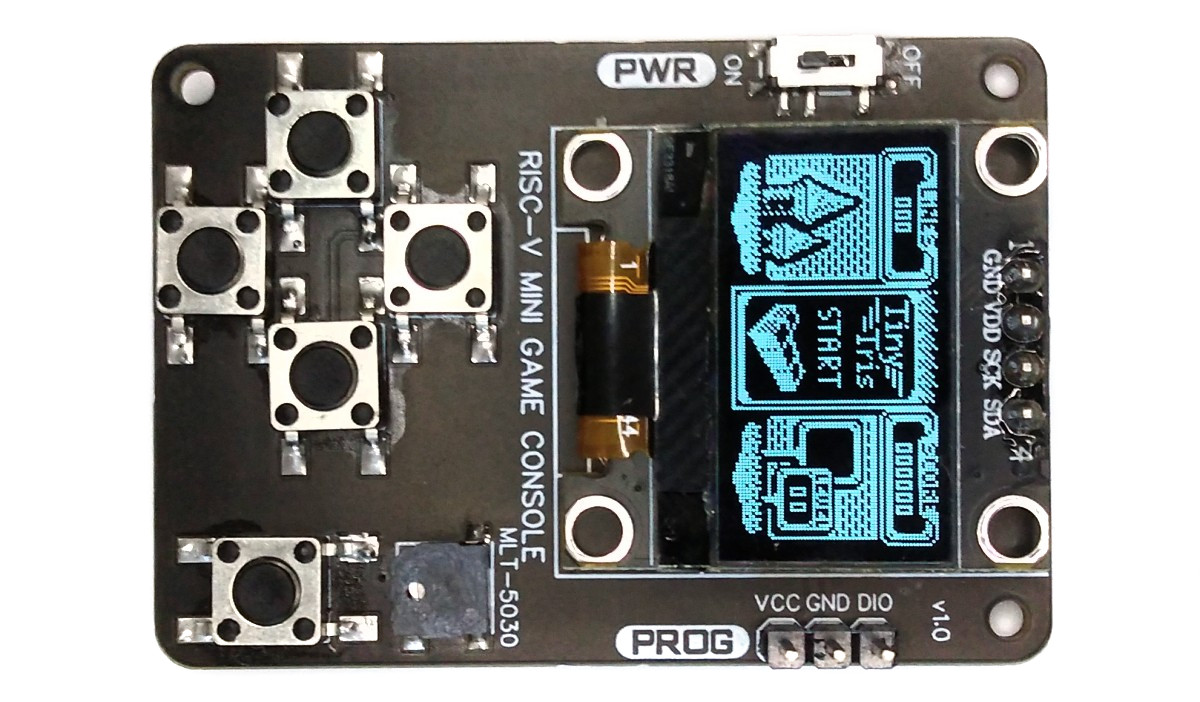
Mini Game Console utilizing the CH32V003J4M6 ultra-cheap (10 cents by the time of writing) 32-bit RISC-V microcontroller, an SSD1306 128x64 pixels OLED display and CR/LIR2032 coin cell battery holder.
- Project Video (YouTube): https://youtu.be/1W7Z0BodhWk
- PCB Design Files (EasyEDA): https://oshwlab.com/wagiminator/ch32v003j4m6-game-console
The CH32V003 series is a collection of industrial-grade general-purpose microcontrollers that utilize the QingKe RISC-V2A core design supporting the RV32EC instruction set. These microcontrollers are equipped with various features such as a 48MHz system main frequency, 16KB flash, 2KB SRAM, 2.7V - 5.5V supply voltage support, a single-wire serial debug interface, low power consumption, and an ultra-small package. Additionally, the CH32V003 series includes a built-in set of components including a DMA controller, a 10-bit ADC, op-amp comparators, multiple timers, and standard communication interfaces such as USART, I2C, and SPI.
A low-cost SSD1306 4-pin I2C 128x64 pixels 0.96-inch OLED module is used as the display device. Make sure to acquire one with the correct pinout!
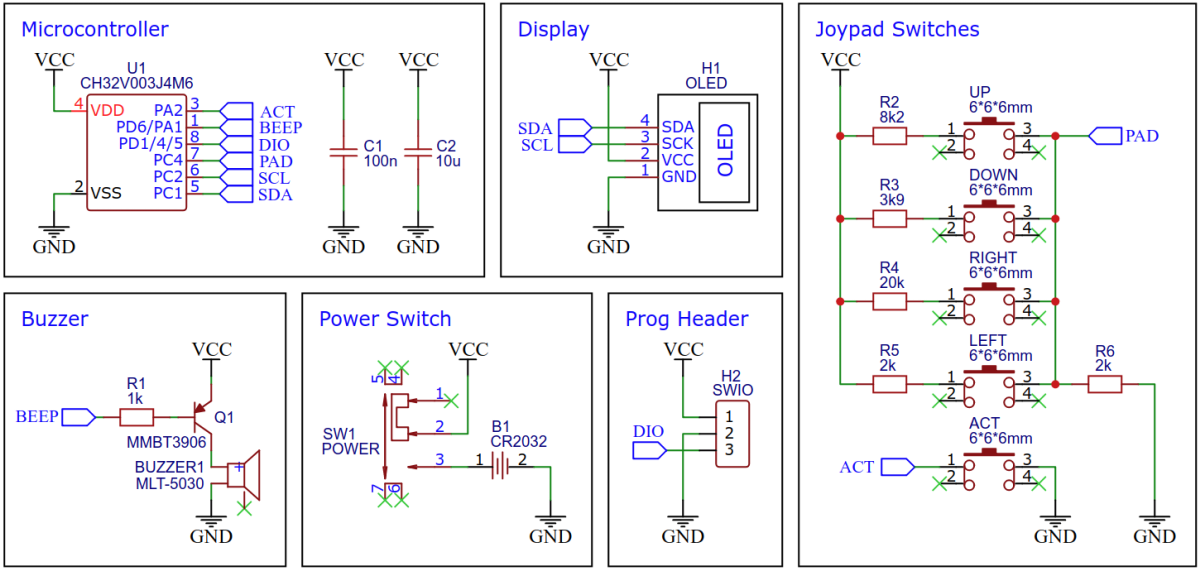
Version 1.0 of the board controls the buzzer via a transistor. This increases the volume but can cause a voltage drop with weaker CR2032 3V batteries, potentially leading to a microcontroller brownout (this does not happen with the rechargeable LIR2032 3.6V batteries). Version 1.1 controls the buzzer directly through a low resistor, resulting in lower volume but preventing the brownout.
The average current consumption of the Mini Game Console is about 10mA at 3.6V, as measured with the Power Profiler Kit II.
- Take the Gerber files (the zip file inside the hardware folder) and upload them to a PCB (printed circuit board) manufacturer of your choice (e.g., JLCPCB). They will use these files to create the circuit board for your device and send it to you.
- Once you have the PCB, you can start soldering the components onto it. Use the BOM (bill of materials) and schematic as a guide to make sure everything is connected correctly. You can find the corresponding files in the hardware folder.
- Upload the firmware by following the instructions in the section after next (see below).
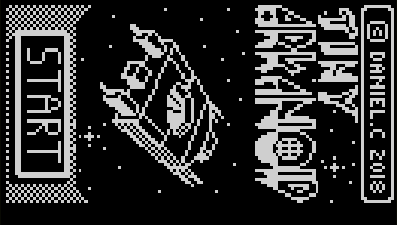
Tiny Invaders was originally developed by Daniel Champagne for the ATtiny85. It is an adaptation of the classic game Space Invaders. The player controls a laser cannon that moves horizontally along the bottom of the screen. The objective is to defend the Earth from waves of descending alien invaders. The aliens move side to side, gradually descending towards the player, and the player's goal is to destroy them before they reach the bottom of the screen.
The player can shoot projectiles at the aliens and must strategically time their shots to hit the moving targets. As the game progresses, the aliens' movement becomes faster, making it more challenging to eliminate them. Additionally, the aliens periodically fire back at the player, creating a sense of urgency and adding to the gameplay difficulty.
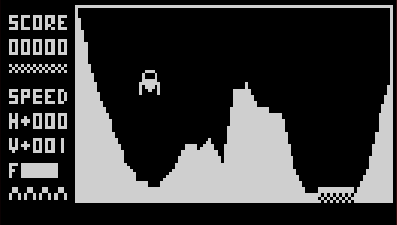
Tiny Lander was originally developed by tscha70 for the ATtiny85. It is an adaptation of the classic game Lunar Lander that simulates the experience of piloting a spacecraft and landing it safely on the moon's surface. The objective of the game is to control the descent of the lunar lander module, adjusting the thrust and direction to ensure a smooth landing without crashing or running out of fuel. It requires careful maneuvering and precision to navigate the gravitational forces and terrain obstacles present on the moon.
If you hold down the UP button on the start screen while pressing the fire button, the game will automatically start in a later level. On the other hand, if you hold down the DOWN button, you get 255 lives.
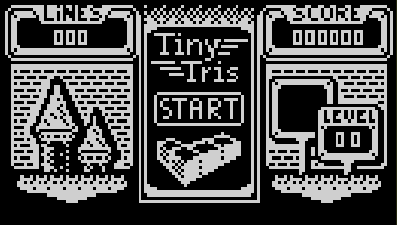
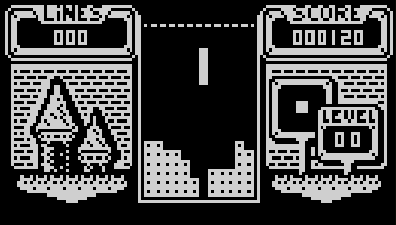
Tiny Tris was originally developed by Daniel Champagne for the ATtiny85. It is an adaptation of the well-known game Tetris. The objective of Tetris is to manipulate and arrange the falling Tetriminos to create complete horizontal lines without any gaps. When a line is completed, it clears from the playfield, and the player earns points. As the game progresses, the Tetriminos fall faster, increasing the challenge. If the Tetriminos stack up and reach the top of the playfield, the game ends.
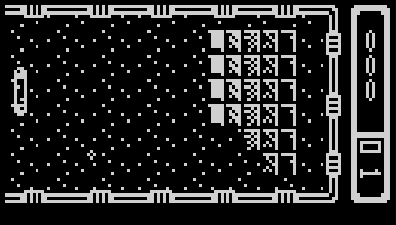
Tiny Arkanoid was originally developed by Daniel Champagne for the ATtiny85. It is an adaptation of the classic game Arkanoid. The player controls a paddle at the bottom of the screen and uses it to bounce a ball against a wall of bricks at the top.
The objective of the game is to destroy all the bricks by hitting them with the ball. Each brick that is hit will disappear, and the player earns points for each brick destroyed. The ball bounces off the walls and the paddle, and the player must maneuver the paddle to keep the ball in play and prevent it from falling off the bottom of the screen.
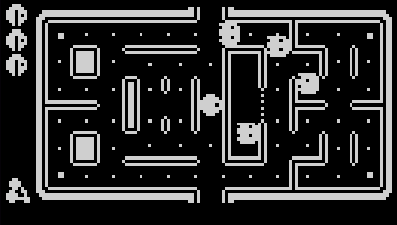
Tiny Pacman was originally developed by Daniel Champagne for the ATtiny85. The player controls a round character called Pacman, who must navigate through a maze filled with pellets and various types of enemies, known as ghosts. The objective of the game is for Pacman to eat all the pellets in the maze while avoiding the ghosts.
To program the CH32V003 microcontroller, you will need a special programming device which utilizes the proprietary single-wire serial debug interface (SDI). The WCH-LinkE (pay attention to the "E" in the name) is a suitable device for this purpose and can be purchased commercially for around $4. This debugging tool is not only compatible with the CH32V003 but also with other WCH RISC-V and ARM-based microcontrollers.
To use the WCH-LinkE on Linux, you need to grant access permissions beforehand by executing the following commands:
echo 'SUBSYSTEM=="usb", ATTR{idVendor}=="1a86", ATTR{idProduct}=="8010", MODE="666"' | sudo tee /etc/udev/rules.d/99-WCH-LinkE.rules
echo 'SUBSYSTEM=="usb", ATTR{idVendor}=="1a86", ATTR{idProduct}=="8012", MODE="666"' | sudo tee -a /etc/udev/rules.d/99-WCH-LinkE.rules
sudo udevadm control --reload-rules
On Windows, if you need to you can install the WinUSB driver over the WCH interface 1 using the Zadig tool.
To upload the firmware, you need to ensure that the Game Console is switched off or the battery is removed. Then, you should make the following connections to the WCH-LinkE:
WCH-LinkE     GameConsole
+-------+      +-------+
|  SWDIO| <--> |DIO    |
|    GND| ---> |GND    |
|    3V3| ---> |VCC    |
+-------+      +-------+
If the blue LED on the WCH-LinkE remains illuminated once it is connected to the USB port, it means that the device is currently in ARM mode and must be switched to RISC-V mode initially. There are a few ways to accomplish this:
- You can utilize the Python command-line tool rvprog (with -v option).
- Alternatively, you can select "WCH-LinkRV" in the software provided by WCH, such as MounRiver Studio or WCH-LinkUtility.
- Another option is to hold down the ModeS button on the device while plugging it into the USB port.
More information can be found in the WCH-Link User Manual.
Install the toolchain (GCC compiler, Python3, and rvprog):
sudo apt install build-essential libnewlib-dev gcc-riscv64-unknown-elf
sudo apt install python3 python3-pip
pip install rvprog
Switch off the Game Console or remove the battery. Connect the Console via the 3-pin PROG header to the programming device. Open a terminal and navigate to the folder with the makefile. Run the following command to compile and upload:
make flash
Follow the instructions on CNLohr's ch32v003fun page to set up the toolchain on your respective operating system (for Windows, use WSL). Also, install Python3 and rvprog. Compile and upload with "make flash". Note that I only have Debian-based Linux and have not tested it on other operating systems.
- Install PlatformIO and platform-ch32v. Follow these instructions to do so. Linux/Mac users may also need to install pyenv.
- Click on "Open Project" and select the firmware folder with the platformio.ini file.
- Switch off the Game Console or remove the battery. Connect the WCH-LinkE to the board. Then click "Upload".
WCH offers the free but closed-source software WCH-LinkUtility to upload the precompiled hex-file with Windows. Select the "WCH-LinkRV" mode in the software, open the .hex file in the bin folder and upload it to the microcontroller.
Alternatively, there is an open-source tool called minichlink developed by Charles Lohr (CNLohr). It can be used with Windows, Linux and Mac.
If you have installed Python3 on your system, you can also use the platform-independent open-source command-line tool rvprog for uploading:
rvprog -f bin/<firmware>.bin
- EasyEDA Design Files
- MCU Templates
- MCU Flash Tools
- DanielC: Tinyjoypad
- CNLohr: ch32003fun
- WCH: CH32V003 datasheets
- WCH: WCH-Link user manual
- WCH: Official Store on AliExpress
This work is licensed under Creative Commons Attribution-ShareAlike 3.0 Unported License. (http://creativecommons.org/licenses/by-sa/3.0/)
