Real‐world Testing
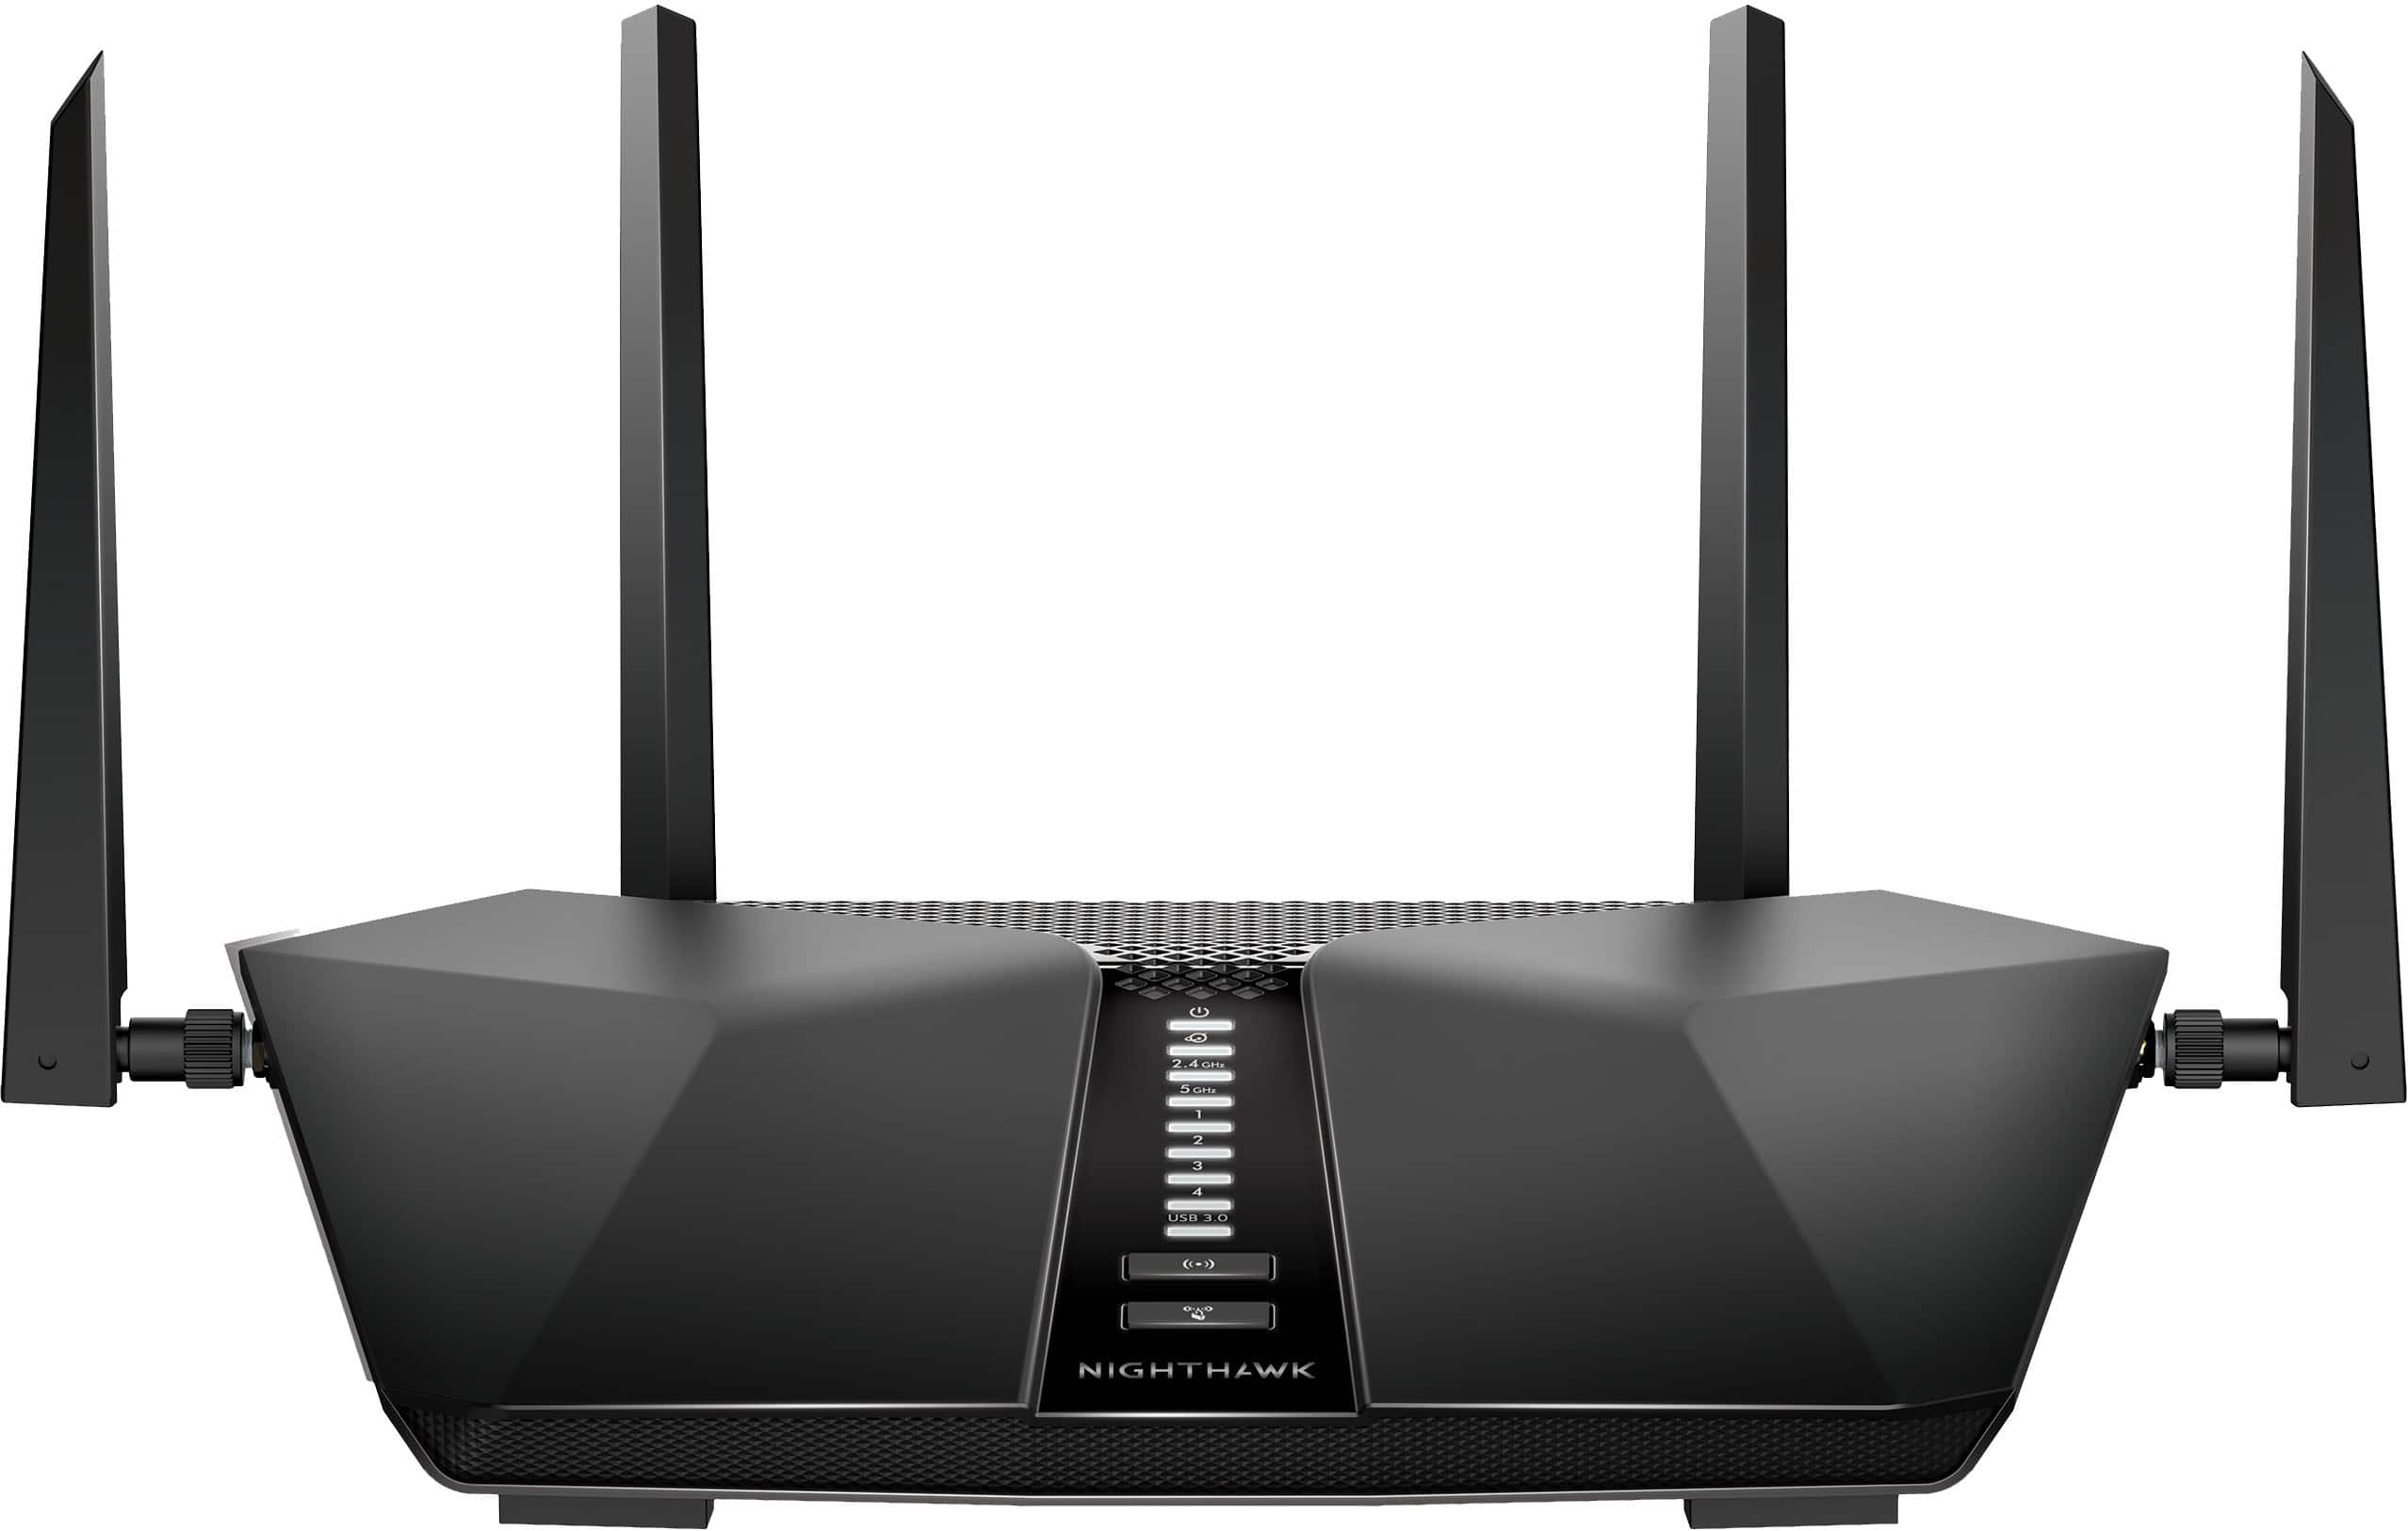
The main communication between the onboard and shoreside computers happen via WiFi. Thus, we need to plug in the Arcturus router and connect both computers to the same network.
You can take note of your IP address using the ip addr command. You should now be able to SSH into the onboard computer using
ssh arcturus@<IP_ADDRESS>
If you connected the onboard computer to the
MIT SECUREnetwork, it may remember that and automatically connect toMIT SECUREinstead of the desiredarcturusnetwork. Before tests, it may be beneficial to forget theMIT SECUREWiFi network on the onboard computer (or you can bring a portable display, keyboard, and mouse and manually connect to thearcturusnetwork).
We can use a pair of commercial SiK Telemetry Radio LoRas to send manual control and heartbeat (to automatically E-stop on disconnects) messages. While LoRa connections cannot transmit high-speed data, they are great for sending data over long range.
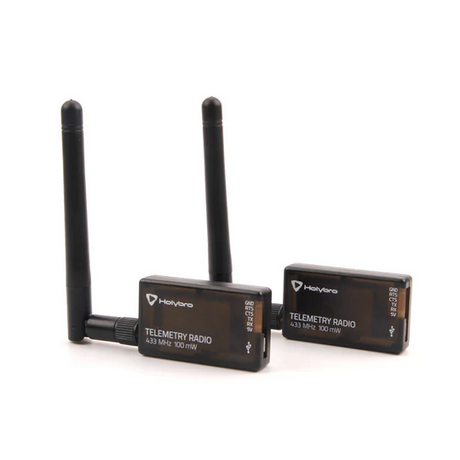
Connect the radios via USB to both the shoreside and onboard computers. On the onboard computer, run
ros2 run all_seaing_driver rover_lora_controller.py
On the shoreside computer, run
ros2 run all_seaing_driver onshore_lora_controller.py
Now the two computers are able to communicate via UART (a serial communication protocol)!
It is important that you run
rover_lora_controller.pybeforeonshore_lora_controller.pyfor the serial communication to work as intended.
coming soon...
As a sanity check, it can be useful to send PWM commands to each thruster. First, connect the Pixhawk to a computer that can run MAVROS (e.g. the Jetson). Then, run
ros2 launch all_seaing_driver mavros.launch.py
If this doesn't work, you could be using a USB charge-only cable rather than a USB data cable. To confirm, on the computer running MAVROS, run ls /dev/ttyACM*. If ttyACM0 does not exist, it is likely caused by a bad USB cable.
If you are running into the error FCU: DeviceError:serial:open: Permission Denied, run
sudo chmod 666 /dev/ttyACM*
Once the MAVROS node is spun up and connected, confirm that MAVROS topics are listed when running ros2 topic list. Then, to send thruster commands, run
ros2 run mavros mav cmd long 183 <port_number> <pwm_value> 0 0 0 0 0
183 is the MAV_CMD_DO_SET_SERVO MAVLINK message for setting output PWM values. port_number is an integer value and pwm_value is an integer value ranging between 1100 and 1900 where 1100 is maximum reverse thrust, 1500 is no thrust, and 1900 is maximum forward thrust.
Note: The PWM values are the times the signal is "on" in microseconds where the signal period is 20 ms (50 Hz).
The thrusters make a beeping sound when the first command is received but they do not start spinning until the second command. You can also visualize the servo outputs using
ros2 topic echo /mavros/rc/out
First, SSH into the onboard computer:
ssh arcturus@<IP_ADDRESS>
Replace <IP_ADDRESS> with the IP address of the onboard computer (at the time of writing this, it is 192.168.1.2). You can check the IP address using the ip addr command.
On the onboard computer, run:
ros2 launch all_seaing_bringup vehicle.launch.py
Again, if you see Permission Denied errors, run
sudo chmod 666 /dev/ttyACM* /dev/ttyUSB*
This will bring up all the sensor drivers and necessary all_seaing_vehicle ROS nodes. You can also increase the mavros publishing rate using
ros2 run mavros mav sys rate --all 10
where 10 is the rate (Hz) of publishing. On the shoreside computer, run the following command.
ros2 launch all_seaing_bringup shoreside.launch.py use_lora:=false
Change
use_lora:=falsetouse_lora:=trueif using the LoRa controllers.
This should open up RViz and a keyboard popup window. The controls should match the simulation. Additionally, a /heartbeat message is regularly sent, and the vehicle will automatically E-stop if the message is not received for an extended period of time.
It is important that you run
shoreside.launch.pyAFTER you runvehicle.launch.pyfor the serial communication to work as intended.
Now you should be able to control the boat using the keyboard!
Since rosbags can take a lot of storage space, we record data using a flash drive or an external hard drive. To perform this headless (no GUI), first, check the device name using lsblk. Find the new device name that pops up after plugging in an external drive (typically sda but can vary).
Then, create the mount point directory:
sudo mkdir -p /media/$USER/usb-drive
And mount the drive (replace sda with your device name)
sudo mount -o umask=0 /dev/sda /media/$USER/usb-drive
Now the /media/$USER/usb-drive directory should contain the contents of your external drive. Any data added to this directory is stored in your drive. To record data, run
ros2 bag record -o <name_of_bagfile> <topics>
where <topics> is a space-separated list of topics to record. To play the data, run
ros2 bag play -l <name_of_bagfile>
Before ejecting, make sure the sync to the USB drive in complete. You can see the progress using this command:
watch -d grep -e Dirty: -e Writeback: /proc/meminfo
Once you are done with the drive, don't forget to eject:
sudo eject /media/$USER/usb-drive