-
Notifications
You must be signed in to change notification settings - Fork 6
[EN] Characteristics
Before proceeding, be sure to read the Introduction.
There are cases in which the modeler wants certain characteristics to the vehicle, such as some custom driver, control the dirt level etc. Using this function in conjunction with the new extras system, everything becomes more interesting:
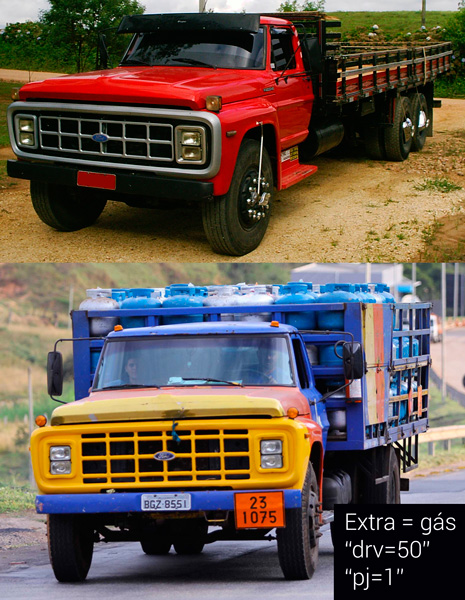
Let's say you created a truck, and want an extra variation of it for gas truck, but you also want that, if this gas extra is selected, also apply a paintjob and a custom driver.
So, besides the extra, will also be applied a driver (ID 50, originally a mechanic) and a paintjob (1) to have a gas truck painting.
You can see this complete example on Recursive Extras.
Just apply a function name in any node inside vehicle's .dff. There's no mystery, but, remember that the game only supports nodes with up to only 23 characters.
It's necessary to use underline (_) to separate, so avoiding unexpected things.
For example chassis_drv=50, VehFuncs will search for _drv=, will find, and change the driver ID by the model ID 50. Note: Don't use chassis because the node is used by some game features.
You can put it in any place, except inside bumpers, doors etc. You can also create a new dummy to this if you prefer. In fact, the node doesn't even need to have a name remainder, it works anyway. Feel free.
VehFuncs work processing all vehicle nodes searching for functions. Apply the characteristics direct on the part name is great for mod performance, plus the power to use this along with the extras system, as stated above, making the mod much more dynamic.
Using scripts or configuration files for vehicles is bad in many ways, both for mod performance and for modeler work. It is much more interesting for the modeler to apply the characteristics of the vehicle soon during the creation of it and to launch the vehicle without any additional file.
Description: Change driver model.
Parameters: Model ID. Can be just one or various separated with comma, so it will select randomly.
Example: drv=50, drv=61,62, drv=190,50,100,101.
Description: Paintjob / Remap.
Parameters: Paintjob /remap ID (from "1").
Example: Use pj=1 in an Elegy will apply the remap of the file "elegy1.txd". Originally the game supports 5 paintjobs. If in the future there are mods that increase this limit, you can apply up to 9 (if this happens, I can increase it to 99).
Note: When applying a paintjob, it will also apply white (1) in primary color.
Description: Dirt (dirt level).
Parameters: Use numbers between 0 and 9, where0 is without dirt, and 9 is maximum dirt. Generally is configurated with a hyphen, as MINIMUM-MAXIMUM to randomly apply, but, you can also use drt=NUMBER.
Example: drt=0-3 apply some value between 0 and 3 of dirt, so, the vehicle will be clean or a bit dirty; drt=6-9 applies between 6 and 9, so, very dirty; drt=5 apply half of the dirt.
Description: Double exhaust (for double smoke, same as handling.cfg flag).
Parameters: Use 1 to enable and 0 to disable the double exhaust smoke. If not set, will be used the default handling flag.
Example: dexh=1 on double exhaust extra.
Description: Force the vehicle colors.
Parameters: You can use up to 4 comma-separated numbers, the first one being the primary color, and so on (you don't need to tell all). You can use some character like - in place of the number, or the number -1 to not change that color. You have the color ID numbers in the data\carcols.dat file.
Example: cl=1 (the primary color of the car will be white), cl=1,0 (the first color will be white, secondary black), cl=3,0,1,0 (it will change all possible colors), cl=1,-,-,3 (it will change the primary color by the white and the quaternary by the red, it will not change the secondary and tertiary colors).
